Key takeaways
A person wiring a 12V battery bank in a shed, another mounting a solar panel on an RV roof, and a licensed electrician inspecting a home's grid-tied inverter, showing the different skill levels and regulatory requirements for each tier.
Understanding the tiers of DIY solar: from beginner-friendly 12V mobile setups to complex grid-tied home systems requiring professional expertise and permits. Know what you can safely build yourself and when to call a licensed electrician.
- DIY solar splits cleanly into 3 tiers: 12 V mobile (full DIY), off-grid cabin (mostly DIY), grid-tied home (electrician + permits + utility agreement).
- Below the inverter (DC wiring, panel mounting, battery banks), most homeowners can legally do the work themselves.
- Above the inverter (AC house wiring, panel ties, grid interconnection), most jurisdictions require a licensed electrician.
- States like Texas, North Carolina, New York, and New Jersey require a licensed electrical contractor for solar AC work.
- Every grid-tied DIY system needs three approvals: building permit, electrical permit, and a utility interconnection agreement.
- Skip the permit and you may void your homeowner insurance and disqualify yourself from the 30% federal residential clean-energy credit.
DIY solar requires practical engineering skill. The trouble is that the term covers everything from clipping a 100 W panel to an RV battery (genuinely beginner-safe) to backfeeding a home electrical panel from a string inverter (illegal in most US states without a licensed electrician). This guide walks 3 honest tiers (12 V mobile, off-grid cabin, grid-tied home) and is specific about what falls on which side of the line. The short version: everything DC, you can probably do; everything AC that touches the house panel or the grid, you probably cannot. For the underlying components see our off-grid kit guide; for the shed-scale starter project, solar power for a shed; and for the broader off-grid case, our off-grid living article.
The three tiers of DIY solar
Almost every DIY solar project falls into one of 3 tiers. The tier determines how much electrical skill you actually need, whether you can do the whole build yourself, and whether your work is legal without a contractor’s signature.
Tier | Example | Skill needed | DIY-safe? | Permits |
|---|---|---|---|---|
Tier 1: 12 V mobile | RV, van, fishing cabin | Basic DC wiring, lugs | Yes, end to end | None in most states |
Tier 2: Off-grid cabin | Tiny house, hunting cabin, shed | Solid DC + small inverter | Mostly, with a check | Sometimes; varies by AHJ |
Tier 3: Grid-tied home | House on the utility grid | Service-panel rated | DC side only | Always — and utility agreement |
Plain rule of thumb: if your system has a battery and never touches your home’s main electrical panel, you are in Tier 1 or Tier 2 and the work is largely yours to do. The moment a wire from a string inverter lands on a breaker in the house panel, you are in Tier 3 and you need a licensed electrician.
Tier 1: 12 V mobile — fully DIY
The RV and van conversion world is where DIY solar is genuinely beginner-safe. Loads are low, voltages are non-lethal at the touch, and the entire system is self-contained — nothing connects to a house panel or the grid. A 100 W suitcase panel with built-in charge controller and battery alligator clips is the entry point: 30 minutes from box to working system, no skill assumed.
A 100 W foldable solar panel deployed in front of a campervan, alligator clips running to a deep-cycle battery
Component | Beginner option | Common upgrade |
|---|---|---|
Panel | 100 W rigid or 100 W foldable suitcase | 200 – 400 W roof-mounted |
Charge controller | 10 – 20 A PWM (built into suitcase) | 20 – 40 A MPPT |
Battery | 100 Ah AGM deep-cycle | 100 – 200 Ah LiFePO4 self-heating |
Inverter | None or 300 W modified-sine | 1,000 – 2,000 W pure-sine |
Tools needed | Crimpers, wire strippers, multimeter | Add torque wrench, lug crimper |
One real limit: plug-and-play RV kits sometimes use undersized #12 AWG between battery and port, which is fine for a 100 W panel but bottlenecks anything bigger. If you upgrade past 200 W, expect to rewire from the panel to the controller.
Tier 2: off-grid cabin — mostly DIY
An off-grid cabin, tiny house, or remote workshop is the second tier. The system is bigger (600 W to 4 kW of panel, a real inverter, and a battery bank that requires careful handling), but it still does not interconnect with a utility grid. Most US jurisdictions do not require a permit for a self-contained, battery-only DC system that feeds dedicated outlets through an inverter, as long as you do not wire AC into a fixed structure that the AHJ considers permanent.
Inside an off-grid cabin: a wall-mounted 48V battery bank, MPPT charge controller, hybrid inverter, neat conduit and DC fuses
Job | DIY OK? | Notes |
|---|---|---|
Mount panels on roof or ground | Yes | Follow rafter pull-out and wind-load math |
DC wiring panel to charge controller | Yes | NEC Article 690; OCPD sized to wire |
Battery bank build and bus bars | Yes, with care | Class T fuse on the positive — non-negotiable |
Inverter to dedicated DC loads / outlets | Yes | Plug-style outlets, not hardwired |
Inverter hardwired to a cabin sub-panel | Sometimes | May trigger AHJ electrical permit |
Generator backup auto-transfer switch | No | Always pulled by electrician in most jurisdictions |
The line you must not cross unattended: hardwiring AC output into a permanent structure’s electrical system. The moment that happens, most AHJs require the work be inspected, and many require a licensed electrician to have done the AC side. The cabin still doesn’t touch the grid (tier 3), but the AC house wiring inside is governed by the same code as a kitchen remodel.
Tier 3: grid-tied home — DC side only
A grid-tied residential solar system is where DIY hits its hard limit. The system feeds power into the utility distribution network, which means it must cleanly disconnect when the grid goes down to prevent islanding (energizing lines that linemen expect to be dead). That anti-islanding logic, the AC service wiring, the utility-grade production meter, and the formal interconnection agreement are all things you cannot do alone in most US jurisdictions.
State | DIY allowed where? | Where you need an electrician |
|---|---|---|
Texas | Mounting, DC wiring, panel attachment | All AC work — TECL electrical contractor required |
North Carolina | Carpentry, DC racking | All electrical — NC contractor license required |
New York | Most physical install | Final AC connection signed off by licensed electrician |
New Jersey | Mounting, conduit running | Electrical contractor license required for AC tie-in |
California | Mounting, DC wiring | Tie-in to main panel — C-46 or C-10 contractor |
The three approvals every grid-tied system needs
That tier-3 line is enforced through paperwork. Every grid-tied solar system needs 3 separate approvals, all of which can stall a build for weeks if you skip a step.
Approval | Who issues it | What it covers |
|---|---|---|
Building permit | Local building dept (AHJ) | Roof load, wind uplift, attachment method |
Electrical permit | Local electrical inspector | NEC Article 690 compliance, wiring, OCPD, grounding |
Interconnection agreement | Your utility | Anti-islanding, production meter, net metering terms |
Why skipping is expensive: an unpermitted PV system can void your homeowner insurance, disqualify the install from the 30% federal residential clean-energy credit, complicate a future home sale, and, in the rare worst case, be ordered removed by code enforcement. The permits typically cost USD 100 – 600; the downside of not having them is in the tens of thousands.
Tools and test gear you actually need
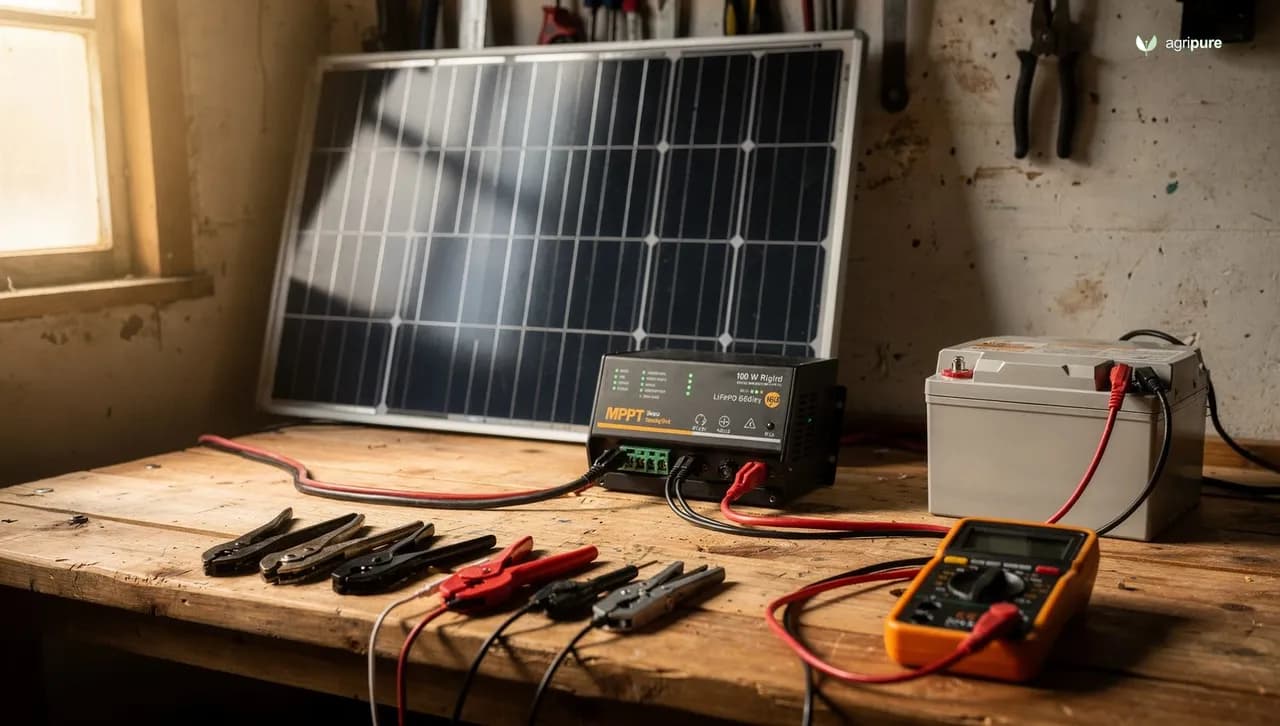
Past the legal question, the practical floor for DIY solar at any tier is the test gear. A few tools turn this from guessing into engineering. None of these are optional if you are doing your own DC wiring.
Tool | Why you need it | Realistic cost (USD) |
|---|---|---|
True-RMS multimeter | Voltage and continuity checks across DC and AC | 40 – 120 |
DC clamp meter | Measure actual current into and out of the battery | 60 – 180 |
Crimpers + lug crimper | Battery cable and panel-end MC4 connectors | 40 – 250 |
Torque wrench, in-lb scale | Battery terminal torque to spec (5 – 8 Nm typical) | 30 – 80 |
Insulated screwdrivers | Live battery work without arcing across a busbar | 20 – 50 |
IR thermometer | Find hot connections before they fail | 20 – 60 |
Where DIY actually fails
That gear list is the difference between learning and improvising. The top failure modes on DIY solar stem from steps people skip to save money or time, rather than the panels or the controller.
Failure | Cause | Prevention |
|---|---|---|
Battery cable arc-flash | Unfused positive on a high-current LiFePO4 bank | Class T fuse on positive within 18 in of battery |
Connector corrosion | MC4 connectors crimped without dielectric grease, exposed to weather | Strain relief loops + UV-rated junction box |
Roof leak years later | Lag bolts without proper flashing | Use a code-listed flashing kit; do not improvise |
Charge controller smoked | Wrong wire polarity at first power-up | Always commission battery side first, then PV side |
Insurance denial after fire | No permit, no inspection, no record | Pull the permit even when you think you don’t need one |
The takeaway
Honest DIY solar is more limited than the YouTube channels suggest, but the part you can do is also bigger than most homeowners assume. Tier 1 is fully yours — a weekend, a multimeter, and a 100 W kit. Tier 2 is mostly yours, with a permit check on the AC side. Tier 3 is only partly yours: mount the panels, run the DC, and hand the AC to a licensed electrician. Treat the line at the inverter’s AC output as the boundary, pull the permits when the AHJ asks, and the system you build will be safe and compliant. For the matching components and shed-scale practice run, the shed solar guide and off-grid kit guide are the natural next steps.
Frequently asked questions
Is it legal to install your own solar panels?
Yes, in most US jurisdictions, with caveats. Off-grid battery systems on RVs and cabins are usually fully DIY-legal. Grid-tied home systems are not: states including Texas, North Carolina, New York, and New Jersey require a licensed electrical contractor for the AC and interconnection work. Always check with your local Authority Having Jurisdiction (AHJ) and utility before buying hardware.
Can I install solar without a permit?
Self-contained 12 V DC kits on vehicles or sheds typically need no permit. Anything that hardwires AC outlets into a fixed structure, or interconnects with the utility grid, almost always does. Skipping the permit voids most homeowner insurance, disqualifies the system from the 30% federal residential clean-energy credit, and can be ordered removed.
How much can a DIY solar system save versus hiring an installer?
Labor and overhead is roughly 30 – 50% of a turnkey residential install. A 6 kW grid-tied system costing USD 18,000 – 22,000 turnkey can land closer to USD 10,000 – 12,000 hardware-only if you do the legal DIY portions and pay an electrician only for the AC tie-in. Off-grid cabin and RV systems show even larger savings because the legal DIY share is bigger.
Do plug-and-play RV solar kits really work?
For light loads, yes. A 100 W or 200 W solar suitcase with a built-in charge controller and alligator clips genuinely is plug-and-play and is enough for LED lights, devices, and a vent fan for short boondocking trips. The catch: many factory RV solar ports use undersized #12 AWG wiring that bottlenecks above 200 W. Past that, expect to rewire.
What is a utility interconnection agreement?
It is the contract that lets your grid-tied solar system feed the utility distribution network. It specifies anti-islanding, the production meter, and the net-metering or buy-back terms. No utility lets a DIY grid-tied system go live without one, and most require the AC work be done or signed off by a licensed electrician.
What tools are non-optional for DIY solar?
A true-RMS multimeter for voltage and continuity, a DC clamp meter for actual current readings, proper crimpers for battery cables and MC4 connectors, an in-lb torque wrench for battery terminals, and insulated screwdrivers for live battery work. Realistic total: USD 200 – 600 for serviceable consumer gear, less if you already have the basics.
References
- GreenLancer. “Solar Licensing Requirements by State for Contractors.” greenlancer.com
- Unbound Solar. “Steps to installing a code compliant solar panel system for your home.” unboundsolar.com
- GreenLancer. “Solar Interconnection Agreement: Step-by-Step Process.” greenlancer.com
- NAHB. “Solar Interconnection Process — Builder’s Toolkit.” nahb.org
- EcoFlow. “Solar Power and Electrical Code Compliance.” ecoflow.com
- A1 Solar Store. “DIY: How to install solar panels on your RV.” a1solarstore.com