Vermicomposting at Home: Worm Bin Guide for US Gardeners

The Environmental Protection Agency (EPA) estimates that the average American generated 328 pounds of food waste in 2016, with households accounting for 40% to 50% of the nation’s 26.5 million tons of annual food waste. While standard composting methods work well in spacious backyards, home growers in urban areas or those facing cold winters in USDA zones 3 through 5 require a more compact system. Vermicomposting — the process of using specialized earthworms to recycle organic waste — provides an efficient, indoor-friendly solution that turns kitchen scraps into a potent soil amendment.
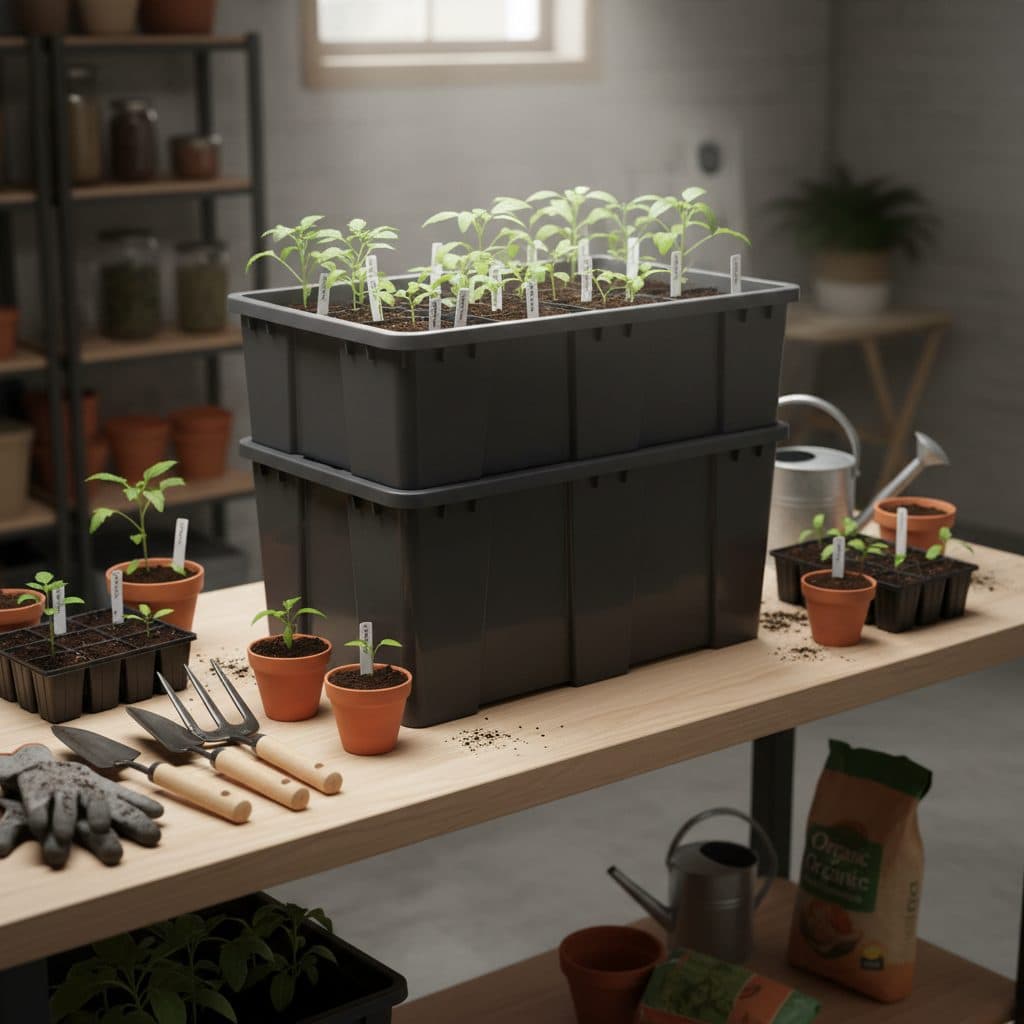
By setting up a 10-gallon or 14-gallon vermicomposting system in a heated basement, garage, or pantry, you can process household waste 365 days a year. The resulting castings are packed with billions of beneficial microbes, humic acids, and plant-available nutrients that build healthy soil structure far more effectively than synthetic chemical inputs.
Choosing the right worm species
These specialized earthworm species differ significantly from common garden earthworms. Common garden earthworms (such as nightcrawlers) are soil-dwelling, deep-burrowing species that require tunnels up to 6 feet deep and will quickly die in a shallow container. For a successful home worm bin, you must use epigeic earthworms — surface dwellers that live in the upper 8 inches of leaf litter and decaying organic matter.

Red wigglers: the composting kings
The red wiggler (Eisenia fetida) is the standard composting worm for home bins. They thrive in crowded stocking densities, tolerate wide environmental shifts, and can process up to 50% of their body weight in food scraps daily under optimal conditions. They remain in the upper 8 to 12 inches of bedding, making them perfect for container systems.
Beware of invasive jumping earthworms
When sourcing worms, you must be extremely vigilant. Invasive jumping earthworms (Amynthas spp.) have spread across at least 34 states in the eastern and midwestern United States. They destroy soil structure, strip nutrients from forest floors, and completely outcompete native worm species. Never buy them. If you find jumping earthworms on your property, do not add them to your bin or garden; instead, solarize them in a clear plastic bag under the sun for 2 days or drop them in 70% isopropyl alcohol to destroy them.
Sizing and selecting your worm bin
This selection of a proper worm bin depends on your daily food waste production. A worm bin must provide adequate oxygen flow, dark conditions, and a shallow depth. Because composting worms are surface dwellers, depth is less important than surface area, typically requiring at least 1 square foot of surface per pound of waste.
Sizing by food waste
The NC State Extension guide recommends sizing your bin’s surface area based on the weight of food scraps your household generates. Calculate 1 square foot of surface area for every pound of waste produced per week. For example, a household that generates 4 pounds of kitchen scraps per week requires a bin with a surface area of 4 square feet (such as a 2-foot by 2-foot container).
Bin depth and materials
Worm bins should be between 8 and 12 inches deep. Containers deeper than 15 inches suffer from compaction, which cuts off oxygen and creates foul-smelling anaerobic pockets.
- Plastic bins: Standard plastic storage tubs (10 to 14 gallons) are easy to clean, lightweight, and hold moisture well. You must drill 10 to 15 holes (1/4-inch diameter) in the lid and sides for ventilation.
- Wooden bins: Wood breathes naturally, reducing the risk of soggy bedding, but wooden bins are heavier and can rot within 3 to 5 years. Avoid chemically treated wood, which can leach toxic copper or arsenic compounds that kill the worms.
Preparing the bedding and moisture balance
This bedding environment serves as both the worms’ habitat and their primary carbon source, targetting a C:N ratio of 50:1 or higher. It must hold moisture while remaining fluffy enough to allow oxygen circulation.
Selecting bedding materials
Shredded corrugated cardboard and non-glossy newspaper are the best choices, having a C:N ratio around 60:1. You can also mix in shredded dry leaves or a small amount of coco coir. Avoid glossy circulars, colored inks, and bleached office paper.
| Bedding Material | Carbon-to-Nitrogen (C:N) | Pros | Cons |
|---|---|---|---|
| Corrugated Cardboard | 60:1 to 80:1 | Excellent structure, creates air pockets, holds water. | Requires tearing or shredding heavy material. |
| Shredded Newspaper | 50:1 to 70:1 | Widely available, easy to tear by hand. | Mats easily when wet, reducing airflow. |
| Dry Deciduous Leaves | 40:1 to 80:1 | Free backyard resource, mimics natural habitat. | Can introduce outdoor pests and molds. |
Achieving the damp sponge balance
Worms breathe through their skin, which requires a highly humid environment. Bedding must be kept at 60% to 85% moisture content.
- Tear cardboard or newspaper into 1-inch strips.
- Soak the bedding in water for 10 minutes.
- Wring out the bedding until it has the consistency of a damp sponge. When squeezed firmly, it should release only 2 or 3 drops of water.
- Fill the bin 75% full with the damp bedding, fluffing it to ensure plenty of air pockets.
Feeding guidelines: what to include and what to avoid
These bedding layers must be managed carefully when introducing food scraps. Worms do not eat the food scraps directly; they consume the millions of microbes (bacteria and fungi) that break down the rotting organic matter. Keeping these microbes healthy at a pH of 6.0 to 7.0 ensures your worms remain active and productive.
Feeding in thin layers
When adding food scraps, chop them into small pieces to speed up decomposition. Add food in a thin layer that does not exceed 1 inch in height. Piling food too deep can cause the bin to heat up like an active hot compost pile, which will cook and kill the worms. Always cover fresh food with a handful of dry bedding to deter fruit flies and lock in odors.
Safe foods and grit
Worms enjoy a variety of kitchen waste, typically consuming up to 3 pounds per week in a standard bin:
- Fruit and vegetable scraps: Melon, pumpkin, squash, and apple cores are favorites.
- Coffee grounds and tea bags: These add nitrogen and organic material (ensure you remove plastic tea bag strings and staples).
- Crushed eggshells: Rinsed and finely crushed eggshells are essential. Worms have gizzards and need grit to grind down food. The calcium carbonate in eggshells also buffers acidity, keeping the bin’s pH between 6.0 and 7.0.
Banned items
To prevent pests, bad odors, and toxic bin conditions, never feed your worms these 4 categories of waste:
- Citrus fruits and peels: The limonene in citrus is toxic to worms, and high acidity damages their skin.
- Onions, garlic, and hot peppers: These contain strong compounds that irritate worms.
- Meat, dairy, fat, and oils: These rot slowly, create putrid odors, and attract rodents.
- Dog or cat feces: These carry parasites and pathogens that survive the cold composting process.
Applying finished castings to your vegetable beds? Keep your bed’s moisture and pH in check with a 3-in-1 Soil pH, Moisture & Light Meter.
Measure your soil health before composting
Successful composting requires monitoring your moisture and pH levels. Ensure your beds are ready with our precise soil tester.
Get the Soil TesterTemperature and climate management
This moisture and pH balance must be maintained across changing seasonal temperatures. Red wigglers tolerate a temperature range of 35°F to 95°F, but they only compost actively between 55°F and 77°F.
- Winter care: If you live in a northern US state (such as USDA zone 4 or 5), do not leave your bin outdoors or in an unheated garage during winter. Bring the bin indoors to a basement, utility closet, or under the kitchen sink to maintain a temperature above 50°F.
- Summer care: In hot climates (such as USDA zone 8 or 9), keep the bin in a shaded, cool location. Temperatures above 95°F will cause worm death. If the bin is outdoors, place it on the north side of a building or under a dense tree canopy.
Harvesting your finished compost
These compost bins will eventually fill with dark, nutrient-dense castings ready for harvest. After 3 to 6 months, the bedding and food scraps will transform into a dark, crumbly material that smells like fresh forest soil. This vermicompost must be harvested periodically, as high concentrations of castings are toxic to the worms themselves.

The sideways migration method
This is the easiest, low-labor method:
- Push all the bin contents to 1 side.
- Fill the empty 50% of the bin with fresh, damp bedding and new food scraps.
- Stop feeding the old side for at least 14 days.
- Over 2 to 3 weeks, the worms will migrate across the bin to the fresh food.
- Scoop out the clean castings from the old side, which will be 90% worm-free.
The hand-sorting method
If you want to harvest all the castings at once:
- Dump the bin contents onto a plastic tarp under a bright 100-watt light.
- Divide the material into 4 to 6 cone-shaped piles.
- Wait 10 minutes. The worms will move away from the light into the center of the piles.
- Scrape the top 1 inch of castings off the top and sides of the cones until you see worms.
- Repeat the process 3 or 4 times until only clusters of worms remain, then return them to the bin with fresh bedding.
Applying vermicompost in your garden
These castings are highly concentrated organic fertilizers that boost vegetable growth. Worm castings are highly concentrated organic fertilizers, containing up to 5 times more nitrogen and 7 times more phosphorus than standard topsoil. A little goes a long way.
- Seed starting: Mix 1 part castings with 3 parts seed starting mix. This provides gentle nutrients for young roots. Start your seeds in a 24-Cell Seedling Propagation Tray with Dome to keep humidity high.
- Transplanting vegetables: Add 1 handful of castings directly to the planting hole when transplanting tomatoes (Tomato) or sweet basil (Sweet Basil) to boost early growth by 20%.
- Top-dressing: Apply a 1/2-inch layer of castings around the drip line of mature garden plants every 4 weeks during the growing season.
- Broad fertilizer boosting: For heavy feeding crops, combine castings with a slow-release booster like our Fermented Soybean Meal Organic Fertilizer (500 g).
d8fh19bcod8000bdf3ng
d8fh18q0t71g00b3d7kg
Troubleshooting common worm bin problems
This organic fertilizer production can sometimes encounter issues like odor or pests. Worm bins are low-maintenance, but they can occasionally go out of balance, showing symptoms like odors or escape behaviors in 10% to 15% of new setups.
Foul odors (sewer-like or rotten smell)
- Cause: Bedding is too wet (above 90% moisture), cutting off oxygen, or the bin is overfed.
- Solution: Add dry, shredded cardboard, stir gently to aerate, and stop feeding for 7 days.
Fruit flies and gnats
- Cause: Food scraps are exposed on the bedding surface, attracting pests within 24 hours.
- Solution: Bury food scraps at least 2 inches deep under the bedding. You can also cover the bedding with a sheet of damp cardboard to act as a barrier.
Worms crawling up the walls or escaping
- Cause: The environment is hostile, such as pH dropping below 5.0 or moisture exceeding 90%.
- Solution: Check the moisture. If the bedding smells sour or acidic, add crushed eggshells or a handful of agricultural lime, and leave the bin lid off under a bright light for 24 hours to force the worms down.
Frequently asked questions
What is the best worm species for a home composting bin?
The red wiggler (Eisenia fetida) is the most recommended composting worm for home systems. They are surface dwellers that thrive in dense container environments and process organic matter quickly.
Can I use earthworms from my yard in a worm bin?
No. Common garden earthworms, such as nightcrawlers, are soil-dwelling burrowers that require deep soil to survive. They will quickly die in a shallow compost bin.
How do I get rid of fruit flies in my worm bin?
Keep fruit flies away by burying food scraps at least 2 inches deep beneath the bedding. Covering the bedding with a sheet of damp newspaper or cardboard also helps prevent flies from finding the food.
Why does my worm bin smell bad, and how do I fix it?
Foul odors indicate anaerobic conditions caused by excess moisture or overfeeding. To fix it, stop feeding, gently stir in dry shredded cardboard to absorb moisture and add oxygen, and ensure the drainage holes are not blocked.
References
- Sherman, R. (2017). Worms Can Recycle Your Garbage (AG-473-18). NC State Extension.
- OSU Extension. (2021). Composting with Worms (EM 9034). Oregon State University Extension Service.
- UMD Extension. (2023). Indoor Worm Composting or Vermicomposting. University of Maryland Extension.
- Penn State Extension. (2022). Vermicomposting Puts Worms to Work. Penn State Extension.
- University of Illinois Extension. (2020). Composting. University of Illinois Extension.
- EPA. (2023). 2016 Food Loss and Waste Baseline Explainer. Environmental Protection Agency.