Beekeeping for beginners: hives, bees, and your first honey harvest
A single overwintered colony can grow from a winter cluster of perhaps 15,000 bees to a summer city of 50,000 or more, pollinate a quarter-acre of garden and orchard, and — in a good second year — hand you 40 or 50 pounds of honey. That is the promise of backyard beekeeping, and it is real. What the glossy beekeeping pictures leave out is the work between the package and the harvest, and the one parasite that decides whether your bees see a second spring. This guide for beginners covers the whole arc: why keep bees at all, which hive to buy, how to get your first bees and when, the equipment that genuinely matters, how to read the colony through the beekeeping year, and the make-or-break job of controlling Varroa mites. Every number here — frame counts, mite thresholds, colony population, winter honey stores, startup cost — traces to a university bee lab, a Cooperative Extension program, USDA’s Agricultural Research Service, or peer-reviewed work. Where the homestead lore oversells the honey, this guide says so.
Why keep bees, and what to actually expect
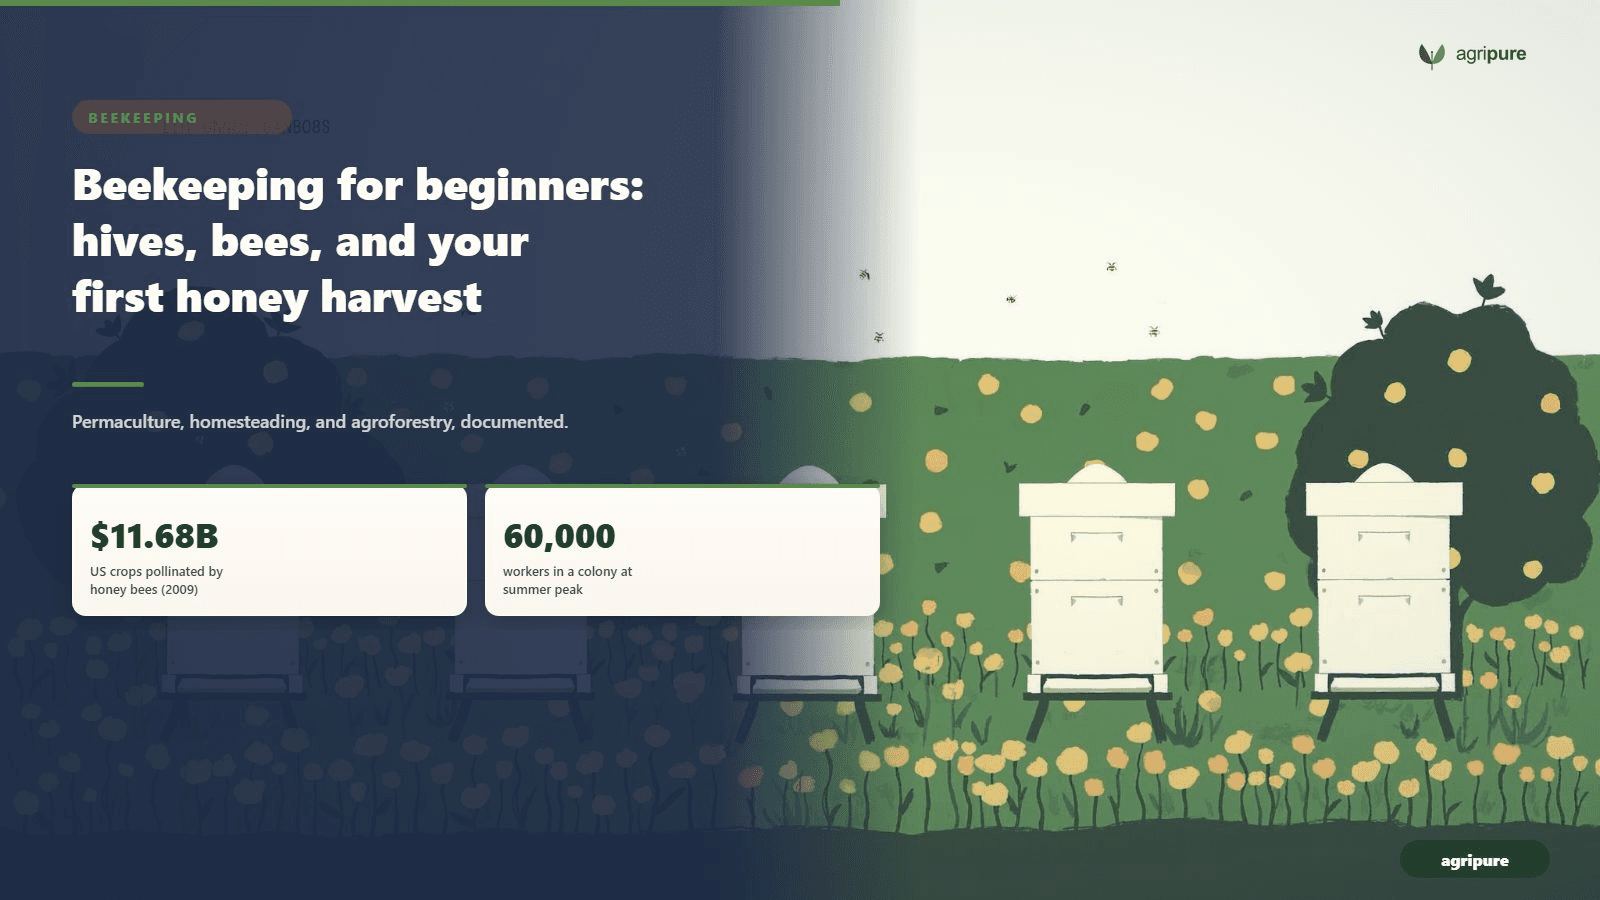
Beekeeping earns its space in two ways, and only one of them is honey. The larger return is pollination. Honey bees are the workhorse managed pollinator of North American agriculture, and the peer-reviewed accounting backs the cliche: a 2012 analysis in PLOS ONE put the value of directly pollination-dependent US crops attributed to honey bees at 11.68 billion dollars in 2009. On a backyard scale that shows up as heavier fruit set on your apples, squash, and berries, and a garden humming through every bloom. If you already grow food, a hive is the most direct way to lift yields without adding a single bed.
The honest truth about first-year honey
The second return is the honey — and here is where beginner beekeeping needs an honest word. A brand-new colony spends its first season building the wax comb that is the hive, drawing out frame after frame for brood and stores, and that wax is expensive in nectar. The result is a first-year colony that often makes little or no surplus. The Mid-Atlantic Apiculture Research and Extension Consortium is plain that even a nuc, started in early spring, will only produce surplus honey in its first year under favorable weather and nectar-flow conditions. Read that as: maybe, if everything breaks your way. The year-one goal is not honey. It is a strong, healthy, mite-controlled colony that survives winter — because that is the colony that floods you with honey in year two.
That reframing is the single most useful thing a beginner can absorb. Keep bees for the pollination and the craft first, bank the colony’s strength through the first winter, and treat the first jar of surplus honey as a bonus rather than the point.
The beehive types: Langstroth, top-bar, Warre, and Flow
Before the bees comes the box, and the honey bee hive you choose shapes every chore that follows. Four designs dominate the conversation for beginners, and they trade convenience, cost, and naturalness against each other.
Why Langstroth is the beginner default
The dominant system, and the right default for almost every North American beginner, is the Langstroth hive. MAAREC notes that today most beekeepers use the Langstroth or modern ten-frame hive, a stack of rectangular boxes hung with movable frames. Those frames — 17 5/8 inches long in the standard pattern — lift out individually, which is what makes inspection, feeding, mite testing, and honey extraction straightforward. Its real advantage for a beginner is the ecosystem around it: classes, mentors, replacement parts, and extractors are all built for Langstroth gear. The one genuine drawback is weight. A ten-frame deep box full of honey can top 80 pounds, which is why many beginners now choose eight-frame boxes for the same system in a lighter lift.
| Hive type | How it works | Best for | The tradeoff |
|---|---|---|---|
| Langstroth | Stacked ten- or eight-frame boxes with movable frames | Almost every beginner | A full deep box can top 80 pounds |
| Top-bar | Long horizontal box; bees build comb down from bars | Easy on the back, natural comb | Soft comb breaks; thinner local support |
| Warre | Vertical top-bar hive that mimics a hollow tree | The most hands-off keeper | Hard to inspect; some areas require movable frames |
| Flow | Langstroth-compatible frames that drain from a tap | Harvest-day convenience | Expensive; changes nothing about the work that matters |
The three alternatives, and what they cost you
The alternatives each solve a different problem:
- Top-bar hive. A long horizontal box where bees build comb down from a row of bars, with no frames and no heavy lifting. It is gentle on the back and pleasant to work, and it appeals to keepers who want more natural comb. The tradeoffs are real: the soft comb can break during inspection, winter management is harder, and local support and spare parts are thinner.
- Warre hive. A vertical, top-bar-style hive meant to mimic a hollow tree and let bees overwinter much as they would in the wild. It is the most hands-off of the popular designs. The cost is inspection flexibility — and some jurisdictions require movable frames you can lift and examine, which a strict Warre does not offer.
- Flow hive. A Langstroth-compatible hive with patented frames that let honey drain from a tap without pulling boxes. It is genuinely clever for harvest day, but it is expensive, and the tap does nothing to change the part that actually matters — the inspection, feeding, and Varroa work that keep the colony alive.
For a first hive, start Langstroth. You can always run a top-bar or Warre later for the pleasure of it; you will struggle to find a mentor who can troubleshoot one with you in year one.
How to get your first bees, and when
With a hive ready, you need bees, and how you start the colony affects how fast it grows. There are three routes, and the calendar matters as much as the choice.

Package bees
A package is the most common beginner start: a screened box of loose bees with a separately caged, newly mated queen. MAAREC describes packages in 2-, 3-, or 5-pound sizes, with each pound representing about 3,500 bees, so a typical 3-pound package is roughly 10,000 bees; NC State Extension puts the standard 3-pound package at about 12,000 live adult workers and one newly mated queen. The catch is timing. You order in winter — MAAREC says to order packages in January or February to ensure timely delivery in early spring, around April — and you install only once it is warm, which NC State pins at temperatures above 65 degrees F. A package starts from nothing, so it needs weeks of feeding while the bees draw comb and the queen begins to lay.
Nucleus colonies
A nuc — a nucleus colony — is a running hive in miniature. MAAREC defines it as a smaller hive consisting of bees in all stages of development, food, a laying queen, and enough workers to cover from three to five combs. Because it arrives with brood and a laying queen already at work, it skips the slow start: the advantages, per MAAREC, are faster colony development thanks to the presence of brood and no break in the queen’s laying cycle, plus the chance to inspect the nuc before buying. A nuc costs more than a package and the frames must match your equipment, but for a beginner it is the more forgiving start — and the likeliest to make a little surplus honey in year one.
Caught swarms
The third route is free: a caught swarm, the cloud of bees a colony casts off in spring when it reproduces. Capturing a swarm into a baited hive or box costs nothing and is deeply satisfying, but it is unpredictable — you do not know the queen’s age, the swarm’s genetics, or its mite load. Treat caught swarms as a bonus for your second season, not a plan for your first.
The beekeeping equipment that actually matters
The beekeeping equipment market is happy to sell a beginner a cart of gadgets. The genuinely essential kit is short, and MAAREC names it: beyond the hive itself, a bee smoker and hive tool are essential for working bees, worn with a veil.
- A veil, and protective clothing. MAAREC advises that you should wear a bee veil at all times to protect your face and neck from stings, and that white or tan clothing is most suitable when working bees — bees react more to dark, fuzzy colors. A full suit is reassuring for a nervous beginner; a veil plus a light-colored long-sleeved shirt is the working minimum.
- A smoker. Cool smoke calms a colony and masks the alarm pheromone that turns one sting into ten. MAAREC notes the 4 x 7 inch size is probably the most widely used — big enough to stay lit through a full inspection.
- A hive tool. The single most-used object in beekeeping. It is, in MAAREC’s words, a metal bar essential for prying apart frames in a brood chamber or honey super, which bees glue together with propolis. Buy two; you will set one down in the grass and lose it.
Add a feeder for syrup, an extractor (or access to a club’s) for harvest day, and a means of testing for mites — and you have the whole list. Everything else is optional.
Siting the hive and reading the colony
Where you put the hive and how well you read what is inside it decide most of your first-year outcomes.

Siting and placement
A good site is simple. Face the entrance toward the morning sun to get the foragers out early, give the hive afternoon shade in hot climates, keep it out of low frost pockets and standing water, and put a windbreak — a fence, a hedge, a row of shrubs — at its back. Set the boxes on a stand a foot or so off the ground to spare your back and slow the damp. Provide a nearby water source so your bees do not work the neighbor’s pool, and angle the entrance toward a hedge or fence so the flight path lifts above head height. A hive needs less room than beginners expect; a corner of a small yard is plenty, zoning permitting.
The three castes
Open a healthy hive and you are looking at one of biology’s tightest societies — three castes, each with one job. MAAREC describes the colony as three kinds of adult bees: workers, drones, and a queen.
- The queen. One per colony, and the only fully fertile female. Her whole job is laying eggs — up to 1,500 eggs per day at peak, per MAAREC — and her pheromones hold the colony together. Spotting eggs (tiny rice grains, one per cell) tells you she was laying within the last three days, which matters more than seeing her.
- The workers. The tens of thousands of sterile females that do everything else — clean cells, feed brood, build comb, guard the door, and forage. MAAREC notes the colony grows up to a maximum of about 60,000 workers. A summer worker lives only about six weeks; a worker reared in fall can live up to six months to carry the colony through winter.
- The drones. The several hundred drones during late spring and summer, the males, whose sole role is to mate. They do not forage or sting, and the colony evicts them before winter.
Learning to read brood — eggs, C-shaped larvae, capped cells — is the core inspection skill. A solid, even brood pattern means a good queen; a spotty one is an early warning.
The beekeeping year: spring buildup to winter cluster
Beekeeping is seasonal work, and a beginner who learns the rhythm of the year is rarely caught off guard. Cornell University’s beekeeping calendar for the Northeast lays out the arc, and it generalizes across temperate North America with local timing shifts.
Spring and summer: buildup and flow
Spring is buildup and the season of swarms. As Cornell puts it, egg laying and brood rearing are in high gear, with the brood area expanding rapidly. The colony can explode from a winter cluster to 50,000-plus bees, and a crowded hive will try to swarm — beginning in May, watch for the warning Cornell names: queen cups being built along the lower edges of brood frames. Give the bees room before they feel crowded, and start monitoring mites now.
Summer is the nectar flow and the honey. Cornell notes the major swarm season winds down in mid-July, even though the population is still high, and that the nectar flow may require you to put more supers on the hive. This is when a strong colony stockpiles surplus — and, for a first-year hive, when it is still mostly drawing comb.
Fall and winter: the season that decides survival
Fall is the most consequential season for survival, and it is about food and mites. Cornell’s benchmark is firm: a full-sized colony should have at least 70 to 90 pounds of honey to eat by the beginning of October. If the colony is light, you feed sugar syrup. And this is the critical mite window: a high Varroa load now produces sick winter bees that cannot last until spring.
Winter is mostly hands-off. The bees, in Cornell’s words, are in their winter cluster, except for very warm and sunny days (roughly 50 degrees F and above), when they might leave the hive for a cleansing flight. You heft the hive for weight, add emergency sugar if it is light, and otherwise leave them be. Most winter losses were decided back in fall.
Varroa destructor: the make-or-break challenge
If you take one thing from this guide, take this: a beginner’s success or failure usually comes down to a mite the size of a pinhead. USDA’s Agricultural Research Service does not hedge — Varroa is the most serious pest of honey bees, inflicting more damage and higher economic costs than all other apicultural diseases. Varroa destructor does not just weaken bees by feeding on them; it vectors viruses. Peer-reviewed work describes these mites serving as the vector for deadly honey bee viruses, including Deformed wing virus, and concludes that Varroa mites and the viruses they vector are currently viewed as the primary killers of honey bees worldwide. The untreated colony that looks fine in August is the one found dead in February.
The good news is that Varroa is manageable, and the method is monitor-then-treat. You cannot manage what you do not measure, so you sample.
Monitoring with an alcohol wash
The standard test is the alcohol wash, and it is the one number every beekeeper should learn to take. You collect a half-cup of bees — the University of Minnesota Bee Lab specifies 300 bees using a 1/2 cup, and Mississippi State Extension a comparable 400 nurse bees (half a cup) from the broodnest — shake them in alcohol to dislodge the mites, count the mites, and express the result as mites per 100 bees. It kills the sampled bees, which beginners flinch at, but those few hundred bees are a rounding error against a colony of tens of thousands, and the alcohol wash is far more accurate than the gentler sugar-shake. Monitor monthly through the season; UMN recommends monthly monitoring, and USDA adds that fall colonies may be sampled every three weeks.
Treatment thresholds
The threshold — the mite level at which you treat — is where the published numbers converge. USDA’s bee lab: treatment is recommended if the sugar shake or alcohol wash results in 3 mites per 100 bees. Cornell agrees for fall: if you find three or more mites per 100 bees, you will want to treat. UMN sets a slightly more cautious bar: a treatment may be warranted if levels are above 2%, that is, above 2 mites per 100 bees. And the threshold tightens going into winter — Mississippi State recommends just 1 mite per 100 bees for a late-winter (February) sample, against 3 mites per 100 bees for the growing season, May through October, because the winter bees must be clean to survive.
In practice: test monthly, keep growing-season mites under about 3 per 100 bees, drive them lower before the winter bees are reared in late summer, and have a treatment chosen in advance. The specific miticide matters less for a beginner than the discipline of testing and acting on the number.
Your first honey harvest
Here is the payoff, with the honest caveat repeated. The honey a colony makes belongs first to the bees: Cornell’s 70-to-90-pound winter stores come off the top before you take a jar. You harvest only the surplus above what the colony needs to overwinter — which, in year one, is often nothing.

When you do harvest, the cue is capped comb. Bees ripen nectar into honey and seal each cell with a wax cap once the moisture is low enough to keep; a frame that is roughly 80% capped is ready, and harvesting uncapped honey risks fermentation. You pull the surplus frames (a fume board or a gentle bee brush clears the bees), uncap the wax, spin the frames in an extractor to fling the honey out, strain it, and bottle it. A club extractor saves a beginner the cost of buying one for a single harvest.
How much should a beginner expect? In year one, plan for little to none and be pleasantly surprised. A nuc in a strong nectar flow might give you a few frames. By year two, an established, healthy, well-managed colony in a decent flow commonly yields somewhere in the range of 30 to 60 pounds of surplus in much of North America — with wide variation by region, weather, and forage. Chase colony health, not pounds, and the pounds follow. Bees forage best where something is always in bloom, so the most useful thing you can do for your honey crop happens in the ground around the hive: a succession of nectar and pollen plants — and the perennial layers of a food forest — turns a hungry midsummer dearth into a steady flow, and it is the same planting that lifts your own fruit set.
Bring the forage to the bees
A hive is only as good as the bloom within flight range of it. A long, overlapping season of nectar and pollen — spring fruit blossom, summer clover and wildflowers, fall asters and goldenrod — does more for your bees than any gadget. Pollinator seed, tools, and the perennials that keep something flowering from March to October are the real beekeeping equipment.
The takeaway
Beekeeping rewards the beginner who respects the short list of things that actually decide the outcome. Start with a Langstroth hive for the support and the movable frames. Get your bees as a nuc if you can — three to five frames of brood and a laying queen build faster than a package — and install in spring once it is reliably above 65 degrees F. Site the hive to face the morning sun with a windbreak behind it, learn to read the brood of your single queen and her up-to-60,000 workers, and walk the colony through the year: build in spring, super in summer, feed and treat in fall, leave them be in winter. Above all, manage Varroa — monitor monthly with an alcohol wash and treat at about 3 mites per 100 bees, lower before winter — because that mite, more than weather or forage, decides whether your colony sees its second spring. Keep the bees alive and healthy through that first winter, leave them their 70 to 90 pounds of stores, and the honey comes in year two. If beekeeping is your first step into producing more from your own land, backyard chickens and a pollinator-rich permaculture garden are the natural companions to a humming hive.
Frequently asked questions
Is beekeeping hard for beginners?
Beekeeping is learnable but not hands-off, and the hard part is not what beginners expect. The bees largely run themselves; the work is inspecting regularly, feeding when stores are low, and — above all — monitoring and treating Varroa destructor mites, which USDA’s bee lab calls the most serious pest of honey bees. A beginner who tests for mites monthly with an alcohol wash, treats at about 3 mites per 100 bees, and leaves the colony 70 to 90 pounds of honey for winter has covered most of what separates a surviving hive from a dead one. Joining a local club for a mentor shortens the learning curve more than any book.
How much does it cost to start beekeeping?
Plan for roughly 300 to 800 dollars for a first hive in year one, depending on choices. A Langstroth hive (boxes, frames, foundation) runs a few hundred dollars; bees add to that — a 3-pound package of about 10,000 to 12,000 bees with a mated queen, or a nuc, which costs more but builds faster; and a veil, smoker, and hive tool round out the essential kit. Most of that gear lasts for years, so after the first season the recurring costs are mainly feed and mite treatment. Many beginners start with two hives rather than one, because a second colony makes problems easier to diagnose.
When should I get my bees, and which is better, a package or a nuc?
Order bees in winter for spring delivery — MAAREC advises ordering packages in January or February for delivery in April — and install them once temperatures are reliably above 65 degrees F. A package (loose bees plus a caged mated queen) is cheaper and starts from scratch; a nuc is a small working hive on three to five frames of brood with a laying queen already at work, so it builds faster and is the more forgiving choice for a beginner. A caught swarm is free but unpredictable and is better left to your second year.
How do I deal with Varroa mites?
Monitor, then treat. Sample about 300 bees in an alcohol wash roughly once a month through the season, count the mites, and express the result as mites per 100 bees. Treat when you cross the threshold — USDA’s bee lab and Cornell both put it at 3 or more mites per 100 bees in the growing season, and the bar drops toward 1 mite per 100 bees heading into winter, because the winter bees must be clean to survive. Varroa vectors viruses such as Deformed wing virus and is the primary killer of honey bees worldwide, so testing and acting on the number is the single most important habit a beekeeper builds.
How much honey will I get in my first year?
Usually little or none, and that is normal. A first-year colony spends its nectar drawing the wax comb that forms the hive, and MAAREC notes that even a nuc will only make surplus honey in year one under favorable weather and nectar-flow conditions. The honey a colony makes is also needed for its own winter survival — Cornell recommends leaving a full-sized colony 70 to 90 pounds of stores. Treat year one as the season you build a strong, healthy, mite-controlled colony; by year two, an established hive in a decent nectar flow commonly yields 30 to 60 pounds of surplus honey in much of North America.
References
- USDA Agricultural Research Service, Carl Hayden Bee Research Center. “Varroa Overview.” ars.usda.gov
- USDA Agricultural Research Service, Carl Hayden Bee Research Center. “When to Sample for Varroa.” ars.usda.gov
- University of Minnesota Bee Lab. “Varroa Mite Testing & Management.” beelab.umn.edu
- Mississippi State University Extension. “Sampling for Varroa Mites Using an Alcohol Wash.” extension.msstate.edu
- Cornell University CALS Pollinator Network. “Beekeeping Calendar for the Northeast.” cals.cornell.edu
- Mid-Atlantic Apiculture Research and Extension Consortium (MAAREC). “The Colony and Its Organization.” canr.udel.edu
- Mid-Atlantic Apiculture Research and Extension Consortium (MAAREC). “Beekeeping Equipment.” canr.udel.edu
- Mid-Atlantic Apiculture Research and Extension Consortium (MAAREC). “Nucleus Colonies.” canr.udel.edu
- Mid-Atlantic Apiculture Research and Extension Consortium (MAAREC). “Package Bees.” canr.udel.edu
- NC State Extension. “How to Install a Package of Honey Bees.” content.ces.ncsu.edu
- Calderone, N.W. “Insect Pollinated Crops, Insect Pollinators and US Agriculture: Trend Analysis of Aggregate Data for the Period 1992-2009.” PLOS ONE 7(5): e37235 (2012). ncbi.nlm.nih.gov
- Posada-Florez, F., et al. “Varroa destructor mites vector and transmit pathogenic honey bee viruses acquired from an artificial diet.” PLOS ONE 15(11): e0242688 (2020). journals.plos.org