Farm layout and planning: how to lay out a small farm (with free tools)
“A good farm layout is invisible. You only notice a bad one — every wasted trip, every gate in the wrong corner, every hose that will not reach.”
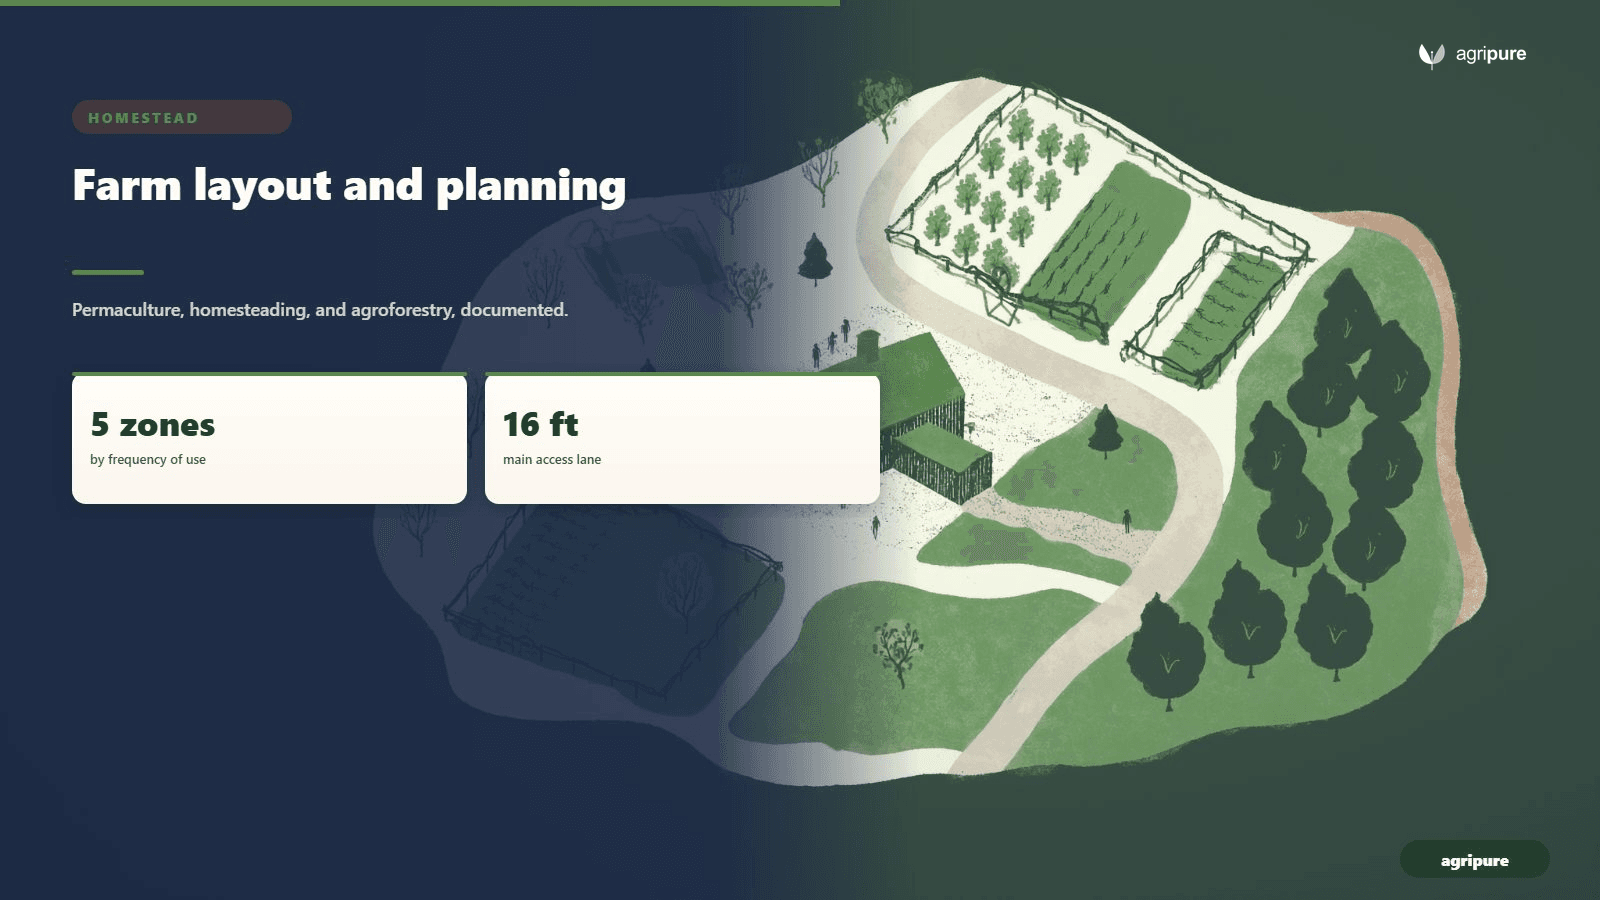
Lay the farm out by frequency of use
The single most useful idea in farm layout is also the simplest: put the things you visit most where they are easiest to reach. A kitchen garden you pick from every evening should be 20 steps from the door, not 200. A woodlot you visit twice a year can sit at the far fence. Distance is not the organizing principle — frequency of visits is, and once you sort every element of the farm by how often it needs you, the map almost draws itself.
Permaculture formalized this into a zone system running from 0 to 5, and it is worth borrowing even if you have no interest in permaculture as a philosophy. Oregon State University’s permaculture course puts it plainly: placing elements by their frequency of use is what distinguishes the approach. The zones are not rings on a map so much as a ranking of attention, and a path through a far field can pull a strip of that field up into a closer zone simply because you walk it daily. We treat this practically here; the theory lives in our guide to permaculture design.

What goes in each zone
Zone 1 is daily ground — the kitchen garden, herbs, a brooder or rabbit hutch, the tools you reach for constantly. Zone 2, often the home orchard, gets attention every few days: berries, the main coop, the compost bays. Zone 3 is the farming zone — field crops, hay, the main pasture and paddocks — which you check rather than fuss over. Zone 4 is semi-managed woodlot and rough grazing visited seasonally for timber or foraging. And Zone 5 is land left unmanaged for wildlife. Most small farms only really use zones 1 through 3; a quarter-acre lot might have no Zone 4 at all, and that is fine — the zones are a ranking, not a quota.
Place the barn, the water, and the access
Once the zones tell you roughly where things belong, three pieces of hard infrastructure fix the rest of the layout in place: the barn, the water, and the roads. Get these three right and daily chores shrink; get them wrong and you pay for it on every trip for years. NC State Extension frames the whole exercise as workflow — decide the location of key infrastructure by tracing how equipment, people, and products will actually move from one place to another.
The barn anchors the working core. The practical rule of thumb is to keep it within about 50 feet of feed storage so hauling feed is a short walk, not a daily haul, and to group the buildings you use together rather than scattering them. Position livestock housing with topography and drainage in mind, and keep animal areas downhill of the produce so runoff and manure never wash toward the vegetables.

Roads, drainage, and room to grow
Access roads carry the equipment, so size them honestly: at least 16 feet wide for heavy machinery, with internal lanes of 8 to 10 feet arranged in a loop that connects the barn, storage, and production zones without dead-ends to back out of. Drainage is the quiet killer — grade the ground to slope 1 to 2% away from every building so water sheds instead of pooling, and settle this before you build, not after. And leave yourself room: designing with about 20% extra space between major structures means you can add a lean-to or upgrade equipment later without tearing out what is already there. Water lines should reach every paddock and bed you will use daily, because a hose that will not reach becomes a chore you skip.
A worked horse-farm layout
Horses concentrate every layout decision, because they need more managed space per animal than almost any other livestock and they are hard on pasture. If you can lay out a horse farm well, the same logic handles cattle, goats, or sheep with room to spare. Start with the land budget: a general rule is 2 to 3 acres per horse for year-round grazing without leaning heavily on hay, and a less productive pasture may need more.

The layout that makes those acres last is rotational. Penn State Extension’s guidance is concrete: a horse should stay in any one paddock no longer than seven days, because that is when forage regrowth restarts, and the ideal system has a minimum of four paddocks connected by gates to a single sacrifice lot. The paddocks rotate; the sacrifice lot — a dry lot you can pull horses onto when the ground is too wet or grazed too low — protects the pasture from being chewed to dirt.
Sizing and detailing the paddocks
The details are where horse farms succeed or fail. A dry lot should provide at least 400 square feet per horse and include shelter and water, so a run-in shed paired with a trough does double duty. Make paddocks rectangular rather than square — the long shape encourages horses to move and exercise — and never run them below about an acre per horse if you can help it. Two placement rules from University of Minnesota Extension save real grief: give horses free access to clean water in every paddock, and always set gates in the corner closest to the direction you and the horses travel, so moving a herd is a flow rather than a fight. Keep pastures off wet ground and steep slopes, and the whole system holds together.
Lay out the rest of the homestead
The layout is the skeleton; the fences, shop, and windbreaks are the muscle. See how the working infrastructure goes in next.
Free and paid tools to map it
You do not need to draw a farm layout on a napkin and hope. A handful of tools let you trace your real parcel from satellite imagery and move barns, paddocks, and beds around until the workflow makes sense — and several are free. Testing a layout on screen costs nothing; testing it by building fences costs a season.
Five tools worth a look
The most farm-specific option is fieldmargin, which lets you map a farm in about 30 minutes and add fences, gateways, buildings, and water pipes while you record crops and plan rotations. For record-keeping plus mapping, LiteFarm — a free, open-source tool built out of the University of British Columbia — is made for sustainable small farms. For pure drawing, Google Earth gives you a free aerial base to sketch over, Canva‘s free map and site-plan templates handle a clean visual plan, and SketchUp (free for small projects, about $349 a year for Pro) adds 3D, contour, and sun-path modeling when you want to study slope and shade.
| Tool | Best for | Cost | Notes |
|---|---|---|---|
| fieldmargin | Mapping fields, fences, and water; rotations | Free tier + paid | Map a farm in ~30 minutes from satellite imagery |
| LiteFarm | Layout plus crop and task records | Free, open-source | Built at the University of British Columbia for sustainable farms |
| Google Earth | A free aerial base to sketch over | Free | Measure distances and trace your real parcel |
| Canva | Clean visual site plans and maps | Free tier | Drag-and-drop templates, no CAD skills needed |
| SketchUp | 3D, contour, and sun-path modeling | Free / ~$349 a year Pro | Useful when slope and shade matter |
Whatever you pick, the workflow is the same: trace the parcel, drop in the fixed constraints (the house, the well, the road), then place elements by zone and check that the daily paths are short and the access loops. A layout that reads well on screen — short trips, sensible lanes, water everywhere it is needed — almost always builds well on the ground. This is the same disciplined siting that drives larger projects like a solar farm design, scaled down to a homestead.
Putting the layout together
The order of operations is what keeps a plan honest. First, zone by frequency — rank every element by how often you visit it, so daily chores cluster near the house. Second, fix the bones — the barn within 50 feet of feed, the 16-foot lanes, the 1-2% drainage slope, the 20% room to grow. Third, lay the paddocks for rotation if you keep grazing animals: 2 to 3 acres per horse, four paddocks and a sacrifice lot, gates in the right corners. Fourth, draw it before you dig it — map the plan in a free tool and walk the paths on screen before you walk them with a posthole digger.
A farm laid out this way disappears into the background, which is the point. You stop noticing the layout because nothing fights you — and the hours you save on wasted trips go back into the work that actually grows food. Sibling pieces on agroforestry and farm infrastructure design pick up where the bare layout leaves off.
Frequently asked questions
How do I start laying out a small farm?
Start by ranking every element — garden, coop, barn, pasture, woodlot — by how often you visit it, then place the daily things closest to the house and the seasonal things at the edges. The permaculture zone system (0-5) is a clean framework for this. Fix the barn, water, and access roads next, then map it in a free tool before you build anything.
How many acres do you need per horse?
A general rule is 2 to 3 acres per horse for year-round grazing without heavy supplemental feeding; less productive pasture can need up to 5 acres. With rotational grazing and a sacrifice lot you can keep horses on fewer acres, but plan at least four paddocks plus one dry lot, and move horses off each paddock within seven days.
Where should the barn go on a farm?
Place the barn in the working core, within about 50 feet of feed storage, on well-drained ground graded to slope 1 to 2% away from the building. Group it with the buildings you use alongside it, keep livestock areas downhill of produce, and make sure a 16-foot access lane reaches it for trucks and machinery.
What is the best free farm layout planner?
fieldmargin is the most farm-specific free option — you can map a farm in about 30 minutes and add fences, gateways, buildings, and water. LiteFarm (free and open-source) adds crop and task records, Google Earth gives a free aerial base to sketch over, and Canva’s free templates make a clean visual site plan.
How big should paddocks be for rotational grazing?
Aim for at least one acre per horse per paddock and make them rectangular to encourage movement. A workable rotation needs a minimum of four paddocks plus a sacrifice lot, and a dry lot should provide at least 400 square feet per horse with shelter and water. Move animals before forage drops below 3 to 4 inches.
References
- Zones — Introduction to Permaculture — Oregon State University
- Farm Layout and Infrastructure — NC State Extension
- 7 Farm Layout Designs That Maximize Small Acreage — FarmstandApp
- Equine Facilities: Farm Design and Layout — Extension Horses
- How to Make Rotational Grazing Work on Your Horse Farm — Penn State Extension
- Planning your horse pasture site — University of Minnesota Extension
- Map and manage your farm — fieldmargin
- Software Tools for Small Farms — Young Agrarians