Key takeaways
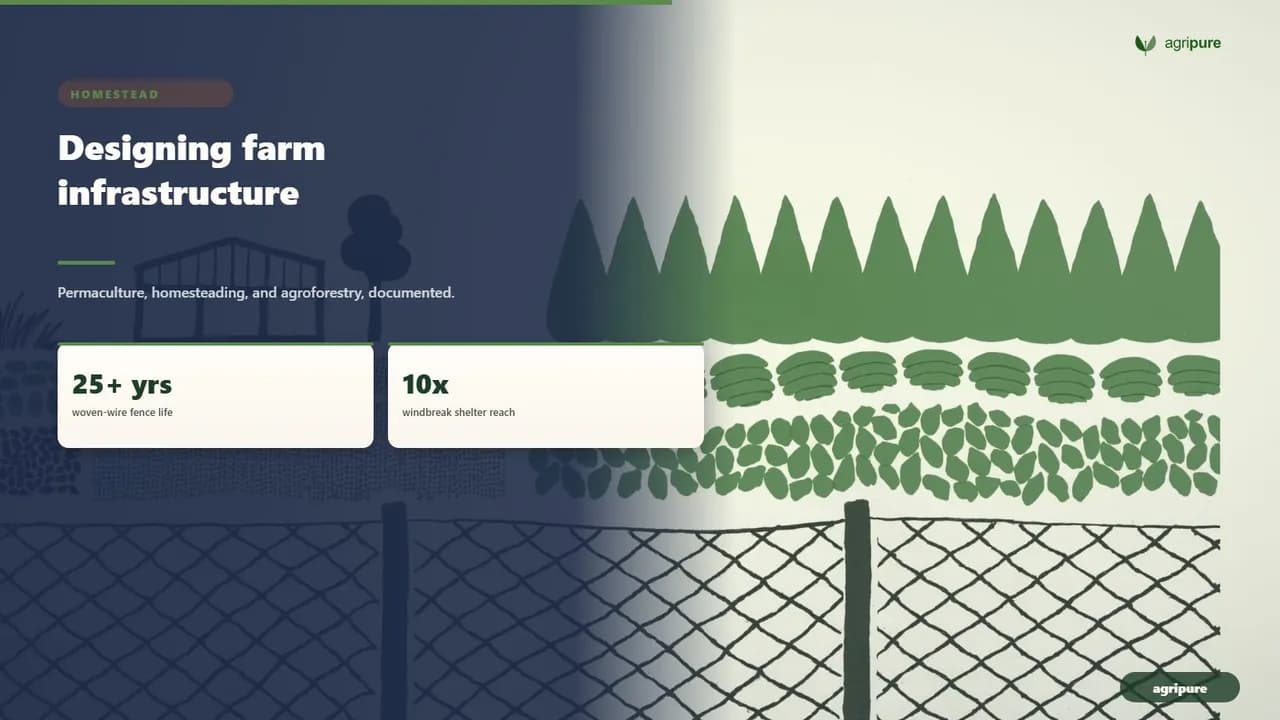
A modern farm at sunrise with a woven wire fence leading toward a farm shop with tall bay doors, sheltered by a multi-row windbreak.
Thoughtful farm infrastructure design, including durable fencing, appropriately sized shops, and strategic landscaping, creates resilient and efficient operations for decades.
- Match the fence to the livestock and the budget: woven wire for a strong perimeter, hi-tensile electric for cheap long runs, poly for temporary cross-fencing.
- Fence cost spans a wide range — roughly $0.09 a foot for temporary poly up to $5-8 a foot for installed woven wire that lasts 25+ years.
- Size the farm shop to the largest machine you will park in it: 24×32 for general work, 60×60 or larger for big equipment, with an 18-foot ceiling for door clearance.
- Wire a shop generously (outlets every 10 feet) and leave room to extend it end-to-end later.
- Landscaping is infrastructure: a 2-to-5-row windbreak shelters ground about 10 times its height downwind, and swales and drive aprons route water and traffic.
- Build the fences, shop, and plantings onto a layout you have already worked out, not the other way around.
“Fences, the shop, and the trees are the parts of a farm you build once and live with for 30 years. They reward thinking and punish guessing.”
Fences: match the wire to the animal
Fencing is usually the first real infrastructure money a new farm spends, and the most common mistake is treating it as one decision when it is really two: a strong perimeter that defines and secures the whole farm, and lighter cross-fencing that divides the interior into paddocks you can change. The perimeter wants permanence; the interior wants flexibility. Pick the wire for each job rather than fencing the whole place to the same expensive standard. This is the working layer that sits on top of the farm layout and planning you have already sketched.
The honest comparison is cost against durability and the animal you are containing. Woven wire (field fence) is the strong all-rounder: it holds everything from cattle to goats to poultry and lasts decades, but it is the priciest wire to install. High-tensile smooth wire, usually electrified, is far cheaper per foot and ideal for long perimeter runs and cattle. Barbed wire remains a low-cost cattle option. And temporary poly wire on step-in posts is how you cross-fence for rotational grazing, at pennies a foot, moved in minutes.
A woven-wire field fence with wooden corner posts running along the edge of a green pasture on a small farm
Woven wire on solid corner posts is the perimeter that contains almost anything, and the one you build to last.
What each fence type costs and lasts
The spread in cost is larger than most people expect. Construction-cost data from the Forage Systems Research Center puts woven wire around $1.54 a foot in materials and labor, 4-wire barbed near $0.81, hi-tensile 4-wire about $0.65, hi-tensile 2-wire about $0.32, and a temporary poly step-in line about $0.09 a foot. Fully installed by a contractor, woven/field fence commonly runs $5 to $8 a linear foot, and a Class 3 galvanized product can last 25+ years when it is properly braced and installed. The cheap fence that fails in eight years is more expensive than the good fence that lasts thirty.
Fence type | Best for | Rough cost | Lifespan |
|---|---|---|---|
Woven / field wire | Perimeter; cattle, goats, sheep, poultry | ~$1.54/ft material+labor; $5-8/ft installed | 25-35 years |
High-tensile (electric) | Long perimeter runs; cattle | ~$0.32-0.65/ft | 30-40 years |
Barbed wire | Low-cost cattle perimeter | ~$0.81/ft | 20-25 years |
Post-and-rail / board | Horses, road frontage, looks | ~$10-20/ft | 15-25 years |
Poly step-in (temporary) | Rotational cross-fencing | ~$0.09/ft | Seasons (movable) |
The farm shop: size it to the machine
That fence holds the line outside; the shop is where the farm stays active, where equipment gets fixed, projects get built, and tools live out of the weather. The single decision that drives every other is size, and the rule is simple: build for the largest machine you will ever pull inside, then add room to work around it. A shop that is one tractor-width too small becomes a very expensive carport.
Standard farm-shop footprints run from about 24×32 feet for general homestead work up through 48×56, while shops built to service real machinery are commonly 60×60 or 50×100. Ceiling height matters as much as floor area: an 18-foot ceiling leaves room for roughly a 16-foot overhead door once you account for the track curve, which is the clearance bigger equipment needs. Position the building so it can grow: an end-to-end addition is the most cost-effective way to expand later.
Interior of a metal-frame farm workshop with a concrete floor, a large open overhead door, a workbench, and a tractor parked inside
A working shop is mostly clear floor and headroom, built around the biggest machine driven into it.
Power, doors, and the apron
Inside, power is the upgrade nobody regrets: outlets every 10 feet around the walls are not too many, with dedicated welder circuits near the main doors. Doors set the workflow — a tall overhead or hydraulic door on the working end, sized to your equipment, decides what can come and go. And the shop does not stop at the wall: a staging apron of clear, well-drained ground out front (a 60-foot-wide shop wants at least 60 feet of it) lets you work on a machine half-in and half-out, and keeps mud off the slab. Pour drains and run conduit before the concrete, because retrofitting either means breaking the floor you just paid for.
Landscaping that does real work
Those buildings and fences handle shelter and stock; on a working farm, landscaping is the infrastructure that moves wind, water, and traffic. Three elements do most of the work, and each pays back in saved soil, lower bills, or fewer headaches. Done right, the working landscape is the cheapest infrastructure on the farm because it largely maintains itself once established.
The windbreak is the highest-value planting on most farms. A row of trees filters wind rather than merely blocking it. A USDA NRCS windbreak shelters a leeward distance of about 10 times its height (a 30-foot windbreak protects roughly 300 feet of ground downwind), and it works best at a porous 40-60% density rather than as a solid wall, which throws damaging eddies. Build it from 2 to 5 rows of mixed trees and shrubs (evergreens like spruce, pine, and cedar on the windward side for year-round shelter) and the planting cuts heating bills, protects crops and livestock, and manages drifting snow all at once.
A multi-row evergreen windbreak of spruce and pine along a farm field boundary, sheltering cropland, with a grassed swale in the foreground
A windbreak is a wind filter, not a wall: 2 to 5 porous rows shelter the ground for ten times their height downwind.
Water routing and traffic flow
The other two elements handle water and wheels. A swale (a shallow, level ditch on contour) catches and slows runoff so it soaks in rather than cutting gullies, recharging soil moisture on the slope below; on a homestead it doubles as a planting terrace. A drive apron of gravel or concrete where vehicles enter and turn keeps traffic off soft ground, stops the ruts and mud that swallow a farmyard every spring, and protects the one route everything travels. Space the windbreak by type (evergreens 12-20 feet apart, deciduous 10-16 feet, shrubs 3-6 feet) and route water and traffic deliberately, so the land works for you instead of against you.
Materials and budget tiers
That working landscape, the fences, and the shop all scale with budget, and it is fine to build this infrastructure in tiers as long as the bones are right. The trap is buying the cheapest version of something permanent; the smart move is staging what can be staged and not skimping on what cannot.
- Starter tier: a hi-tensile or barbed perimeter at well under $1 a foot, poly cross-fencing for grazing, a modest 24×32 shop, and a single windbreak row on the worst wind.
- Working tier: woven-wire perimeter at $5-8 a foot installed, a 40×60-or-larger shop with proper power and a graded apron, and a full 3-row windbreak.
- Full tier: board fencing on the road frontage, a 60×100 heated shop, swales across the slopes, and concrete drive aprons.
The order matters more than the budget: get the layout and the perimeter right first, because everything else is easier to add later than to move. The same staged thinking applies to specific buildings, whether that is a coop for backyard chickens or the movable shelters used when raising pastured chickens on rotation.
Putting the infrastructure together
Read as a sequence, the bones go in a sensible order. First, the perimeter fence defines and secures the farm: woven wire or hi-tensile electric, built once to last 25+ years. Second, the cross-fencing divides the interior for rotation, in cheap movable poly. Third, the shop goes up sized to the biggest machine, wired generously, with room to extend. Fourth, the working landscape (windbreaks, swales, and drive aprons) takes the wind, routes the water, and protects the traffic lanes.
None of it works in isolation, and none of it should be designed in isolation. Fences, the shop, and the plantings are the muscle on a skeleton, and that skeleton is the layout. Build the bones onto a plan you have already walked on screen, and the farm holds together for decades instead of fighting you for them.
@keyframes slide-up { from { opacity: 0; transform: translateY(20px); } to { opacity: 1; transform: translateY(0); } }
@media (prefers-reduced-motion: reduce) { .card { animation: none; opacity: 1; transform: translateY(0); } }
Frequently asked questions
What is the cheapest farm fence that still works?
For a permanent perimeter, high-tensile electric wire is the cheapest durable option, costing roughly $0.32 to $0.65 a foot in materials and labor, with a 30-40 year lifespan. For dividing pasture, temporary poly wire on step-in posts costs about $0.09 a foot and moves in minutes. Woven wire is the strongest but priciest at $5-8 a foot installed.
How big should a farm shop be?
Size it to the largest machine you will park inside, plus room to work around it. General homestead shops run 24×32 to 48×56 feet; shops servicing real machinery are commonly 60×60 or 50×100. Give it an 18-foot ceiling so a 16-foot overhead door fits, and position the building so you can add an end-to-end bay later.
How many rows does a farm windbreak need?
Two to five rows of mixed trees and shrubs is the effective range, with evergreens like spruce, pine, or cedar on the windward side for year-round shelter. Aim for about 50-60% density so the windbreak filters wind rather than blocking it solidly. A well-built windbreak shelters ground for roughly 10 times the tree height downwind.
What is a swale and does my farm need one?
A swale is a shallow, level ditch dug on contour that catches runoff and lets it soak into the ground instead of eroding the slope. On sloping land it recharges soil moisture below it and can double as a planting terrace. If water runs across your land and cuts channels, a swale is one of the cheapest fixes available.
Should I build fences or the layout first?
The layout first, always. Fences, the shop, and plantings are expensive to move once built, so they should follow a worked-out farm layout that places the barn, water, and access lanes sensibly. Map the plan, then build the perimeter, then the cross-fencing, shop, and working landscape onto it in that order.
References
- Fence Types/Cost Comparison — Powerflex Fence / Forage Systems Research Center
- Wire Fence Cost: Per-Foot Pricing by Mesh Type — Ergeon
- Windbreak/Shelterbelt Establishment (Conservation Practice Standard 380) — USDA Natural Resources Conservation Service
- Planting an Effective Windbreak: Trees, Spacing & Design Guide — Karsten Nursery
- Design Tips for a Long-Lasting Shop — DTN/Progressive Farmer
- Farm Shop Design Series: How Big to Build? — Morton Buildings