Key takeaways
- Crafting your own seed-starting mix can reduce costs by 50% or more compared to commercial blends.
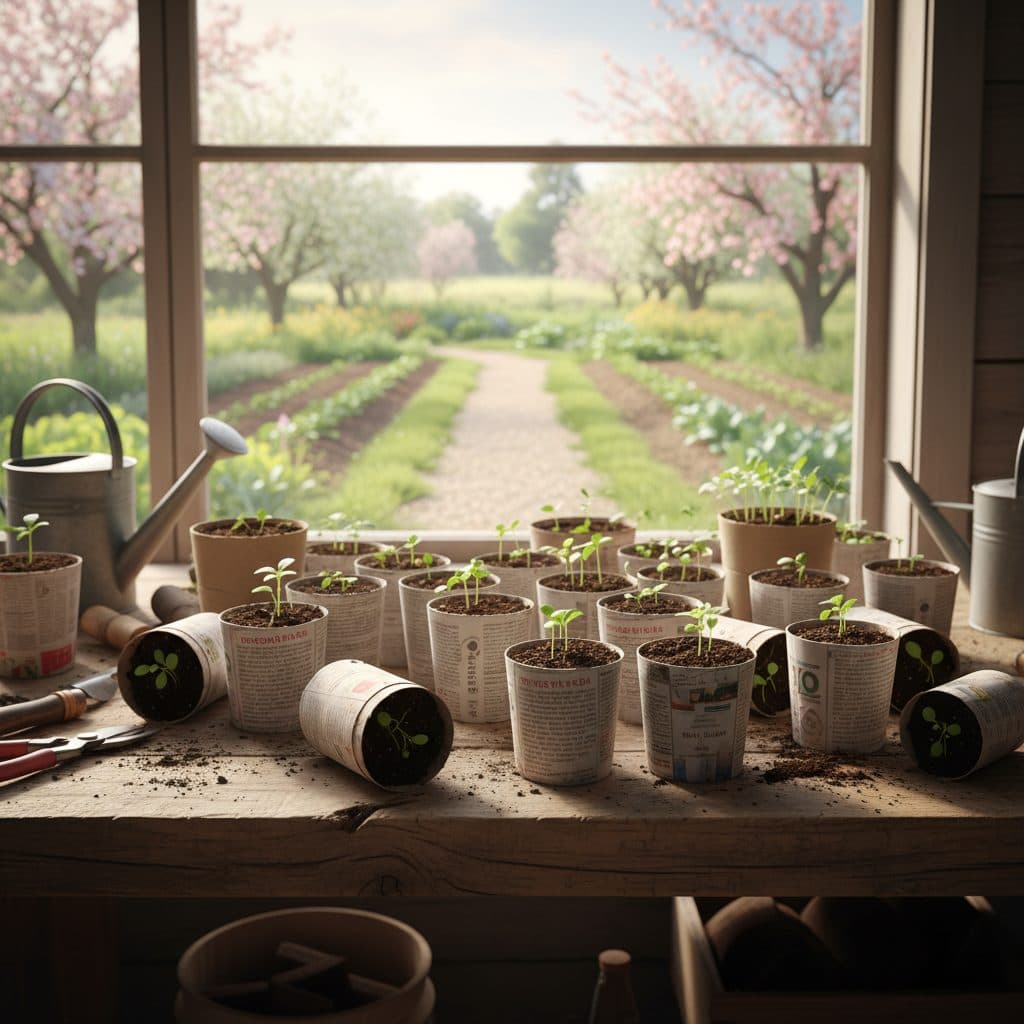
- Common household items like newspaper, toilet paper rolls, and plastic containers make effective seedling pots.
- A balanced seed-starting mix typically includes three parts peat moss, one part perlite, and one part vermiculite.
- Proper drainage and aeration protect seedling health and help prevent damping-off disease in young plants.
- Hardening off seedlings over seven to ten days before transplanting improves outdoor survival rates by up to 30%.
- Many plants, including tomatoes and peppers, thrive when started indoors in 2-inch pots for six to eight weeks.
Quick answer: You can make seed-starting mix and pots for under $10 by combining peat moss, perlite, and vermiculite, and using household items like newspaper and toilet paper rolls for pots. This method reduces costs and supports customized seedling growth.
In the northern reaches of USDA zone 6, where the last frost often lingers until late April, starting seeds indoors is a common practice for many growers. This method extends the growing season, allowing for earlier harvests of crops like tomatoes and peppers, and can significantly reduce the cost of establishing a garden. Buying pre-grown seedlings can cost $3 to $5 per plant, while starting from seed often costs less than $0.25 per plant, a savings of over 90% for a single season.
The expense of commercial seed-starting mixes and specialized pots can quickly accumulate, however, diminishing the financial benefits of growing from seed. For a grower looking to start 100 plants, purchasing a 16-quart bag of mix and 100 small plastic pots might cost $30 to $50. By utilizing readily available materials and simple recipes, you can create a high-quality seed-starting environment for a fraction of that price, often under $10 for the same volume of supplies.
The financial and practical advantages of DIY seed starting
For many growers across the US, from the humid summers of Florida (USDA zone 9) to the shorter seasons of Minnesota (USDA zone 4), starting seeds indoors offers significant control over plant varieties and timing. Beyond the satisfaction of nurturing a plant from its earliest stage, the primary driver for many is cost savings. A study from 2011 showed that careful budgeting influences success in small-scale agriculture [1]. When you consider that a 2-inch rose plant was listed for sale at $0.25 in 1903 [5], and today a similar plant can cost $5 to $10, the value of starting your own becomes clear.
Control over materials and plant health
Creating your own seed-starting mix allows you to tailor the soil composition to specific plant needs, avoiding unwanted additives or pests sometimes found in commercial products. This control can lead to stronger, healthier seedlings with a better chance of survival once transplanted outdoors. For example, a mix designed for peppers might have a slightly higher sand content for improved drainage, while a mix for basil could benefit from more compost. This level of customization is difficult to achieve with a single bagged product. Moreover, using materials you already have reduces waste and can be a fulfilling part of a broader homesteading effort.
- Cost reduction: Save up to 90% per plant compared to buying nursery starts.
- Ingredient control: Avoid unknown chemicals or inconsistent quality in commercial mixes.
- Pest prevention: Reduce the risk of introducing fungus gnats or disease spores often present in unsterilized commercial soils.
- Customization: Adjust mix ratios for specific crop requirements, such as a 3:1 peat-to-perlite ratio for most vegetables.
Crafting your own seed-starting mix
A good seed-starting mix needs to be light, well-draining, and retain enough moisture for germination without becoming waterlogged. Commercial mixes often contain peat moss, perlite, and vermiculite in varying proportions. You can replicate this effectively with bulk ingredients. A common ratio is three parts peat moss, one part perlite, and one part vermiculite. Peat moss provides a sterile, acidic base; perlite improves drainage and aeration; and vermiculite holds moisture and nutrients. When mixing, aim for a consistent texture that feels light in your hand, allowing for easy root penetration.
Sterilizing your mix for seedling health
Sterilization prevents damping-off disease, which can kill young seedlings. While commercial mixes are often sterilized, your DIY blend might contain fungal spores or weed seeds. To sterilize, spread your mixed ingredients on a baking sheet about 4 inches deep and bake at 200°F for 30 minutes. Ensure the internal temperature reaches 180°F for at least 30 minutes to kill pathogens without destroying beneficial microbes. After baking, let it cool completely before use. This process is especially important for delicate crops like lettuce or peppers, which are susceptible to early disease.
- Peat moss: Provides an acidic, sterile base, often 50% or more of the total volume.
- Perlite: Improves drainage and aeration, typically 20-30% of the mix.
- Vermiculite: Retains moisture and nutrients, usually 20-30% of the mix.
- Compost (optional): A small amount (up to 10%) can add nutrients, but ensure it’s fine and well-aged.
Budget pots from household items
Before the widespread availability of cheap plastic, growers utilized various materials for starting plants. Records from 1928 show shrubbery being sold from 2-inch pots [4], and even earlier, in 1929, methods for ‘lining out stock from pots’ were well-established [2]. You can replicate this resourcefulness today. Toilet paper rolls, newspaper, and plastic containers are excellent candidates for free or low-cost seedling pots. Toilet paper rolls can be cut into 3-inch sections, and their cardboard material eventually breaks down, allowing for direct planting into the garden bed without disturbing roots. This is particularly useful for plants sensitive to transplant shock, such as cucumbers or squash.
Preparing and using repurposed containers
When using repurposed plastic containers, such as yogurt cups (6 oz to 8 oz sizes work well) or milk jugs (cut into 4-inch sections), ensure they are thoroughly cleaned with a 10% bleach solution and rinsed. Drill or punch several drainage holes in the bottom of each container. Without adequate drainage, seedlings are prone to root rot. For larger seedlings, like tomatoes or peppers that might stay indoors for eight weeks, a 4-inch pot made from a cut-down plastic bottle provides ample space for root development. You can also create newspaper pots using a simple folding technique, forming a 2-inch by 2-inch pot that is biodegradable. For specific plant needs, such as growing celery, starting in a small pot and upsizing provides adequate room for roots.
- Toilet paper/paper towel rolls: Cut into 3-inch sections for biodegradable pots.
- Newspaper: Fold into 2-inch square pots, allowing roots to grow through.
- Yogurt cups: Cleaned 6-ounce to 8-ounce cups with drainage holes.
- Plastic milk jugs/bottles: Cut into 4-inch tall sections for larger seedlings.
Planting your seeds and initial care
When your seed-starting mix and budget pots are ready, you can plant. Fill your chosen containers with the prepared mix, gently firming it down to remove large air pockets, leaving about one-half inch of space from the rim. Most seeds should be planted at a depth of two to three times their diameter. For example, a tomato seed, which is about one-eighth inch across, should be planted about one-quarter inch deep. After planting, lightly water the soil from the bottom or use a gentle spray to avoid displacing the seeds. Consistent moisture is necessary for germination, with the soil feeling like a wrung-out sponge.
Providing optimal conditions for germination and growth
Seeds typically germinate best at temperatures between 65°F and 75°F. Many growers use heating mats to maintain a consistent soil temperature of 70°F, which can significantly improve germination rates for warm-season crops like peppers and eggplants. Once seedlings emerge, they require ample light, at least 12 to 16 hours per day. A south-facing window might suffice in some regions, but supplemental grow lights, positioned 2 to 4 inches above the plant tops, are often necessary to prevent leggy growth. Rotate your trays daily to ensure even light exposure. For plants like sunflowers, even in small pots, proper light supports healthy development [3].
- Planting depth: Two to three times the seed’s diameter, e.g., one-quarter inch for a one-eighth inch tomato seed.
- Moisture: Keep soil consistently moist but not waterlogged, like a wrung-out sponge.
- Temperature: Aim for 65°F to 75°F for most seeds, using a heating mat if needed to reach 70°F.
- Light: Provide 12 to 16 hours of light daily, with grow lights 2 to 4 inches above seedlings.
Hardening off and transplanting for success
After six to eight weeks indoors, your seedlings will be ready for the garden, typically when they have developed two to three sets of true leaves and outdoor temperatures are consistently above 50°F at night. However, moving them directly from a protected indoor environment to the harsh outdoor elements can cause severe shock. Hardening off prevents this shock. Over a period of seven to ten days, gradually introduce your seedlings to outdoor conditions. Start with one to two hours in a shaded, sheltered spot on the first day, increasing exposure daily. This process improves the survival rate of transplanted seedlings by up to 30%.
Transplanting your hardened seedlings
When the hardening off period is complete and the threat of frost has passed in your USDA zone (e.g., after May 15th in USDA zone 5), your seedlings are ready for their permanent home. Water your seedlings thoroughly a few hours before transplanting to ensure the root ball is moist. Dig a hole in the garden bed slightly larger than the seedling’s root ball. Gently remove the seedling from its pot, being careful not to damage the roots. If using newspaper or toilet paper roll pots, you can plant them directly. Place the seedling in the hole, backfill with soil, and water immediately to settle the soil around the roots.
- Timing: Transplant after six to eight weeks indoors, when seedlings have two to three true leaves.
- Temperature: Ensure outdoor night temperatures are consistently above 50°F.
- Gradual exposure: Start with one to two hours of outdoor shade, increasing daily over seven to ten days.
- Watering: Water thoroughly before and immediately after transplanting to reduce shock.
Cost comparison: Commercial vs. DIY seed-starting supplies for 100 plants
Item | Commercial Cost (approx.) | DIY Cost (approx.) |
|---|---|---|
Seed-starting mix (16-quart) | $15 – $25 | $5 – $10 (bulk peat, perlite, vermiculite) |
Seedling pots (100 x 2-inch) | $10 – $20 | $0 (repurposed materials) |
Heating mat (optional) | $20 – $40 | $0 (warm location, or one-time purchase) |
Grow lights (optional) | $30 – $100+ | $0 (south-facing window, or one-time purchase) |
Total estimated cost | $75 – $185+ | $5 – $10 (excluding one-time equipment) |
Cost Savings: Starting 100 seeds yourself can reduce initial plant costs from an average of $30 to $50 down to $5 to $10 for materials, representing a savings of up to 90%.
Germination Temp: Maintaining a consistent soil temperature of 70°F with a heating mat can increase germination rates for warm-season crops by 15% to 20%.
Frequently asked questions
How much does it cost to make your own seed-starting mix?
Making your own seed-starting mix can cost as little as $5 to $10 for a large batch (enough for 100 seedlings), significantly less than buying commercial mixes which can range from $15 to $25 for a 16-quart bag.
What are the best materials for DIY seedling pots?
Excellent materials for DIY seedling pots include toilet paper rolls cut into 3-inch sections, folded newspaper pots (2-inch squares), and cleaned plastic containers like 6-ounce yogurt cups or cut milk jugs, all with proper drainage holes.
How deep should I plant seeds in my DIY mix?
Most seeds should be planted at a depth of two to three times their diameter. For example, a small basil seed might go one-eighth inch deep, while a larger bean seed could be planted one-half inch deep.
How long do seedlings stay in small pots before transplanting?
Seedlings typically remain in small pots for six to eight weeks, or until they develop two to three sets of true leaves, before they are hardened off and transplanted to the garden.
Is sterilizing my DIY seed mix really necessary?
Sterilizing your DIY seed mix is highly recommended to prevent damping-off disease, which can kill young seedlings. Baking the mix at 200°F for 30 minutes to ensure it reaches 180°F internally, is an effective method.
What temperature is best for seed germination?
Most seeds germinate best in soil temperatures between 65°F and 75°F. Using a heating mat to maintain a consistent 70°F can significantly improve germination rates for many common garden vegetables.
References
- Budget (2011). Budget.
- Lining out stock from pots / (1929). Lining out stock from pots /.
- Growing sunflower plants from seed to seed in small pots in greenhouse (2008). Growing sunflower plants from seed to seed in small pots in greenhouse.
- Shrubbery from 2″ pots per 100 / (1928). Shrubbery from 2″ pots per 100 /.
- Price list of roses from 2 1-2 inch pots : spring 1903 / (1903). Price list of roses from 2 1-2 inch pots : spring 1903 /.
- From Efficient Markets Theory to Behavioral Finance (2003). From Efficient Markets Theory to Behavioral Finance.