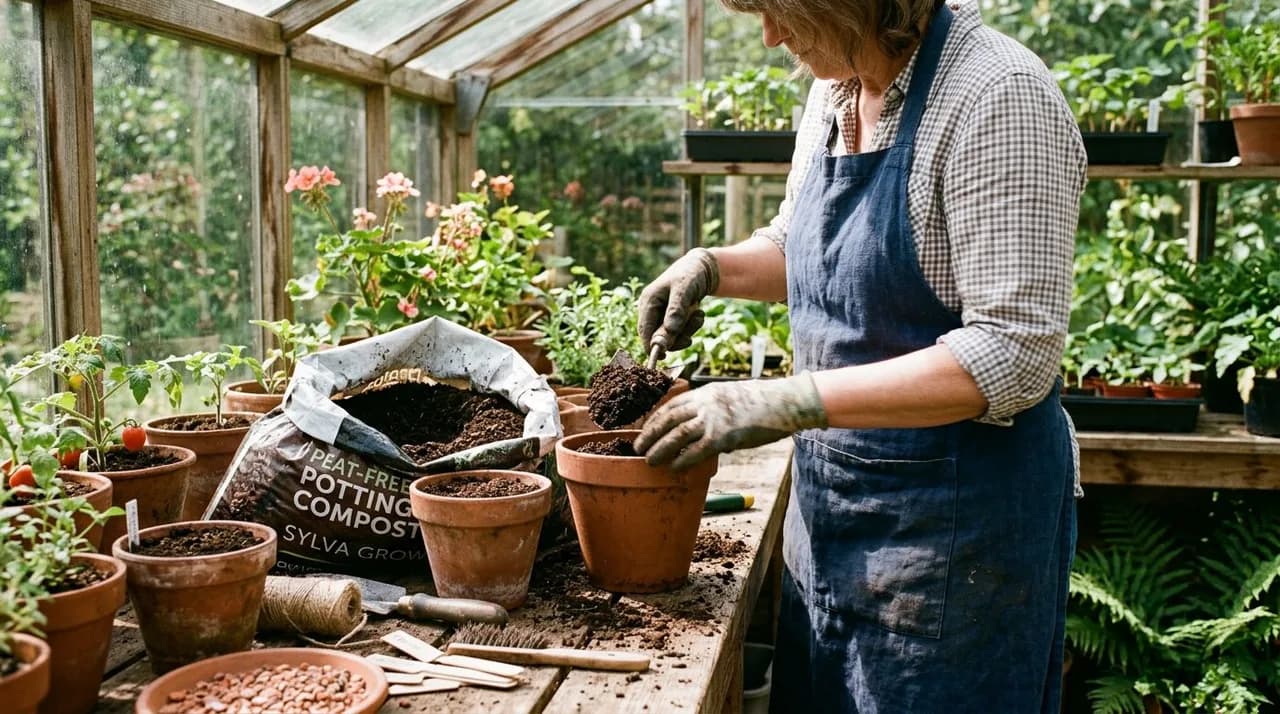
Key takeaways
- Peat-free compost protects delicate UK peatland bog ecosystems that act as vital carbon sinks and wildlife habitats.
- Quality peat-free mixes combine composted bark, wood fibre, coir (coconut pith), and green waste compost.
- The surface of peat-free compost dries out to a pale brown color quickly while the root zone below remains moist; always test moisture depth with your finger.
- Microbial decomposition of wood fibres can temporarily lock up nitrogen, requiring organic liquid feeding 3 to 4 weeks after potting on.
- Use dedicated, finely milled peat-free seed compost for starting fine seeds instead of coarse multi-purpose potting mixes.
Quick answer: Peat-free compost is a sustainable growing medium made from composted bark, wood fibre, coir, and green compost. To grow successfully, water based on root-zone moisture instead of pale surface appearance, and begin supplemental organic feeding 3 to 4 weeks after potting to compensate for nitrogen drawdown.
Across the United Kingdom, the horticulture industry and home gardeners are embracing a historic transition away from mined peat moss toward peat free compost. For decades, commercial potting composts relied almost exclusively on peat extracted from ancient lowland raised bogs and blanket mires.
While peat offered light weight and uniform moisture holding, its extraction destroyed rare wetland ecosystems and released massive amounts of stored carbon into the atmosphere. Moving to peat-free growing media cuts the demand that drives peat extraction, which is the part home gardeners can control.
However, peat-free compost behaves differently from traditional peat-based mixes. Modern blends have distinct physical textures, unique moisture-holding dynamics, and specific microbial nutrient interactions. Get the watering and the feeding right and peat-free mixes grow container crops, houseplants, and allotment vegetables just as well as peat did.
What is in peat-free compost: ingredients and structure
Modern peat-free growing media are engineered by blending several complementary organic and mineral components:
+-----------------------------------------------------------------------+
|                 TYPICAL PEAT-FREE COMPOST INGREDIENTS                 |
+-------------------+-----------------------+---------------------------+
| COMPONENT         | PRIMARY FUNCTION      | KEY CHARACTERISTIC        |
+-------------------+-----------------------+---------------------------+
| Composted Bark    | Aeration & Structure  | Free draining, stable     |
| Wood Fibre        | Porosity & Capillarity| Fibrous, moisture-moving  |
| Coir (Coco Pith)  | Water Retention       | Spongy, rewets easily     |
| Green Compost     | Nutrient Base & Micro | Rich in potash & biology  |
| Perlite / Grit    | Drainage Channels     | Inert mineral aeration    |
+-------------------+-----------------------+---------------------------+
1. Composted pine and forest bark
Composted bark provides structural stability and coarse aeration channels within the potting mix. It resists compaction, allows roots to breathe freely, and breaks down very slowly over the growing season.
2. Processed wood fibre
Manufactured by thermo-mechanically extruding softwood chips from forestry residues, wood fibre creates a light, spongy matrix with high capillary action. It wicks moisture through the pot and prevents waterlogged roots.
3. Coir (coconut pith and husk)
A natural byproduct of the coconut processing industry, coir is an effective moisture sponge. Unlike dry peat moss, which becomes hydrophobic and repels water, dry coir rewets far more readily.
4. Certified composted green waste (PAS 100)
Derived from municipal garden collections and estate prunings, quality green compost undergoes thermophilic pasteurization under strict PAS 100 standards to eradicate weed seeds and pathogens. It supplies organic matter, beneficial soil microorganisms, and background potassium and trace minerals.
For traditional backyard composting methods, see our guide to composting.
Watering in peat-free compost: the finger test
Watering management is the single most common stumbling block for gardeners accustomed to old peat mixes:
[ Visual Trap ]       -----> Surface turns pale, dry, and fibrous within hours
[ Subsurface Reality] -----> Root zone 2-3 cm down remains cool, damp, and well-watered
[ The Rule ]          -----> Push finger 2-3 cm into mix before adding water
The surface deception
Wood fibre and bark particles on the surface of a pot lose moisture rapidly when exposed to air currents and sunlight, turning a light, dry tan color within hours of watering. Inexperienced growers assume the pot is parched and pour on more water, resulting in waterlogged lower root zones and root asphyxiation.
How to water correctly
- The Finger Moisture Check: Insert your index finger 2 to 3 cm into the potting mix. If the medium feels cool and damp beneath the dry surface crust, do not water.
- Pot Weight Assessment: Lift the container slightly to gauge its weight. A well-watered pot feels heavy and balanced; a dry pot feels noticeably light.
- Slow, Thorough Soaking: When watering is required, apply water gently at the base of the plant until liquid drains freely from the bottom drainage holes to saturate the root ball.
- Discard Saucer Runoff: Never allow container pots to sit permanently in deep saucers of standing water, which induces anaerobic conditions.
Managing nitrogen drawdown and feeding schedules
Understanding the microbial biology of wood-based compost is vital for keeping plants vigorous and dark green:
+-----------------------------------------------------------------------+
|                       NITROGEN DRAWDOWN CYCLE                         |
+-----------------------------------------------------------------------+
|  Fresh Wood Fibres  +  Active Soil Bacteria  -->  Nitrogen Locked Up  |
|  (Microbes consume available nitrate to break down wood particles)    |
|                                                                       |
|  SOLUTION: Begin liquid organic feeding 3-4 weeks after potting on    |
+-----------------------------------------------------------------------+
Why nitrogen drawdown occurs
Wood fibre and bark contain high ratios of carbon to nitrogen. When potted plants are watered and kept warm, beneficial bacteria in the compost begin decomposing the fine wood fibres. To process this carbon, the microbes consume plant-available nitrate from the soil solution, temporarily locking it away in their biomass.
If supplemental fertilizer is not provided, heavy-feeding crops (such as tomatoes, chillies, brassicas, and courgettes) may develop pale green or yellowing lower leaves within four to six weeks of planting.
Organic feeding protocol
- Early Supplemental Feeding: Begin applying a balanced organic liquid feed (such as liquid seaweed extract, comfrey tea, or organic liquid tomato fertilizer) three to four weeks after potting on, instead of waiting six to eight weeks as was common with peat.
- Regular Dilute Applications: Feed weekly at half-strength during the peak summer growing season to supply a continuous, gentle stream of bioavailable nitrogen, potassium, and trace minerals. For broader soil nutrition ideas, see our guide on soil amendments demystified.
Seed starting vs potting on: choosing the right formulation
Matching the grade of peat-free compost to the plant's stage of development ensures vigorous growth:
[ Stage 1: Seed Sowing ]  -----> Fine-milled seed compost (low nutrients, fine texture)
[ Stage 2: Potting On ]   -----> Multi-purpose peat-free (medium structure, 4-week nutrition)
[ Stage 3: Perennials ] -----> Bark-rich potting mix with added loam (long-term stability)- Dedicated Seed Compost: Fine seeds (such as carrots, celery, and petunias) require a finely sifted, low-nutrient seed compost made from screened coir and fine wood meal. Using coarse multi-purpose compost for seed starting can expose tiny roots to physical gaps or excessive nutrient salts.
- Multi-Purpose Compost: Ideal for pricking out vigorous vegetable seedlings, potting up container tomatoes, and planting hanging baskets.
- Loam-Enriched Formulations (John Innes Alternatives): For permanent patio shrubs, fruit bushes, and perennial herbs, select peat-free mixes enriched with sterilised loam and grit. The mineral soil content adds weight to prevent top-heavy pots from blowing over in the wind and buffers moisture fluctuations.
Practical tips for allotment and container success
Maximize the performance of peat-free compost across your garden:
- Storage Care: Store bags of peat-free compost in a cool, shaded shed out of direct sunlight. High heat inside plastic bags can accelerate microbial activity and alter nutrient balance before use.
- Fluffing the Mix: When opening a compressed bag, empty the compost into a wheelbarrow or wide tub and fluff it thoroughly with your hands to break up any compacted lumps and re-introduce oxygen before filling pots.
- Combine with Mulches: Apply a top mulch of coarse bark grit or pea gravel over container surfaces to slow evaporation and suppress weed seeds. For allotment applications, see our guides on what to plant in April in the UK and potato blight management.