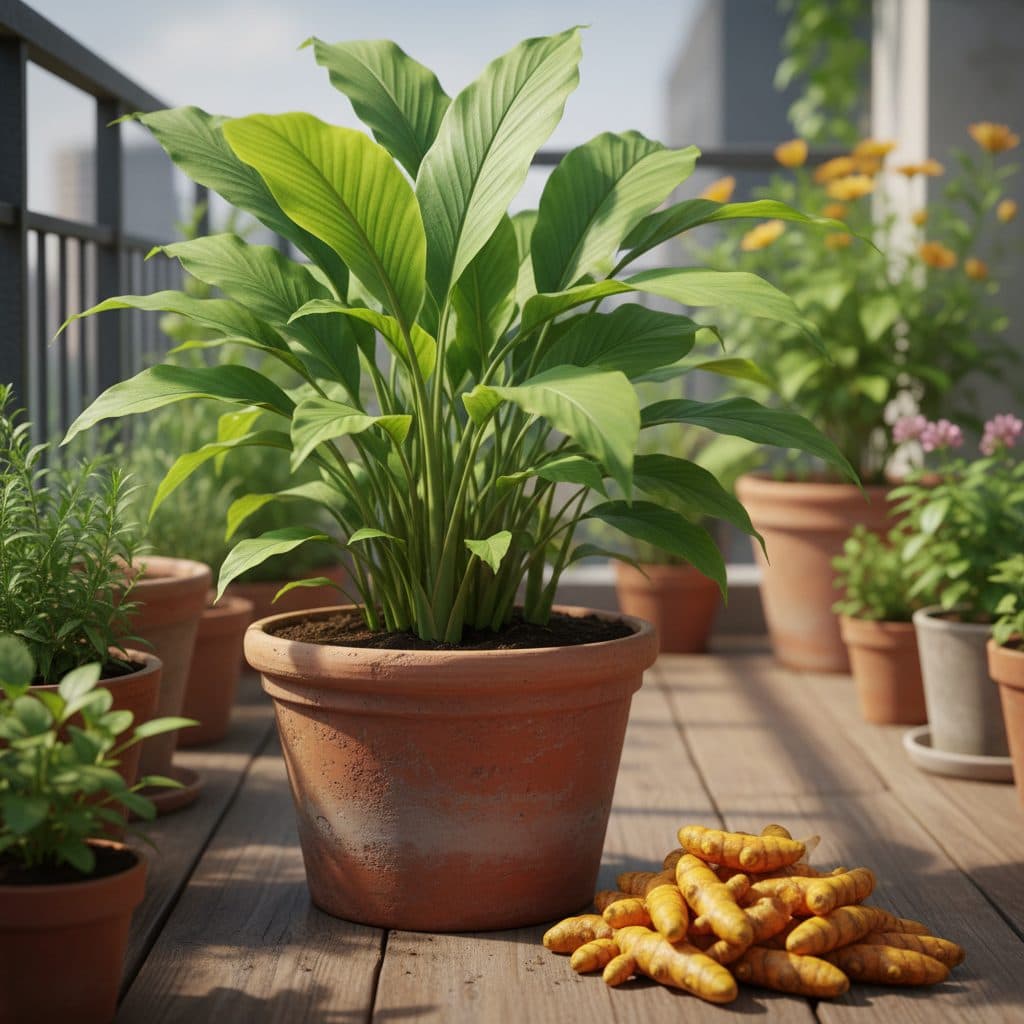
Key takeaways
- Select plump fresh mother or finger rhizomes showing active green eye buds for planting.
- Choose wide containers at least 30 cm deep and 40 cm to 50 cm wide to allow horizontal rhizome spread.
- Plant rhizomes in April to June (pre-monsoon) across Indian plains for an 8 to 9 month growth cycle.
- Use a loose, highly porous mix of garden soil, cocopeat, and vermicompost to prevent rhizome rot.
- Cease all watering in winter once the broad green leaves naturally yellow and collapse.
- Boil cleaned harvested rhizomes for 45 to 60 minutes before sun-drying to cure aromatic homemade haldi.
Quick answer: To master how to grow turmeric at home in India, plant plump fresh rhizomes 5 cm deep in wide, 30 cm deep grow bags between April and June. Use an equal mix of soil, cocopeat, and vermicompost, place in partial shade or morning sun, and harvest 8 to 9 months later when the foliage completely dries down in winter.
Turmeric, known universally in India as haldi (Curcuma longa), holds an irreplaceable place in Indian culinary traditions, Ayurvedic medicine, and cultural rituals. Growing your own haldi plant at home on a terrace garden or balcony is a deeply satisfying project that yields pure, yellow-orange rhizomes free from adulterants and industrial processing chemicals.
While turmeric is a resilient tropical perennial that thrives during the warm Indian monsoon, learning how to grow turmeric at home successfully requires patience and attentive container care. Turmeric demands a long growing season of eight to nine months, loose soil that expands easily around subterranean rhizomes, and reliable drainage to prevent soft fungal rot during heavy rains.
By selecting quality planting stock, preparing a spongy potting medium, and mastering traditional post-harvest boiling and sun-curing techniques, you can produce a year's supply of fresh, aromatic turmeric from a few pots.
+---------------------------------------------------------------------------------------+
|                       TURMERIC SOWING & HARVEST CALENDAR (INDIA)                       |
+------------------------------+-----------------------------+--------------------------+
| Region                       | Sowing Window               | Harvesting Period        |
+------------------------------+-----------------------------+--------------------------+
| North & Central Plains       | Mid-April to June           | January to March         |
| South & Coastal (TN, KL, KA) | April to June (Pre-Monsoon) | December to February     |
| East & Northeast             | April to May                | December to January      |
+------------------------------+-----------------------------+--------------------------+
Selecting and preparing turmeric rhizomes
Success with turmeric begins with selecting healthy seed rhizomes. Turmeric is propagated vegetatively from underground rhizomes rather than true seeds.
Types of rhizome stock:
- Mother rhizomes: The central, bulbous core of the root cluster. Mother rhizomes contain high nutrient reserves, produce vigorous initial shoots, and yield larger total harvests.
- Finger rhizomes: The cylindrical lateral branches that grow outwards from the mother core. Fingers are ideal for container planting and sprout reliably.
Always source fresh, plump, organic rhizomes from a trusted local nursery or organic farmer. Avoid conventional grocery store turmeric treated with sprout inhibitors or anti-fungal waxes.
To prepare rhizomes for planting:
- Inspect the rhizomes for small, raised bumps called "eyes" or growing buds.
- If rhizomes have not yet sprouted, wrap them in a damp cotton cloth or place them inside a paper bag with a handful of moist cocopeat in a warm, dark room for 7 to 10 days until green shoot tips emerge.
- Cut large rhizomes into 5 cm to 7 cm pieces, ensuring each piece possesses at least two to three plump, active eye buds. Allow the cut surfaces to air-dry for 24 hours to form a protective callous before planting.
If you are setting up companion container crops on your terrace, explore our guide on how-to-grow-lady-finger-in-pots.
Container selection and terrace placement
Unlike deep taproot vegetables, turmeric rhizomes expand horizontally near the surface of the soil, forming dense, multi-fingered clumps.
Container requirements:
- Depth and width: Choose wide rectangular grow bags or large pots that are at least 30 cm deep and 40 cm to 60 cm wide (25-litre to 35-litre capacity). A wide container provides room for lateral rhizome expansion without crowding.
- Material: HDPE fabric grow bags or traditional terracotta pots are superior to non-porous plastic because they allow airflow through container sidewalls, cooling root zones during intense summer heat.
- Elevation: Always place containers on pot stands or bricks to elevate them off your terrace floor, preventing waterlogging and protecting roof waterproofing membranes.
Turmeric prefers warm, humid conditions with filtered sunlight or morning sun. In regions where summer temperatures exceed 38°C (such as northern and central India), place containers under a 50% green shade net or in the dappled shade of larger fruit trees.
+--------------------------------------------------------------------------+
|                  POTTING MIX COMPOSITION FOR TURMERIC                    |
+--------------------------------------------------------------------------+
|  [ 35% Rich Vermicompost or Aged Cow Dung Manure (Nutrient Engine) ]     |
|  [ 35% Washed Cocopeat (Moisture Retention & Spongy Porosity) ]          |
|  [ 30% Fine Garden Soil / Red Soil (Mineral Structure & Weight) ]        |
|  [ + 2 Tbsp Neem Cake Powder + 1 Tbsp Wood Ash / Bone Meal per Pot ]     |
+--------------------------------------------------------------------------+
Formulating a spongy, well-draining potting mix
Turmeric cannot tolerate heavy, compacted soil. Heavy clay restricts rhizome development, producing small, deformed fingers, and leads to rhizome rot during monsoons.
Recommended pot mix formula:
- 35% Washed Cocopeat: Provides a spongy, light texture that lets rhizomes expand effortlessly.
- 35% Aged Vermicompost or Well-Rotted Cow Dung (Gobar Khad): Supplies balanced, slow-release nitrogen, phosphorus, and humic acids.
- 30% Good Quality Garden Soil: Provides mineral anchorage.
- Organic additives per container: Add 50 grams of neem cake powder (neem khali) to suppress pathogenic nematodes and soil fungi that target rhizome crops, plus two tablespoons of wood ash for potassium.
Step-by-step planting method
Plant turmeric between mid-April and early June, just ahead of the monsoon rains:
- Fill your container with the potting mix, leaving 5 cm of space below the container rim.
- Lay the rhizome pieces flat on the soil surface, spacing them 15 cm to 20 cm apart with eye buds pointing upward.
- Cover the rhizomes with 5 cm of fine potting mix or vermicompost.
- Water gently and thoroughly until water drips freely from the drainage holes.
- Maintain light moisture. Shoots will break through the soil surface within two to three weeks.
For rapid kitchen garden harvests while waiting for your turmeric to mature, review our collection of fast-growing-vegetables-in-india.
Seasonal care: monsoon management and nutrition
Turmeric goes through distinct growth phases that require tailored seasonal care:
+--------------------------------------------------------------------------+
|                  SEASONAL CARE CHECKLIST FOR TURMERIC                    |
+-------------------+------------------------------------------------------+
| Season            | Core Maintenance Action                              |
+-------------------+------------------------------------------------------+
| Summer (Apr-May)  | Keep soil consistently moist; provide light shade    |
| Monsoon (Jun-Sep) | Check drainage holes; top-dress with compost & neem  |
| Autumn (Oct-Nov)  | Apply potassium-rich feeds (wood ash / comfrey)      |
| Winter (Dec-Jan)  | Withhold all watering as foliage turns dry & brown   |
+-------------------+------------------------------------------------------+- Monsoon management: During heavy rains, ensure pots drain freely. Clear any blocked drainage holes immediately. If rain is non-stop for days, move pots temporarily under a covered porch or eave to avoid root suffocation.
- Earthing up and mulching: Apply a thick 3 cm mulch of dry leaves or sugarcane bagasse across the container surface in June. In August, as rhizomes begin swelling near the surface, "earth up" by adding a 3 cm layer of fresh vermicompost and soil over the base of the stems to give the swelling rhizomes loose material to expand into and to cover any that push up through the surface.
- Liquid feeding: Feed plants every 15 days during active monsoon growth with liquid jeevamrut, fermented mustard cake solution, or seaweed extract.
To protect other terrace garden perennials from extreme heat stress, check our management guide on container-gardens-summer-survival.
Harvesting home-grown turmeric
Turmeric requires 240 to 270 days (8 to 9 months) to reach full maturity. In most parts of India, planting in May leads to harvest between January and March.
Harvest indicators:
- The lush green foliage stops growing in late autumn, gradually turns yellow, and withers.
- The tall leafy stems collapse and dry completely down to brown papery stalks.
- Stop all watering when yellowing begins (around December); allowing the soil to dry out hardens rhizome skins and prevents rot.
To harvest, invert the container onto a clean tarp or gently tip the potting mix out. Sift through the loose mix with your hands to reveal large, golden rhizome clusters. Snap off the dry top stems and gently shake away clinging soil. A large, well-fed grow bag will usually give you a good clump of fresh rhizomes, enough for several months of kitchen use, though yields vary widely with pot size and season length.
Set aside the largest, healthiest mother rhizomes in a cool, dry, dark pantry to serve as planting seed for your next summer crop.
Traditional boiling and sun-curing process
While fresh turmeric can be used immediately for pickling, cooking, and fresh golden milk, converting your harvest into shelf-stable haldi powder requires traditional curing.
Curing steps:
- Washing: Soak fresh rhizomes in a tub of water for 30 minutes, then scrub thoroughly with a soft brush to remove all soil residues.
- Boiling: Boil cleaned rhizomes in water for 45 to 60 minutes until a broomstick or needle pierces them easily and the characteristic aroma rises. Use a stainless-steel or unchipped enamelled pot — never use copper, galvanised iron or poorly tinned brass, as the natural acidity of turmeric leaches metals into the batch.
- Sun-drying: Drain the boiled rhizomes and spread them in a single layer on clean cotton sheets or bamboo mats in bright, full sun. Dry for 10 to 15 days, turning the rhizomes daily.
- The snap test: Turmeric is fully cured when an individual finger breaks with a sharp, crisp snap between your fingers.
- Grinding and storage: Store whole cured fingers and grind small batches as needed — ground turmeric loses aroma and colour within about a year, while whole fingers keep much longer. Properly cured home-grown turmeric retains its flavour and essential oils for cooking and Ayurvedic use.
To diversify your terrace fruit trees alongside annual herbs, read our care instructions in how-to-grow-pomegranate-in-pot.