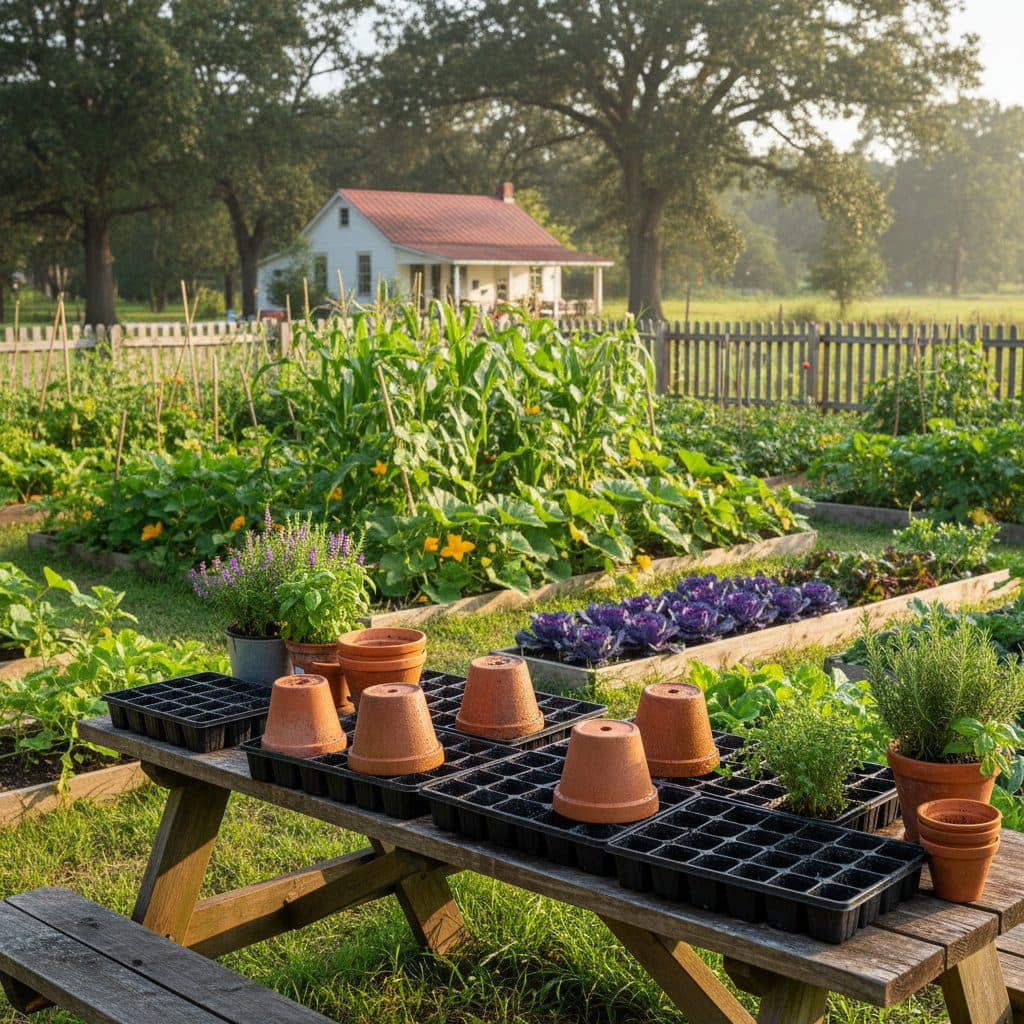
Key takeaways
- Sterilization drastically reduces common seedling diseases like damping-off, so more of the seedlings that do come up survive to transplant.
- Bleach solutions (1:9 ratio) are effective for plastic trays and pots, requiring a 30-minute soak.
- Heat sterilization in an oven at 180°F for 30 minutes effectively sanitizes seed-starting mix.
- Always clean debris from materials before sterilizing to ensure maximum effectiveness.
- Proper storage of sterilized items in sealed bags keeps them clean until you need them.
- New seed-starting mix can also harbor pathogens; consider sterilizing it for sensitive crops.
Quick answer: Sterilizing seed trays, pots and seed-starting mix removes the pathogen reservoir that carries damping-off from one season to the next, so it is worth doing before every sowing. It is prevention, not a yield guarantee — clean containers cannot raise the germination rate of the seed itself.
In the humid growing conditions of the Southeast, where temperatures often exceed 70°F for much of the spring, fungal diseases can devastate young seedlings. Damping-off, caused by pathogens like Pythium and Rhizoctonia, can wipe out an entire tray of newly sprouted plants within 24 to 48 hours. This common issue often starts with contaminated propagation materials or growing media.
An experienced grower knows that prevention is far more effective than treatment when it comes to seedling health. Sterilizing your seed trays, pots, and even your seed-starting mix is a foundational step that significantly reduces the incidence of early seedling diseases. This practice ensures your young plants begin their lives in a clean, pathogen-free environment, giving them the best possible start.
Why clean and sterilize your propagation materials?
Every season, countless home growers across USDA zones 3 through 10 face the disheartening sight of healthy seedlings suddenly collapsing at the soil line. This phenomenon, known as damping-off, is often the result of fungal or bacterial pathogens lurking in previously used trays, pots, or even the seed-starting mix itself. These microscopic organisms, including species of Pythium, Phytophthora, and Rhizoctonia, thrive in the warm, moist conditions ideal for seed germination, attacking tender young roots and stems.
understanding common seedling threats
Beyond damping-off, unsterilized materials can harbor a host of other issues, including algae, fungus gnats, and even overwintering insect eggs or larvae. These pests and pathogens can stunt growth, spread diseases to other plants, or simply outcompete your seedlings for resources. Fungus gnat larvae feed on root hairs and fine roots, and a heavy population will visibly set back a tray of seedlings. Half an hour of proper cleaning and sterilization removes most of the reservoir those problems come from.
- Damping-off fungi: Pythium, Phytophthora, Rhizoctonia, Fusarium
- Bacterial pathogens: Can cause root rot and stem lesions
- Algae: Competes for moisture and light, can indicate overwatering
- Fungus gnats: Larvae feed on roots, adults spread spores
- Weed seeds: Unwanted competition for resources
Sterilizing trays and pots: methods and materials
The first step in effective sterilization is thorough cleaning. Any visible soil, root fragments, or plant debris must be removed from trays and pots. For plastic items, a stiff brush and warm water are usually sufficient to remove most organic matter. Ceramic or terracotta pots, especially those used for larger plants, may require more scrubbing to dislodge mineral buildup. This initial cleaning step matters, as organic material shields pathogens from sterilizing agents — bleach in particular is rapidly consumed by the soil and root debris it meets before it reaches anything living.
chemical and heat sterilization options
For most home growers, a simple bleach solution is the most accessible and effective chemical sterilant. A 1:9 ratio of household bleach (5.25% sodium hypochlorite) to water, meaning 1 cup of bleach per 9 cups of water, creates a potent solution. Submerge cleaned plastic trays and pots completely for at least 30 minutes to ensure all surfaces are exposed. After soaking, rinse thoroughly with clean water to remove bleach residue, which could harm young plants, and allow them to air dry completely for 12-24 hours. For more on general seed starting, see Seed starting for beginners: mix, timing, and transplanting.
- Bleach solution (1:9): Effective for plastic, soak 30 minutes.
- Hydrogen peroxide (3%): Use undiluted for a 10-minute soak, less corrosive.
- Rubbing alcohol (70% isopropyl): Good for small tools and quick surface wipes.
- Boiling water: usable on heat-tolerant pots, but warm terracotta gradually first so thermal shock does not crack it, and remember that porous clay holds pathogens deeper than a single pour will reach.
- Dishwasher (hot cycle): can sanitize plastic trays, but scrub all soil off first and run them on their own — a machine you wash dishes in is no place for potting debris.
Sterilizing seed-starting mix: ensuring a clean foundation
While many commercial seed-starting mixes are labeled as sterile, they can become contaminated during transport, storage, or even from exposure to airborne spores in your growing area. For sensitive crops, or if you’re reusing potting mix components, sterilizing your mix provides an extra layer of protection. This is particularly important in regions like Florida, where high humidity and warm temperatures create ideal conditions for fungal growth.
oven and microwave methods for soil sterilization
The most common and effective method for sterilizing seed-starting mix at home is heat treatment. For oven sterilization, spread a 3-4 inch layer of moist (but not wet) mix on a baking sheet. Cover it loosely with aluminum foil to retain moisture. Set the oven to around 200°F and bake until a thermometer pushed into the middle of the mix reads 180°F, then hold it there for 30 minutes. Do not let it climb much past 200°F — overheated mix can turn phytotoxic. For smaller batches, a microwave can be used: place about 2 pounds of moist mix in a microwave-safe container, cover it loosely so steam can escape rather than sealing it, and heat on high in short bursts up to about 2.5 minutes. Never microwave a sealed container, never microwave dry mix, and pick out any metal fragments or wire ties first. Let it cool completely before use. Always allow sterilized mix to cool for several hours or overnight, as fresh heat can be detrimental to seeds.
- Oven baking: 180°F for 30 minutes, 3-4 inch layer.
- Microwave: 2.5 minutes per 2 pounds of moist mix.
- Solarization: Effective for larger outdoor batches in sunny climates (e.g., California), requires 4-6 weeks under clear plastic.
- Steaming: Less common for home use, but commercial growers use steam at 180-200°F for 30 minutes.
- Boiling water: Pouring boiling water over small amounts of mix can work, but can leave it too wet.
Best practices for maintaining a sterile propagation environment
Sterilizing your trays, pots, and mix is only part of the equation; preventing recontamination is equally important. Once materials are sterilized, they are highly susceptible to picking up new pathogens from the air, unwashed hands, or even contaminated watering cans. For example, a single airborne fungal spore can colonize a sterile medium within 24 hours under favorable conditions. Always handle sterilized items with clean gloves and store them in sealed plastic bags or containers until ready for use.
preventing recontamination and ongoing hygiene
When setting up your propagation station, choose a clean, dedicated area away from existing houseplants or garden soil, which can be sources of pests and diseases. Use fresh, clean water for irrigation. Letting tap water stand only helps where the utility uses free chlorine; many now use chloramine instead, which does not off-gas, so run it through a carbon filter if you want the disinfectant out. Regularly clean and sanitize your watering equipment, including watering cans and spray bottles, with a 1:10 bleach solution every 2-3 weeks. For optimal success, consider using new 24-cell seedling propagation trays each season, especially for high-value crops or if disease has been an issue in the past.
- Store properly: Keep sterilized items in sealed bags or containers.
- Clean hands & tools: Wash hands and sterilize tools (pruners, dibblers) before use.
- Dedicated space: Set up propagation in a clean, isolated area.
- Fresh water: Use clean, filtered water for irrigation.
- Monitor humidity: keep it around 50-60% once seedlings are up, which is dry enough to slow fungal growth without stressing the plants.
Comparison of Common Sterilization Methods for Propagation Materials
Method | Pros | Cons | Best For |
|---|---|---|---|
Bleach Solution (1:9) | Highly effective against fungi, bacteria, viruses; inexpensive. | Corrosive to some metals; requires thorough rinsing; strong odor. | Plastic trays, pots, hard surfaces. |
Hydrogen Peroxide (3%) | Less corrosive than bleach; breaks down into water and oxygen. | Less potent than bleach for some pathogens; shorter shelf life. | Plastic pots, small tools, quick sanitization. |
Oven Heat (180°F) | Kills most pathogens, weed seeds, and insect eggs; chemical-free. | Can produce odors; requires monitoring; ties up oven. | Seed-starting mix, small batches of soil. |
Boiling Water | Chemical-free; simple; effective for heat-tolerant materials. | Can warp plastics; less effective for porous materials like terracotta. | Ceramic/terracotta pots, small amounts of mix. |
Bleach Ratio: A 1:9 bleach-to-water solution is recommended for effective sterilization of plastic propagation materials, requiring a 30-minute soak.
Oven Temperature: Bring the middle of the mix to 180°F on a thermometer and hold it there for 30 minutes; keep the oven around 200°F and no hotter.
Frequently asked questions
How often should I sterilize my seed trays and pots?
It is best practice to sterilize all reusable propagation materials at the end of each growing season or just before starting seeds, especially if you’ve had disease issues. This ensures a clean start for the season ahead.
Can I reuse seed-starting mix after sterilizing it?
Yes, you can reuse seed-starting mix after sterilizing it, but its nutritional value will be depleted. Add fresh compost or a balanced fertilizer to replenish nutrients for optimal seedling growth, as heat treatment removes the beneficial soil biology along with the pathogens.
Is solarization effective for sterilizing seed-starting mix?
Solarization is effective for larger outdoor quantities of soil or mix, especially in warm, sunny climates like USDA zones 8-10. It involves covering moist soil with clear plastic for 4-6 weeks during the hottest part of the summer, reaching temperatures up to 140°F.
Will sterilizing my soil kill beneficial microbes?
Yes, heat sterilization methods like oven baking will kill most beneficial microbes along with pathogens. While this creates a ‘clean slate,’ it means your seedlings will rely entirely on external nutrients. Consider adding a beneficial microbial inoculant after the soil has cooled to reintroduce helpful organisms.
What precautions should I take when using bleach for sterilization?
When using bleach, always work in a well-ventilated area, wear gloves and eye protection to prevent skin and eye irritation. Never mix bleach with ammonia or other cleaners, as this can create toxic fumes. Rinse all materials thoroughly for at least 5 minutes after soaking.
How can I tell if my seed-starting mix is contaminated?
Contaminated seed-starting mix may show signs like green or white mold on the surface, a musty odor, or the presence of fungus gnats. If you observe these indicators, especially before sowing, it’s a good idea to sterilize the mix before sowing rather than gamble a whole tray on it.