Key takeaways
- Biochar, a stable form of carbon, improves soil fertility and structure by retaining nutrients and water.
- The US generates millions of tons of yard trimmings and wood waste annually, much of which can be converted to biochar.
- Simple DIY methods like burn pits or top-lit updraft (TLUD) kilns can produce biochar safely and effectively.
- Proper pyrolysis, typically between 300°C and 700°C, matters for creating high-quality biochar.
- Biochar can increase crop yields by 10-30% in degraded soils and reduce nitrogen leaching by 10-25%.
- Always quench biochar completely with water after pyrolysis to prevent uncontrolled burning and ensure stability.
Quick answer: Making biochar from yard and wood waste involves pyrolysis in a low-oxygen environment, like a DIY burn pit. This stable carbon enhances soil water retention, nutrient availability, and crop yields.
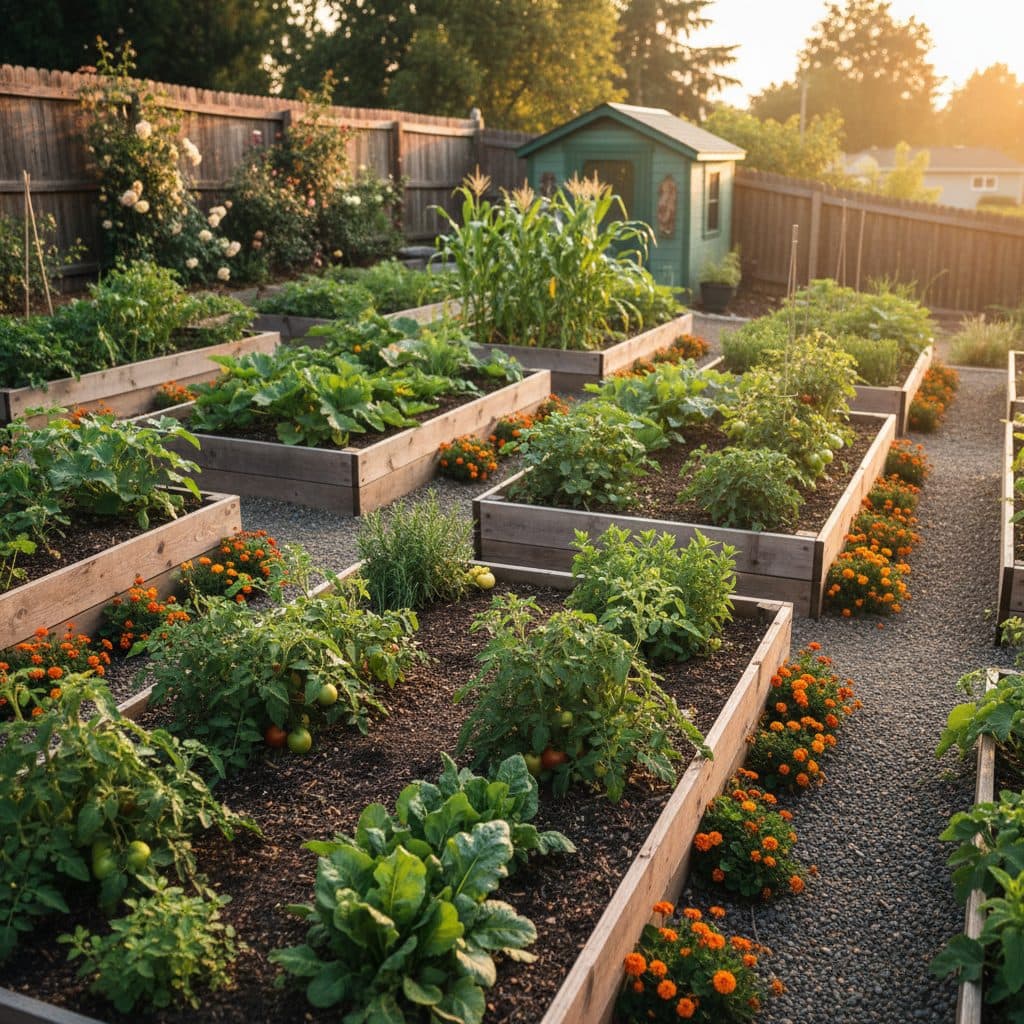
In regions like the Pacific Northwest, where heavy rainfall can leach nutrients from soil, or in the arid Southwest, where water retention is paramount, improving soil health is a constant effort for growers. One effective method gaining traction is the creation and application of biochar. This stable form of carbon, derived from organic materials like yard and wood waste, offers a long-term solution for enhancing soil fertility and structure.
The United States generates a substantial amount of organic waste each year; in 2018, for example, the country produced 35.4 million tons of yard trimmings and 18.1 million tons of wood waste [1]. Instead of sending these materials to landfills, where they decompose and release methane, we can convert them into a useful soil amendment. Making biochar cheaply with a DIY burn pit or kiln is a practical way for growers to transform their waste into a resource that can improve soil water retention by up to 20% in sandy soils [5].
Understanding biochar and its soil benefits
Biochar is essentially charcoal made for soil amendment. It’s produced through a process called pyrolysis, which involves heating organic material in a low-oxygen environment. This process converts carbon-rich biomass into a stable, porous material that resists decomposition for hundreds, if not thousands, of years. Unlike regular compost, biochar doesn’t break down quickly, offering long-term benefits to soil structure and nutrient cycling. For instance, biochar can increase soil pH in acidic soils by 0.5 to 1.5 units, making nutrients more available to plants [6].
Why biochar matters for your garden
The benefits of incorporating biochar into your garden or farm soil are numerous and well-documented. It significantly improves soil water retention, which is particularly useful in drought-prone areas or for sandy soils that drain quickly, potentially increasing water holding capacity by 20% [5]. Biochar also improves nutrient retention, reducing nitrogen leaching by 10-25% and keeping essential elements available for plant uptake [6]. Furthermore, its porous structure provides an ideal habitat for beneficial soil microorganisms. Studies show that biochar can increase crop yields by 10-30% in degraded soils [5].
- Improves soil drainage in heavy clay soils.
- Increases water retention in sandy soils by up to 20% [5].
- Boosts microbial activity, supporting a robust soil ecosystem.
- Reduces nutrient leaching, especially nitrogen, by 10-25% [6].
- Can increase soil pH by 0.5 to 1.5 units in acidic conditions [6].
Sourcing and preparing feedstocks
The quality of your biochar starts with the feedstock—the organic material you choose to pyrolyze. Ideal feedstocks are carbon-rich and relatively dry. Common sources include yard waste like branches, leaves, and grass clippings, as well as wood waste from construction scraps, untreated lumber, or fallen trees. In a typical suburban yard in USDA zone 6, you might generate 500-1,000 pounds of suitable material annually. Avoid treated wood, painted wood, or any material that might contain harmful chemicals, as these can release toxins during pyrolysis and contaminate your biochar.
Processing your yard and wood waste
Before pyrolysis, it’s beneficial to process your feedstock into smaller, more uniform pieces. This ensures a more consistent burn and higher quality biochar. A portable petrol wood chipper can quickly reduce branches up to 3 inches in diameter into manageable chips. For smaller materials, simply chopping them with an axe or loppers works well. Aim for pieces generally 1-3 inches in length and width for optimal results. Aged yard waste can also be used, though its properties may differ slightly from fresh waste, affecting the final biochar characteristics [4]. Drying your feedstock for several weeks, especially in humid climates like Florida, will improve the pyrolysis process and yield better biochar.
- Collect untreated wood scraps, branches, and woody yard waste.
- Avoid any treated, painted, or chemically contaminated materials.
- Chip or chop feedstock into 1-3 inch pieces for consistent pyrolysis.
- Ensure feedstock is dry; moisture content below 20% is ideal.
- Store processed feedstock in a dry place, such as a shed or covered pile, until ready for use.
Building and using a DIY burn pit
A simple burn pit is one of the most accessible ways to make biochar at home. This method relies on a ‘top-lit updraft’ (TLUD) principle, where combustion occurs at the top, and the heat drives pyrolysis downwards in a low-oxygen environment. You’ll need a metal barrel, typically a 55-gallon steel drum, with some modifications. Cut several 1-inch diameter holes around the bottom rim for air intake, and a few larger 2-inch holes near the top for smoke to escape. This setup creates a controlled burn that minimizes smoke and maximizes char production, yielding 10-15 pounds of biochar from a single burn.
The burn pit process for quality biochar
To operate your burn pit, place a layer of kindling at the bottom of the barrel, followed by your prepared feedstock, packed loosely but fully to about 80% capacity. Light the kindling from the top. The fire will slowly burn downwards, with the flames consuming the volatile gases released from the material below, leaving behind the solid carbon. Monitor the burn for 2-4 hours; you’ll see less smoke as the process progresses. Once the flames subside and you see glowing embers, it’s time to quench. Douse the entire contents with water until completely cool, ensuring no embers remain. This prevents the biochar from turning to ash and locks in its beneficial properties. A 55-gallon drum can produce 10-15 gallons of biochar per batch.
- Choose a safe, open area at least 15 feet from structures and dry vegetation.
- Prepare a 55-gallon steel drum with air holes at the bottom and top.
- Fill the drum with dry, chipped feedstock, leaving 10-12 inches from the rim.
- Light the top of the feedstock, allowing it to burn downwards for 2-4 hours.
- Quench the glowing char with water until completely cool and submerged.
Constructing a simple retort kiln
For those seeking a more controlled and efficient pyrolysis process, a simple retort kiln offers advantages over an open burn pit, particularly in minimizing smoke and maximizing char yield. A common DIY retort design involves two steel barrels: a smaller barrel (e.g., 30-gallon) placed inside a larger one (e.g., 55-gallon). The feedstock is loaded into the inner barrel, which is sealed. The outer barrel then acts as a combustion chamber, heating the inner barrel indirectly. This method ensures that the feedstock is pyrolyzed without direct flame contact, resulting in a purer biochar and often a higher yield, sometimes up to 25% by weight of the original feedstock.
Operating your two-barrel retort kiln
To use your two-barrel kiln, load the inner 30-gallon barrel with your prepared wood and yard waste, then seal it with a lid that has a small vent hole for gas escape. Place this inner barrel inside the larger 55-gallon barrel, propping it up on bricks or a metal stand to allow airflow underneath. Build a fire around and under the inner barrel using scrap wood or other fuel. The heat from this external fire will pyrolyze the material inside the sealed barrel. You’ll know pyrolysis is occurring when flammable gases ignite from the inner barrel’s vent hole, burning off cleanly. Maintain the external fire for 2-3 hours, or until the gas flame from the vent subsides. Allow the entire setup to cool completely overnight before opening the inner barrel and retrieving your biochar. This method can produce 20-30 pounds of biochar per batch.
- Acquire two steel barrels: a 30-gallon and a 55-gallon, both with lids.
- Vent the inner barrel lid with a small 0.5-inch hole for gas release.
- Load the inner barrel with feedstock and seal it tightly.
- Place the inner barrel inside the larger one, supported to allow external fire access.
- Build an external fire around the inner barrel, maintaining heat for 2-3 hours.
Activating and applying your biochar
Raw biochar, fresh from the kiln, is like a blank sponge. While it has a porous structure, it doesn’t immediately hold many nutrients. To maximize its benefits, you need to ‘activate’ or ‘charge’ it. This involves saturating the biochar with nutrients and microbial life before adding it to your soil. A simple method is to soak your biochar in a nutrient-rich liquid, such as compost tea, worm castings leachate, or even diluted liquid fertilizer. For example, soaking 5 gallons of biochar in a 1:10 dilution of fermented soybean meal organic fertilizer for 24-48 hours can effectively charge it.
Integrating biochar into your soil
Once charged, biochar can be incorporated into your garden soil. It is a soil conditioner, not a fertilizer, and it improves the effectiveness of other amendments. A common application rate is 5-10% by volume in the top 6 inches of soil, which translates to roughly 0.5-1 pound of biochar per square foot for a 6-inch depth. For new garden beds, you might mix it in at a rate of 10-20 gallons per 100 square feet. For existing plants, you can top-dress with a thin layer (0.5 inch) or incorporate it into planting holes. Biochar can also be added to compost piles or vermicompost bins, where it helps absorb odors and becomes charged with microbial life, improving the final compost product. Monitoring your soil pH and moisture with a 3-in-1 soil pH, moisture, and fertility meter can help you gauge the effectiveness of your biochar application.
- Charge biochar by soaking it in compost tea, worm castings leachate, or diluted liquid fertilizer for 24-48 hours.
- Mix charged biochar into garden beds at a rate of 5-10% by volume in the top 6 inches.
- For planting trees or shrubs, add 1-2 cups of charged biochar directly to the planting hole.
- Top-dress existing garden beds with a 0.5-inch layer of charged biochar and lightly rake it in.
- Incorporate biochar into your compost pile at a 5% volume ratio to enhance decomposition and nutrient retention.
Comparison of DIY Biochar Production Methods
Feature | DIY Burn Pit (TLUD) | DIY Retort Kiln (Two-Barrel) |
|---|---|---|
Complexity | Low (one 55-gallon barrel) | Medium (two barrels, more sealing) |
Smoke Emission | Moderate (can be smoky at start/end) | Low (gases burn cleanly after initial heat-up) |
Biochar Yield (by weight) | 10-15% of feedstock | 15-25% of feedstock |
Biochar Purity | Good (some ash contamination possible) | Very good (minimal ash contamination) |
Time per Batch | 2-4 hours (active burning) | 3-5 hours (active burning and cooling) |
Cost of Materials | Low ($20-$50 for barrel) | Moderate ($50-$100 for two barrels) |
Waste Reduction: The US generated 35.4 million tons of yard trimmings and 18.1 million tons of wood waste in 2018, much of which can be converted into biochar [1].
Yield Increase: Biochar application can lead to a 10-30% increase in crop yields in degraded soils, particularly in regions like the Central Valley of California [5].
Adsorption Capacity: Biochar can remove 80-95% of certain heavy metals or anions from aqueous solutions, demonstrating its pollutant adsorption capabilities [3].
Explore soil fertility products
Frequently asked questions
Is it safe to make biochar in my backyard?
Yes, it can be safe if done responsibly. Always check local fire regulations and burn permits, especially in dry regions like USDA zone 9. Ensure your burn pit or kiln is at least 15 feet from any structures or dry vegetation, and have a water source readily available to quench the char and extinguish any stray embers. Never leave a burn unattended, even for a few minutes.
What kind of wood and yard waste is best for biochar?
Untreated, unpainted, and unglued wood is ideal, along with woody yard waste like branches, corn stalks, or bamboo. Softwoods like pine or fir, common in the Southeast, can produce good biochar, as can hardwoods like oak or maple. Avoid materials that produce excessive ash or contain chemicals, as these can contaminate your biochar and negatively impact soil health. Aim for feedstock pieces 1-3 inches in size for consistent results.
How much biochar should I add to my garden soil?
A common recommendation is to incorporate biochar at 5-10% by volume in the top 6 inches of soil. For a new 100 square foot garden bed, this might mean mixing in 10-20 gallons of charged biochar. For established plants, you can top-dress with a 0.5-inch layer or add 1-2 cups to individual planting holes. Over-application isn’t typically harmful, but starting with a lower rate allows you to observe its effects.
How long does biochar last in the soil?
One of biochar’s most significant advantages is its long-term stability. Once incorporated into the soil, it can remain largely intact for hundreds to thousands of years. This means a single application can provide ongoing benefits to soil structure, water retention, and nutrient cycling for many growing seasons. Studies suggest its half-life can exceed 1,000 years in some soil types.
Can I use biochar in my compost pile?
Absolutely. Adding biochar to your compost pile, typically at a ratio of 5-10% by volume, can enhance the composting process. It helps absorb excess moisture and odors, particularly from nitrogen-rich materials like grass clippings, and provides a habitat for beneficial microbes. The biochar becomes ‘charged’ with nutrients and microbial life during composting, making it even more effective when applied to the garden soil.
What temperature is best for making biochar?
The ideal pyrolysis temperature range for biochar is generally between 300°C and 700°C (572°F and 1292°F) [4]. Lower temperatures (around 300-450°C) tend to produce biochar with higher volatile matter and surface area, while higher temperatures (above 600°C) result in more stable, carbon-dense biochar. For DIY methods, achieving precise temperature control is difficult, but aiming for a slow, smoldering burn with minimal smoke indicates a good range.
References
- System dynamics on wood and yard waste management (2020). System dynamics on wood and yard waste management.
- Shear Strength of Waste-Wood Biochar and Biochar-Amended Soil Used for Sustainable Landfill Cover Systems (2015). Shear Strength of Waste-Wood Biochar and Biochar-Amended Soil Used for Sustainable Landfill Cover Systems.
- Separation and recovery of anions from aqueous solution through iron oxide nanoparticle impregnated biochar derived from waste wood (2025). Separation and recovery of anions from aqueous solution through iron oxide nanoparticle impregnated biochar derived from waste wood.
- Biochar synthesis from aged versus fresh yard waste: Characterization of physicochemical, toxicity, and adsorption properties (2025). Biochar synthesis from aged versus fresh yard waste: Characterization of physicochemical, toxicity, and adsorption properties.
- FROM WASTE TO RESOURCE: WOOD WASTE BIOCHAR FOR SUSTAINABLE AGRICULTURE (2025). FROM WASTE TO RESOURCE: WOOD WASTE BIOCHAR FOR SUSTAINABLE AGRICULTURE.
- USDA Natural Resources Conservation Service (2024). USDA Natural Resources Conservation Service.