Key takeaways
- Never use unamended garden soil in containers; dense mineral soil compacts, restricts drainage, and suffocates root systems in pots.
- Build a classic soilless base using the classic three-part formula: one part peat moss or coco coir, one part aerator (perlite or pumice), and one part rich compost.
- Add agricultural lime or dolomite (1/4 to 1/2 cup per cubic foot of finished mix, roughly 1 tablespoon per gallon) to buffer peat acidity and add calcium and magnesium.
- Blend slow-release organic fertilizers (kelp meal, bone meal, and feather meal) to feed container plants steadily over several months.
- Pasteurize recycled potting mix by solarizing under clear plastic sheets or baking moist mix at 180°F (82°C) for 30 minutes to suppress weed seeds and pathogens.
Quick answer: Homemade potting soil is a custom-blended, soilless growing medium engineered specifically for containers, patio planters, and raised beds. A balanced DIY recipe combines a moisture-retentive base (sphagnum peat moss or washed coco coir), an aeration and drainage amendment (perlite, coarse sand, or pumice), and biologically active organic matter (aged compost or vermicompost), supplemented with organic minerals. Mixing potting soil at home costs significantly less than commercial bags and lets you tailor drainage and nutrition to specific crops.
Buying commercial bagged potting soil for extensive container gardens and patio planters can quickly become expensive. Furthermore, many budget-grade commercial mixes contain low-quality wood shavings, uncomposted forestry bark, or synthetic chemical wetting agents that degrade and compact within months.
Mixing your own potting medium gives you complete control over texture, porosity, moisture holding capacity, and organic nutrient density. Whether growing heavy-feeding heirloom tomatoes, delicate salad greens, or perennial container herbs, a properly balanced DIY mix ensures vigorous root aeration and steady growth.
Understanding physical soil fractions, balancing pH, incorporating slow-release organic amendments, and safely reconditioning old potting mixes allows you to produce premium container soil at a fraction of store-bought prices.
Why garden topsoil fails in containers
Gardeners often wonder why healthy topsoil dug straight from productive vegetable beds turns into hard, impermeable mud when placed in a pot.
+------------------------+-----------------------------------+-----------------------------------+
| Property               | Field Garden Topsoil              | Engineered Container Potting Soil |
+------------------------+-----------------------------------+-----------------------------------+
| Drainage Physics       | Continuous capillary subsoil pull | Perched water table at pot base   |
| Pore Space Retention   | Worms and roots maintain pores    | Compacts into solid block when wet|
| Oxygen Diffusion       | Natural lateral air exchange      | Roots suffocate from air loss     |
| Pathogen Risk          | Natural predator balance          | Soil-borne fungi multiply rapidly |
| Weight Profile         | Extremely heavy (dense minerals)  | Lightweight (porous aggregates)   |
+------------------------+-----------------------------------+-----------------------------------+
In open ground, gravity and deep subsoil layers continuously draw excess moisture downward. In a container, water drainage stops at the bottom holes, creating a "perched water table" where the lowest few inches remain saturated. An engineered potting soil relies on large, irregular particles to maintain macro-pore air channels even when fully soaked, allowing plant roots to breathe and absorb nutrients freely.
The classic three-part base recipe
The foundation of nearly all professional container media is the balanced three-part formulation:
+-------------------------------------------------------------------+
|               UNIVERSAL DIY POTTING MIX FORMULA                   |
+-------------------------------------------------------------------+
| [1 Part (33%)]  Moisture Retention: Peat Moss or Washed Coco Coir  |
| [1 Part (33%)]  Aeration & Drainage: Horticultural Perlite / Pumice|
| [1 Part (33%)]  Biological Fertility: Screened Compost / Worm Casts|
+-------------------------------------------------------------------+
+------------------------+-------------------+-------------------+-------------------------------+
| Component Category | Material Choices | Primary Function | Pros & Trade-offs |
+------------------------+-------------------+-------------------+-------------------------------+
| Moisture Retentive Base| Sphagnum Peat Moss| Holds water, acid | Cheap, acidic (requires lime) |
| Moisture Retentive Base| Washed Coco Coir | Neutral pH, holds | Sustainable, requires rinsing |
| Aeration Aggregate | Horticultural Perlite| Expands pore space| Ultra-light, dust can float |
| Aeration Aggregate | Coarse Pumice | Long-lasting pores| Heavier, stays put in mix |
| Organic Fertility | Screened Compost | Microbes, N-P-K | High biology, must be mature |
| Organic Fertility | Vermicompost | Enzymes, biology | Premium quality, concentrated |
+------------------------+-------------------+-------------------+-------------------------------+For biological enrichment, blending high-grade earthworm castings as detailed in vermicompost vs regular compost worms win adds beneficial microbial diversity that suppresses root pathogens and improves mineral uptake.
Mineral amendments and organic fertilizers
A basic peat-perlite-compost base provides excellent structure, but adding targeted natural mineral amendments ensures balanced nutrition throughout the season.
+-------------------------------------------------------------------+
|           MINERAL AMENDMENT RECIPE (PER 1 CUBIC FOOT MIX)         |
+-------------------------------------------------------------------+
| - Dolomite Lime:         1/4 to 1/2 cup (buffers peat, adds Ca/Mg)|
|- Bone Meal / Rock Phos: 1/2 cup (supplies phosphorus for roots)   |
|- Feather Meal:          1/4 cup (slow-release nitrogen; see text) |
|- Kelp Meal:             1/2 cup (potassium, trace minerals, PGRs) |
|- Greensand / Basalt:    1/2 cup (very slow K + multi-year trace)  |
+-------------------------------------------------------------------+
Use feather meal for slow-release nitrogen (1/4 cup per cubic foot). If substituting blood meal, halve the rate to avoid root scorch and keep it out of seed-starting and young-seedling mixes. If using coco coir instead of peat moss, reduce the dolomite lime by half, as coir naturally has a near-neutral pH (6.0 to 6.8). Learn more about selecting organic nutrients in our guide on soil amendments demystified.
Specialized mixes: seedlings vs heavy feeders
Different container crops benefit from adjustments to the base recipe:
+------------------------+-----------------------------------------------------------------------+
| Plant Category         | Custom Formulation Adjustment                                         |
+------------------------+-----------------------------------------------------------------------+
| Seed Starting Mix      | 50% Fine Peat/Coir + 50% Fine Perlite (Zero compost/fertilizer to    |
|                        | prevent burning tender roots and reduce damping-off risk).            |
| Heavy Vegetables       | 35% Coir + 30% Compost + 25% Perlite + 10% Aged Dehydrated Manure     |
| (Tomatoes, Peppers)    | plus standard mineral fertilizer blend.                               |
| Mediterranean Herbs    | 40% Coir/Peat + 40% Coarse Perlite/Grit + 20% Compost (Maximizes      |
| (Rosemary, Lavender)   | sharp drainage to prevent root rot).                                  |
+------------------------+-----------------------------------------------------------------------+
When propagating delicate seeds, master early seedling care with seed starting for beginners and pair moisture management with wicking bed soil mix depth.
Mixing, moistening and safety protocols
Always mix dry ingredients in a well-ventilated outdoor space or wear a dust mask (N95). Dry peat moss and perlite produce fine airborne particulate dust that can irritate respiratory pathways.
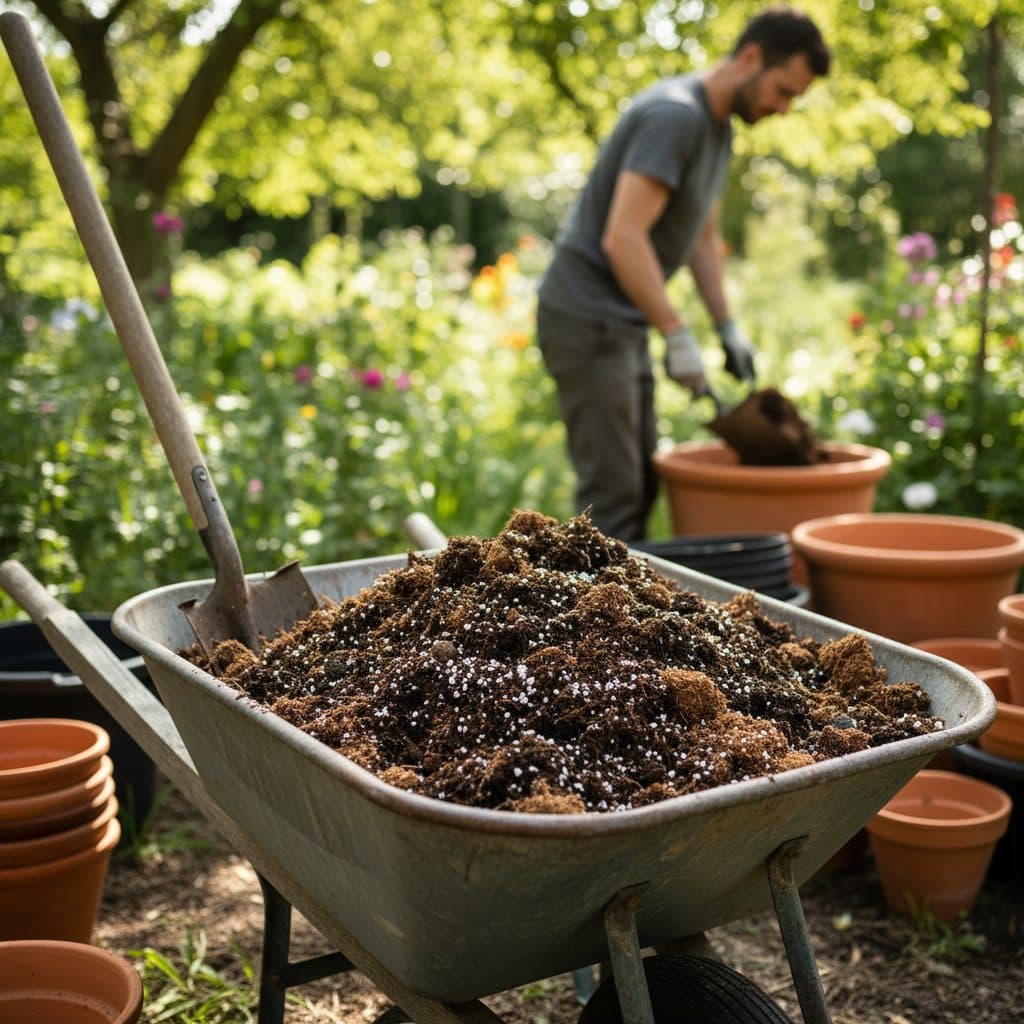
- Dump peat moss or coir into a large wheelbarrow or plastic mixing tub.
- Slowly add warm water and work the material with a shovel or garden fork until evenly moist (peat moss is hydrophobic when bone-dry and absorbs warm water much faster than cold).
- Add perlite, compost, and mineral amendments.
- Turn the pile four to five times until colors and textures are completely uniform.
- Squeeze a handful of the finished mix: it should hold together loosely without dripping excess water.
Reconditioning and reusing old potting soil
You do not need to throw away potting soil at the end of the growing season. Old mix can be rejuvenated:
- Dump used containers onto a clean tarp and remove thick root balls and spent plant debris.
- Solarize the soil by spreading it 4 inches deep under clear plastic in full sun for four to six weeks, typically peaking near 110-125°F (45-52°C), which suppresses many weed seeds, soil insects and some pathogens but does not sterilise the mix. (Alternatively, pasteurize small batches in an oven by placing moist mix in a covered pan at 180°F / 82°C for 30 minutes, never exceeding 200°F / 93°C to avoid releasing phytotoxic compounds).
- Recondition the volume by adding 25 percent fresh compost or vermicompost, 10 percent fresh perlite, and a fresh application of the mineral amendment blend.
- Test the moisture and store reconditioned mix in lidded plastic totes until spring planting begins.
Reconditioned mix performs well for most container crops, though it is best kept out of seed-starting trays, where residual pathogens matter most.