Key takeaways
- Operate compost tumblers in discrete batches rather than continuously adding fresh kitchen scraps to decomposing material.
- Maintain a carbon-to-nitrogen ratio of 2 to 3 parts dry brown materials (shredded cardboard, dry leaves) to 1 part green nitrogen scraps.
- Rotate the drum two to three times every three days to aerate aerobic bacteria without dissipating core heat.
- Maintain moisture at the "wrung-out sponge" consistency; soggy anaerobic tumblers produce foul odors and form dense, un-decomposed balls.
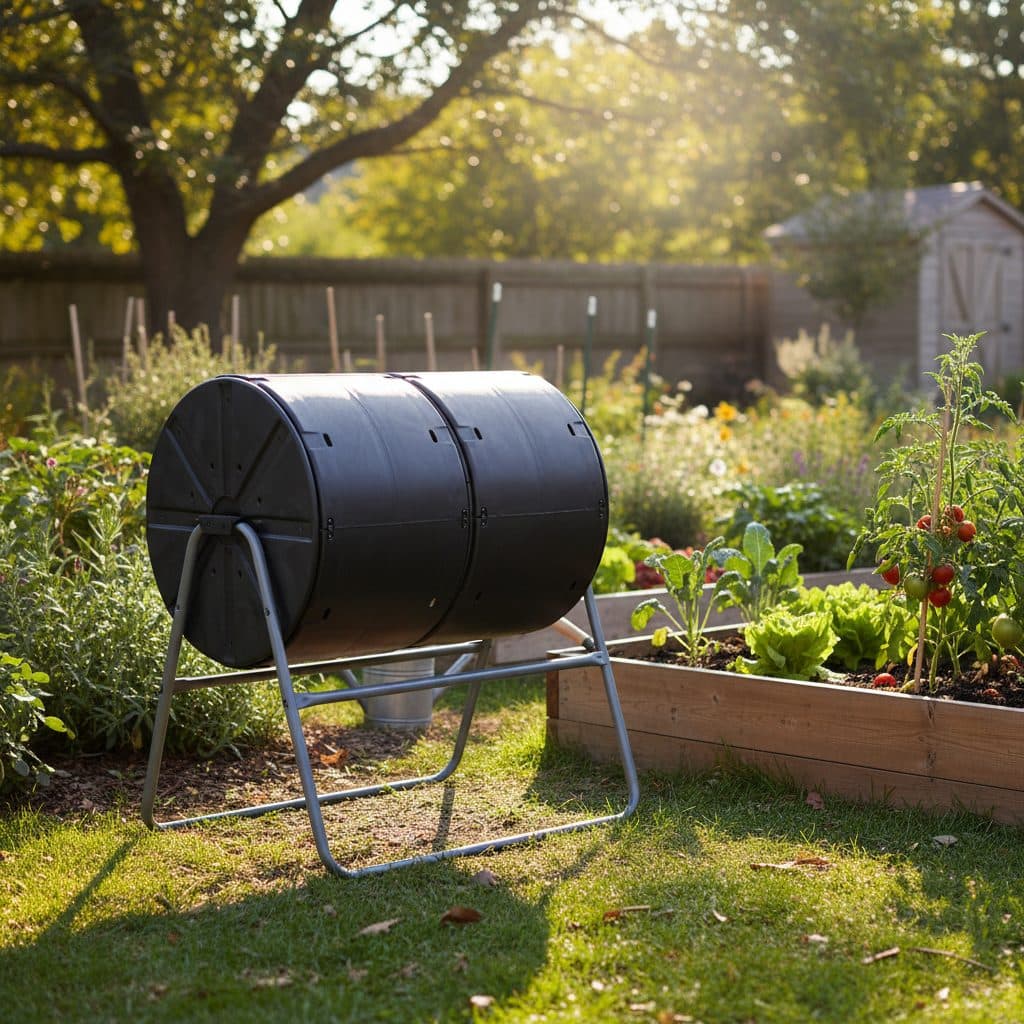
- Use a dual-chamber tumbler to allow one side to cure and finish for four to six weeks while actively filling the opposing chamber.
Quick answer: Knowing how to use a compost tumbler efficiently requires operating the drum as a sealed batch system with balanced 3:1 carbon-to-green inputs and controlled aeration. Fill the tumbler chamber until roughly two-thirds full with chopped kitchen scraps and shredded carbon, maintain moisture like a damp sponge, and rotate the drum two to three times every few days. Under warm summer conditions, active batch composting completes in 4 to 8 weeks.
Compost tumblers are popular in suburban backyards because their elevated, fully sealed drums deter rodents, raccoons, and neighborhood dogs while containing loose organic mess.
However, many gardeners struggle with their first tumbler, ending up with either a foul-smelling, soggy sludge or dry, inert material that refuses to heat up. Because a tumbler is an enclosed plastic or metal vessel off the ground, it lacks direct contact with soil microbes and earthworms.
By managing carbon-to-nitrogen ratios, regulating internal moisture, following a disciplined rotation routine, and curing finished batches properly, you can produce rich, crumbly compost in a fraction of the time required by passive ground piles.
Single chamber vs dual-chamber tumbler dynamics
Understanding how tumbler design affects batch mechanics is the first step toward consistent compost production.
+-------------------------------------------------------------------+
|                 TUMBLER CHAMBER DYNAMICS COMPARISON               |
|                                                                   |
| [Single-Chamber Tumbler]            [Dual-Chamber Tumbler]        |
| Continuous feeding resets clock     Chamber A: Actively filling   |
| Raw scraps mix with dark compost    Chamber B: Sealed & "cooking" |
| Requires dumping half-done batch    Continuous uninterrupted flow |
| Best for seasonal bulk cleanups     Best for daily kitchen scraps |
+-------------------------------------------------------------------+
+------------------------+-----------------------------------+-------------------------+
| Tumbler Design | Ideal Operating Method | Average Finish Time |
+------------------------+-----------------------------------+-------------------------+
| Dual-Chamber Horizontal| Alternate chambers monthly | 4 to 6 Weeks per side |
| Single Large Drum | Fill completely in 1 week; seal | 6 to 8 Weeks batch |
| Vertical End-Over-End | High leverage rotation; fast mix | 4 to 6 Weeks batch |
| Base-Roll Drum | Low height; heavy when full | 8 to 10 Weeks |
+------------------------+-----------------------------------+-------------------------+With a dual-chamber tumbler, fill Chamber A with daily kitchen scraps and dry carbon until it is two-thirds full. Then seal Chamber A completely to allow thermophilic decomposition to run its course while directing daily household food scraps into Chamber B.
The optimal carbon-to-nitrogen (C:N) recipe
A compost tumbler fails most often due to an excess of wet, nitrogen-rich kitchen waste without sufficient dry, fibrous carbon materials.
+-------------------------------------------------------------------+
|               TUMBLER INGREDIENT RATIO (BY VOLUME)                |
|                                                                   |
|   [================= 2 to 3 Parts BROWNS (Carbon) ================]
|   - Shredded unprinted corrugated cardboard (1-inch pieces)       |
|   - Dry autumn leaves, wood shavings, or straw                    |
|   - Coarse pine shavings or shredded brown paper bags             |
|                                                                   |
|   [----------------- 1 Part GREENS (Nitrogen) --------------------]
|   - Fruit & vegetable kitchen scraps, coffee grounds, tea bags    |
|   - Fresh green garden clippings & pulled weeds (seedless)        |
|   - 1 Handful of rich garden soil (seeds active microbes)         |
+-------------------------------------------------------------------+
+------------------------+-------------------+-----------------------------------------+
| Material Class | Carbon:Nitrogen | Role in Tumbler |
+------------------------+-------------------+-----------------------------------------+
| Vegetable Scraps | 15:1 to 20:1 | Supplies moisture & nitrogen food |
| Coffee Grounds | 20:1 | Dense nitrogen & thermophilic heat |
| Shredded Cardboard | 350:1 | Absorbs excess slime; creates air gaps |
| Dry Autumn Leaves | 60:1 | Balanced structural carbon |
| Pine Shavings / Coir | 400:1 | High porosity; resists wet compaction |
+------------------------+-------------------+-----------------------------------------+Always add two handfuls of shredded cardboard or dry leaves for every kitchen scrap container you dump into the drum. Chopping kitchen scraps into 2-inch pieces with a garden trowel dramatically accelerates microbial surface colonization.
Keep in mind that because outer tumbler wall margins often remain cooler than the central core, persistent weed roots (such as bindweed), tough weed seeds, and serious plant pathogens (such as late blight) can survive. Avoid adding persistent noxious weeds or heavily blighted foliage to home tumblers.
Discover biological heat dynamics and microbial succession in hot composting method and learn how to rebalance sour batches in rebalancing problem compost pile.
Moisture balance: preventing the "wet sludge" trap
Because tumblers are sealed to prevent rodent entry, moisture introduced via food scraps cannot drain away freely unless bottom weep vents remain clear.
+-------------------------------------------------------------------+
|                 MOISTURE ASSESSMENT CHECKLIST                     |
+-------------------------------------------------------------------+
| 1. Squeeze Test: Grab a handful of compost wearing a garden glove |
| 2. Dry / Dusty:  No water droplets appear; material falls apart   |
|    -> Action:    Sprinkle 2 to 4 litres of water; rotate drum     |
| 3. Ideal State:  1 to 2 drops of water squeeze through knuckles   |
|    -> Action:    Maintain current carbon-to-green balance         |
| 4. Soggy / Wet:  Water streams freely; foul sour sulfur odor      |
|    -> Action:    Add 4 dry quarts of shredded cardboard; leave open|
+-------------------------------------------------------------------+
Place a shallow catch tray or plastic tub underneath the tumbler's drain vents to collect dark, nutrient-rich leachate (compost tea) and prevent staining paved patios or attracting flies.
Excess moisture drives out oxygen, causing anaerobic bacteria to take over. This creates a dense, sticky, foul-smelling ball of sludge that rolls inside the drum without breaking apart.
For indoor countertop processing without moisture issues, see small space composting no odor and worm-based recycling in vermicomposting at home worm bin guide.
Rotation schedule and aeration mechanics
Rotating the drum injects oxygen into the center of the mass, feeding the aerobic thermophilic bacteria responsible for breaking down lignin and cellulose.
+-------------------------------------------------------------------+
|               ROTATIONAL SCHEDULE & SAFETY BEST PRACTICES         |
|                                                                   |
| - Safety Lock: Always engage the drum lock pin before opening     |
|                hatches to fill or unload to prevent sudden spin.  |
| - Frequency:   Spin the drum 3 to 5 full revolutions every 2 to 3 |
|                days during active heating.                        |
| - Over-Spin:   DO NOT spin daily or multiple times per day;       |
|                excessive spinning cools the core and tears hyphae.|
| - Internal Fins: Ensure internal mixing bars break up clumps.     |
+-------------------------------------------------------------------+
Spinning the tumbler too frequently (such as daily or multiple times a day) cools down the interior core and shreds beneficial fungal hyphae networks, preventing the pile from sustaining thermophilic temperatures (130°F to 150°F / 55°C to 65°C). Turn the drum just enough every 2 to 3 days to redistribute oxygen and break up surface mats.
Winter management and cold-weather care
In northern climate zones, sub-freezing ambient temperatures cause elevated compost tumblers to lose heat rapidly through their plastic walls, eventually freezing solid.
+------------------------+-----------------------------------+-------------------------+
| Winter Strategy        | Implementation                    | Benefit                 |
+------------------------+-----------------------------------+-------------------------+
| Solar Positioning      | Move tumbler into full winter sun | Absorbs radiant warmth  |
| Wind Protection        | Place against south building wall | Blocks chilling gales   |
| High-Nitrogen Boost    | Add fresh coffee grounds & sugar  | Rekindles thermal spike |
| The "Thaw & Finish"    | Allow freezing; resume in spring  | Zero maintenance cold   |
+------------------------+-----------------------------------+-------------------------+
Freezing does not ruin compost. The ice crystals rupture plant cell walls, which speeds up decomposition once the drum thaws during spring warming.
Troubleshooting common tumbler problems
+------------------------+-------------------+-----------------------------------------+
| Symptom                | Root Cause        | Corrective Action                       |
+------------------------+-------------------+-----------------------------------------+
| Ammonia / Rotten Smell | Too much nitrogen | Add shredded dry cardboard; turn drum   |
| Tumbler Cold / Inert   | Too dry or no N   | Add coffee grounds + water; check C:N   |
| Dense Solid Clump      | Excess moisture   | Break up with hand fork; add dry browns |
| Fruit Flies Inside     | Exposed food tops | Bury greens 4 inches beneath dry carbon |
| Ants Colonizing Drum   | Pile is too dry   | Moisten thoroughly and rotate drum      |
+------------------------+-------------------+-----------------------------------------+
Always avoid putting grass clippings treated with selective broadleaf lawn weedkillers into your tumbler, as persistent synthetic chemicals survive decomposition and damage garden vegetables, as detailed in persistent herbicide compost contamination.
Harvesting, screening and curing finished compost
When the material inside the chamber turns dark brown, crumbly, and smells like fresh forest earth, the active phase is complete.
+-------------------------------------------------------------------+
|               HARVESTING & CURING WORKFLOW                        |
|                                                                   |
| 1. Lock Drum:    Engage safety pin with hatch facing downward     |
| 2. Dump Compost: Roll wheelbarrow directly beneath tumbler hatch  |
| 3. Sieve Mesh:   Pass compost over 1/2-inch hardware cloth screen |
| 4. Return Coarse: Put un-decomposed twigs back into active chamber|
| 5. Cure 2 Weeks: Let sifted compost rest in a breathable bin      |
| 6. Garden Use:   Top-dress vegetable beds and container plants    |
+-------------------------------------------------------------------+
Allowing finished compost to cure for two to three weeks stabilizes nitrogen compounds and ensures earthworms and mycorrhizal fungi colonize the matter before applying it around tender vegetable roots.