Key takeaways
- Hard seed coats prevent water absorption, delaying or stopping germination for many species.
- Scarification physically breaks or weakens the seed coat, allowing moisture to reach the embryo.
- Common scarification methods include gentle abrasion with sandpaper, nicking with nail clippers, or hot water soaks.
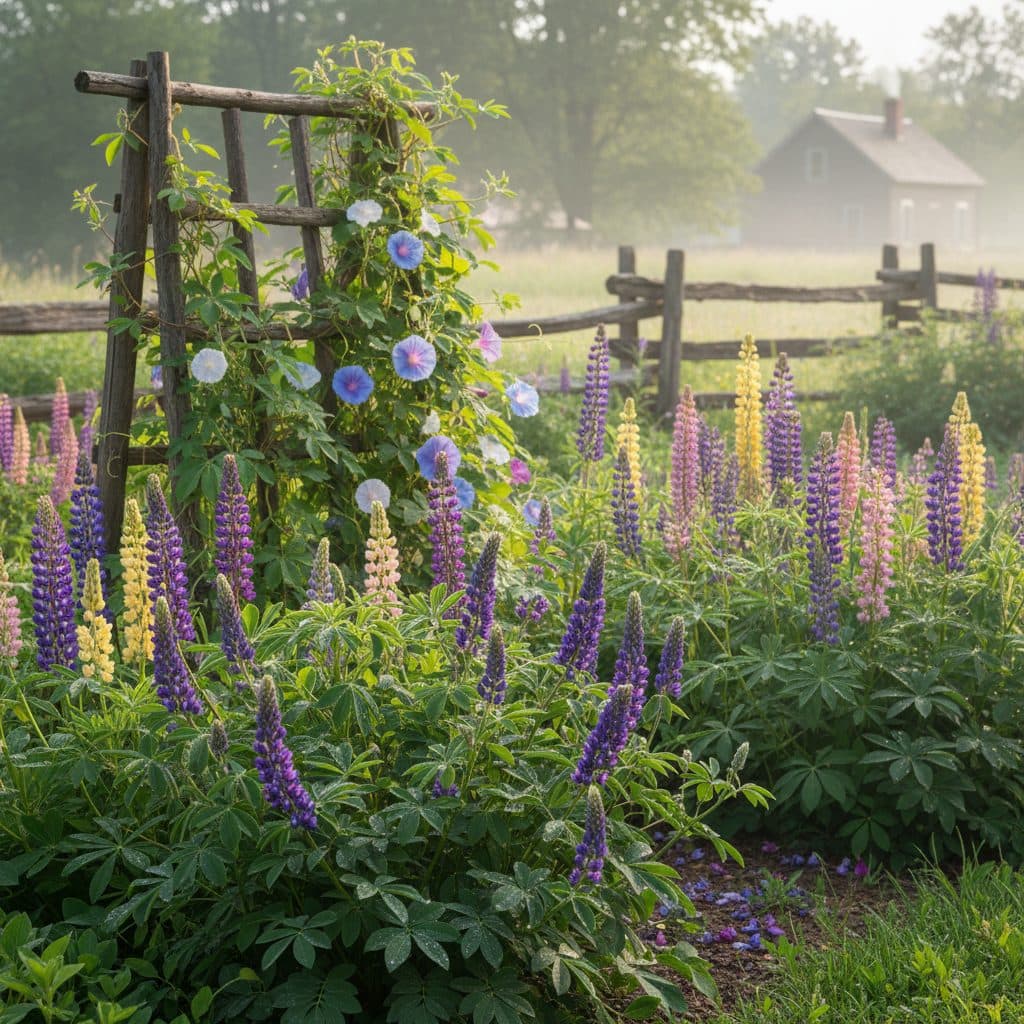
- Lupine, morning glory, and baptisia are prime candidates, often germinating far more reliably and much sooner after treatment.
- Proper technique avoids damaging the delicate seed embryo and keeps success rates high.
- Scarified seeds typically germinate within 7-14 days, a significant reduction from weeks or even months.
Quick answer: Scarification is a technique that physically breaks or weakens the hard outer coat of seeds, such as lupine, morning glory, and baptisia, allowing water to penetrate and significantly increasing germination rates and reducing germination time.
In the temperate climates of the Pacific Northwest and across much of the US, gardeners often face challenges with certain flowering plants, like lupines, that are slow to emerge. Many seeds, particularly those from arid or seasonally dry regions such as the American Southwest, have evolved with a tough outer shell to protect the embryo and prevent premature germination. This hard coating, called the testa, acts as a formidable barrier to water absorption, which is the first step in germination.
For species like morning glory (Ipomoea purpurea), baptisia (Baptisia australis), and many legumes, this natural defense mechanism means that simply planting them in soil might result in poor and very uneven germination over several weeks or even months. To overcome this hurdle and achieve a more reliable sprout, growers employ a technique called scarification. This process involves physically or chemically breaking down the seed coat, allowing moisture to reach the embryo and kickstart growth, often reducing germination time from 60 days to just 7-14 days.
Understanding hard seed coats and dormancy
Many plants, especially those native to regions with unpredictable rainfall or harsh winters, have seeds designed for survival. This survival mechanism often includes a hard, impermeable seed coat that prevents water and oxygen from reaching the embryo, a condition known as physical dormancy. For instance, the seeds of some Lupinus polyphyllus varieties, common in USDA zones 4-8, can resist water for years, waiting for the perfect conditions to sprout. This ensures that not all seeds germinate at once, spreading the risk of adverse weather conditions over several growing seasons. Without intervention, a batch of these seeds might only achieve a 15-20% germination rate in the first year, with the rest remaining dormant.
the evolutionary advantage of dormancy
The evolutionary advantage of a hard seed coat is clear: it protects the delicate embryo from desiccation, predation, and premature germination during unfavorable conditions. For a plant like the wild senna (Senna hebecarpa), found widely in the eastern US, this dormancy can mean the difference between extinction and survival in a drought year. However, for the home gardener in USDA zone 6 aiming for a bed of blue false indigo (Baptisia australis) in the spring, this natural defense becomes a significant barrier. Overcoming seed dormancy matters for successful propagation, especially for native species and cover crops. By understanding this natural process, growers can mimic the environmental cues—like abrasion from soil particles or the heat from a wildfire—that would naturally break dormancy, which raises germination rates.
- common hard-coated seeds:
- lupine (Lupinus spp.)
- morning glory (Ipomoea purpurea)
- baptisia (Baptisia australis)
- sweet pea (Lathyrus odoratus)
- nasturtium (Tropaeolum majus)
Mechanical methods for breaking dormancy
Mechanical scarification is one of the most accessible and effective methods for home gardeners. It involves physically abrading or nicking the seed coat to create a small opening, allowing water to penetrate. This method is particularly suitable for larger seeds, such as those from lupines or sweet peas, which are typically 0.1 to 0.3 inches in diameter. The goal is to create a tiny breach without damaging the internal embryo, which is usually located opposite the hilum (the seed’s attachment point). Using a piece of 100- to 200-grit sandpaper is a common approach; gently rub the seed against the abrasive surface for a few seconds until a slight color change or a small, dull spot appears. This indicates the coat has been thinned sufficiently.
precision tools for seed scarification
For even greater precision, especially with seeds like Ipomoea purpurea (morning glory) that are about 0.25 inches across, a pair of small nail clippers or a sharp craft knife can be used. Carefully nick the seed coat on the side, away from the embryo, being mindful not to cut too deeply. You should hear a slight ‘pop’ or feel a slight give as the coat is breached. Inspect each seed for a visible break in the coat. This process can be surprisingly quick; an experienced grower can scarify 50-100 seeds in under 10 minutes. After scarification, a quick soak in room-temperature water for 12-24 hours can help identify successfully treated seeds, as they will swell to two or three times their original size. Any seeds that do not swell may require a second, gentle treatment.
- essential tools for mechanical scarification:
- fine-grit sandpaper (100-200 grit)
- small nail clippers or craft knife
- tweezers (for holding small seeds)
- magnifying glass (optional, for inspection)
- small bowl for soaking
Hot water treatments for tough seed coats
For certain seeds, particularly those with exceptionally hard coats or those that benefit from mimicking natural fire conditions, hot water scarification can be highly effective. This method is often used for legumes, including some varieties of Baptisia australis (blue false indigo) that thrive in USDA zones 3-9, and various acacia species. The process involves pouring hot, but not boiling, water over the seeds. The ideal water temperature should be between 170°F and 200°F (77°C and 93°C). Use a thermometer: heat the water to about 180°F, or let boiled water stand off the heat until it falls into that range, before pouring it over the seeds. Using a thermos or an insulated container can help maintain a consistent temperature during the initial soak.
soaking duration and temperature control
Place the seeds in a heat-proof container, then immediately pour the hot water over them, ensuring the seeds are fully submerged. Label the container and keep it out of reach of children and pets: lupine, baptisia, sweet pea and morning glory seeds are all poisonous if eaten, and swollen soaked seeds sitting in a kitchen bowl are easy to mistake for something edible. The ratio of water to seeds should be generous, typically at least 10:1 by volume, to prevent the water from cooling too rapidly. Allow the seeds to soak for 12 to 24 hours, or until they visibly swell. As the water cools, the seed coats absorb moisture and soften. The water needs to be hot enough to break dormancy but not so hot that it cooks the embryo. Temperatures above 200°F can damage the internal structures, leading to zero germination. After the soak, swollen seeds are ready for planting, while any seeds that remain hard may need another hot water treatment or mechanical scarification. This method substantially raises germination for species like Baptisia.
- benefits of hot water scarification:
- effective for uniformly hard seeds
- mimics natural fire-induced germination
- can treat larger batches of seeds simultaneously
- reduces manual effort compared to mechanical methods
- often results in higher germination percentages for specific species
Planting and care after scarification
Once your seeds have been successfully scarified and have swollen from their pre-soak, they are ready for planting. It is critical to plant them promptly, ideally within 24-48 hours, as their protective coat is now compromised, making them susceptible to drying out or fungal infections. Prepare a high-quality seed starting mix; a common blend consists of 50% peat moss, 25% perlite, and 25% vermiculite, providing excellent drainage and moisture retention. Fill your seedling trays, such as a 24-Cell Seedling Propagation Tray with Dome, to within 0.5 inches of the top.
optimal conditions for germination
Plant the scarified seeds at a depth approximately two to three times their diameter. For a typical lupine seed, which might be 0.2 inches across, this means planting it 0.4 to 0.6 inches deep. Gently cover the seeds with the starting mix and lightly firm the soil. Maintain consistent moisture, but avoid waterlogging, which can lead to damping-off disease. The ideal soil temperature for germination for most of these species, including Lupinus and Ipomoea, is between 65°F and 75°F (18°C and 24°C). Using a heat mat can help achieve this steady temperature, especially in cooler environments like a basement in USDA zone 5. Many scarified seeds will germinate within 7 to 14 days under these optimal conditions, a stark contrast to the 30-60 days or more for untreated seeds. For more general guidance on starting seeds, refer to our article on seed starting for beginners: mix, timing, and transplanting.
- key post-scarification planting steps:
- plant seeds within 24-48 hours of swelling
- use a well-draining seed starting mix
- plant at a depth 2-3 times the seed’s diameter
- maintain consistent soil moisture (not waterlogged)
- ensure soil temperature is between 65-75°F
Scarification Methods: A Quick Comparison
Method | Best For | Risk of Damage | Time Required |
|---|---|---|---|
Mechanical (Sandpaper/Nicking) | Larger, irregular seeds (lupine, morning glory) | Moderate, if not careful with embryo | Low (minutes per batch) |
Hot Water Soak | Uniformly hard, smaller seeds (baptisia, some legumes) | Low, if temperature controlled | Moderate (12-24 hours soak) |
Water Uptake Boost: Scarification can increase water absorption by 30-50% in the first 24 hours for many hard-coated seeds, accelerating the initial stages of germination.
Species-Specific Success: Lupine seeds (e.g., Lupinus perennis), often found in meadows across the US, germinate far more reliably after proper scarification.
Frequently asked questions
What if my seeds don’t germinate after scarification?
Re-evaluate your technique; sometimes, a second, gentler scarification is needed. Ensure your planting medium is consistently moist and at a temperature between 65°F and 75°F. Some seeds might still require a period of cold stratification, even after scarification, which can be 30-60 days at 35-40°F, depending on the species and its native climate.
Can I scarify all seeds?
No, scarification is only for seeds with hard, impermeable coats, typically those with physical dormancy. Delicate seeds, like lettuce or basil, do not need it and could be easily damaged. Always research the specific needs of your seed variety; a quick search can save many seeds and prevent wasted effort.
How long do scarified seeds remain viable?
Scarified seeds should be planted immediately, ideally within 24-48 hours. Once the protective coat is breached, they become vulnerable to fungal infections and drying out, reducing their viability significantly from potentially several years to just a few days. Prompt planting ensures the highest success rate, often above 80%.
Is chemical scarification an option for home growers?
While chemical scarification using sulfuric acid is effective for large-scale operations, it is not recommended for home growers due to significant safety concerns. A 10-minute soak in concentrated acid requires specialized handling and disposal, posing substantial risks to individuals and the environment. Stick to mechanical or hot water methods for safety and simplicity.
What is the ideal planting depth for scarified seeds?
A general rule for planting scarified seeds is to bury them at a depth two to three times their diameter. For a morning glory seed, which is about 0.25 inches across, this means planting it approximately 0.5 to 0.75 inches deep in a well-draining seed starting mix. This ensures good seed-to-soil contact and adequate moisture for successful germination.
References
- USDA Natural Resources Conservation Service (2024). USDA Natural Resources Conservation Service.
- SARE — Sustainable Agriculture Research & Education (2023). SARE — Sustainable Agriculture Research & Education.
- ATTRA / NCAT Sustainable Agriculture (2023). ATTRA / NCAT Sustainable Agriculture.
- USDA National Agroforestry Center (2023). USDA National Agroforestry Center.