Key takeaways
- A new earth oven requires an extended curing period to prevent cracking and ensure structural integrity.
- Initial drying should be slow and gentle, maintaining temperatures below 150°F for several days.
- The first fire must be small, using kindling, and kept at a low temperature for an extended period.
- Gradually increase firing temperatures over several weeks, allowing the oven’s thermal mass to fully stabilize.
- Proper ventilation during curing and firing is important for moisture escape and preventing steam-induced damage.
- Regular use and maintenance, including small, frequent fires, contribute to the long-term durability of an earth oven.
Quick answer: To cure and first-fire a new earth oven without cracking, allow a minimum 30-day curing period with slow, gentle drying below 150°F. The first fire must be small, below 200°F for 24 hours, gradually increasing temperature over several weeks.
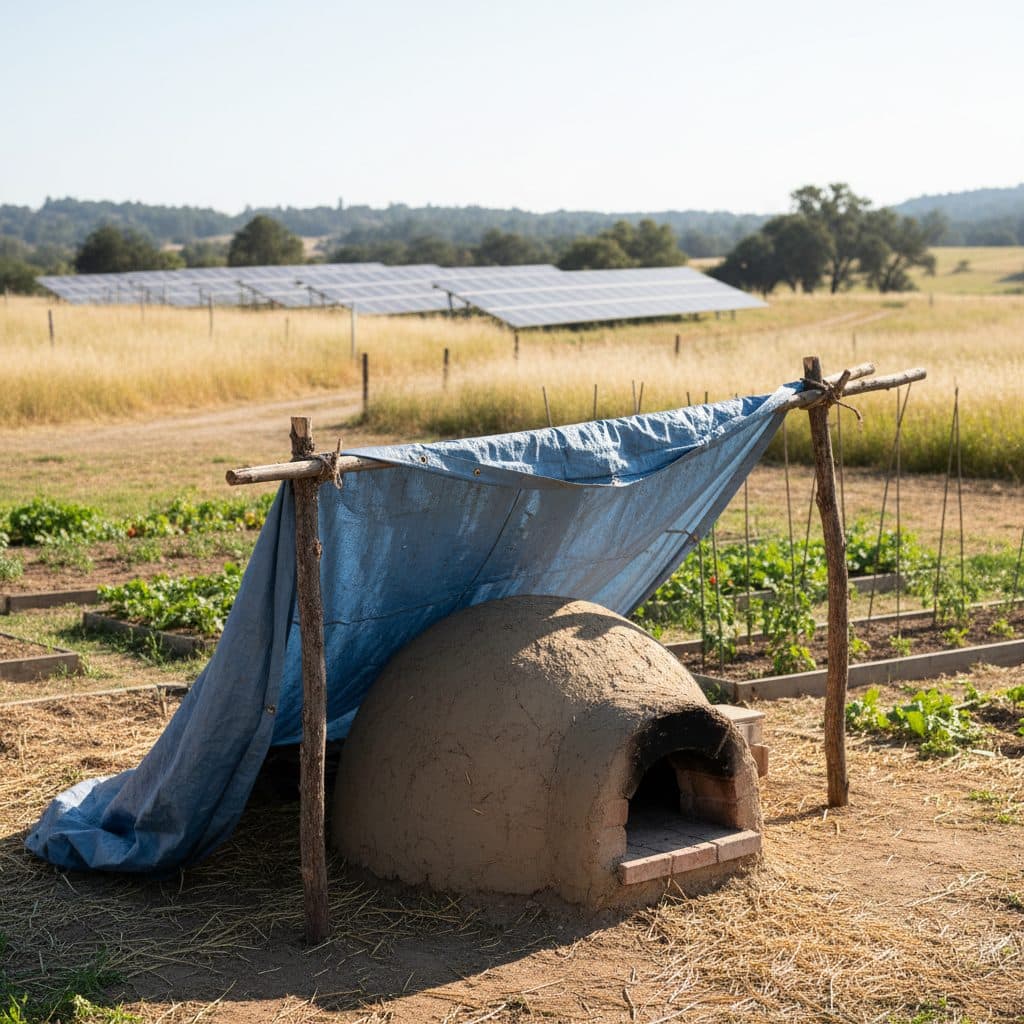
In the arid climate of Arizona, where daily temperature swings can exceed 40°F, building a durable earth oven requires careful attention to the curing process. Many homesteaders across the US, from USDA zone 3 in Minnesota to zone 9 in Florida, are discovering the benefits of natural building techniques, including earth ovens. These ovens, often constructed from local clay, sand, and straw, offer a sustainable way to bake bread, roast vegetables, and cook meals with retained heat.
However, the journey from a freshly built dome to a fully functional cooking appliance is not instant. Skipping or rushing the curing and first-firing steps is a common mistake that can lead to significant cracks, compromising the oven’s efficiency and lifespan. This critical initial phase, spanning at least 30 days, is about gradually removing moisture and allowing the natural materials to set and strengthen so your oven serves your homestead for years to come.
The foundation of durability: why curing matters
Curing an earth oven is a deliberate process of drying and hardening the natural building materials, primarily clay and sand, that form its structure. When a new oven is built, its walls contain a significant amount of water incorporated during mixing and construction. This moisture must be removed slowly and evenly to prevent shrinkage and cracking as the clay particles bind together and the structure settles. Rapid drying, especially from direct sunlight or intense heat, can cause the outer layers to dry faster than the inner core, leading to internal stresses and visible cracks that can be several inches deep.
Understanding the science of drying
The science behind proper curing involves managing moisture migration through capillary action and evaporation. Clay, a primary component, shrinks as it loses water, and if this shrinkage occurs too quickly or unevenly, it pulls itself apart. A controlled curing period, often lasting 30 to 60 days depending on local humidity and oven thickness, allows for a uniform reduction in moisture content, which strengthens the oven’s structure. This gradual approach minimizes the risk of thermal shock during its first use, which could otherwise cause immediate damage to the oven’s thick walls. The USDA Natural Resources Conservation Service stresses the importance of soil composition and moisture management in natural building, reinforcing the need for careful drying in structures like earth ovens [6].
- Prevents structural cracks that can compromise oven efficiency.
- Increases the lifespan of the oven by strengthening its material bonds.
- Reduces the risk of steam explosions during initial firing.
- Ensures even heat distribution once the oven is in use.
- Allows for the complete evaporation of a large volume of water from the oven’s mass.
The gentle awakening: first-firing protocol
Once the initial air-drying and low-heat curing phase is complete – typically after 30 days – your earth oven is ready for its first true fire. This step is as critical as the curing itself, as it permanently hardens the clay and expels any remaining deep-seated moisture. The goal is to introduce heat very gradually, preventing the rapid expansion and contraction that causes cracks. Think of it as a slow warm-up, not an immediate sprint to baking temperatures. Many homesteaders in regions like the Pacific Northwest, with higher ambient humidity, might extend this initial drying phase by an additional 10 to 15 days to ensure thorough dryness.
Building the initial heat
For the first fire, start with small kindling only, such as thin twigs or paper, no larger than one inch in diameter. Build a tiny fire in the center of the oven, aiming for a low temperature—ideally below 200°F—for the first 24 hours. This gentle heat allows any residual moisture to evaporate slowly without creating steam pockets that could damage the oven’s structure. Ensure adequate ventilation by keeping the oven door or opening unobstructed. After the initial 24 hours, you can begin a slow increase in temperature, adding slightly larger pieces of wood, perhaps 2 to 3 inches in diameter, over the next two to three days. Observe the oven for any signs of steam escaping or new cracks forming; if you see any, reduce the heat immediately. This careful approach is similar to the controlled environments used in industrial oven curing processes to prevent material stress [3].
- Use only small, dry kindling for the first 24 hours.
- Maintain a very low flame and temperature, ideally under 200°F.
- Keep the oven door open to allow steam to escape.
- Monitor for any signs of cracking or excessive steam.
- Gradually increase wood size and heat over 2-3 subsequent days.
Sustaining the heat: ongoing curing and use
After the initial low-temperature firing, the curing process continues through a series of progressively hotter fires. This stage, often spanning one to two weeks, is about building the oven’s thermal mass and allowing it to reach higher temperatures without stress. Each subsequent fire should be slightly hotter and longer than the last, gradually increasing the internal temperature each day until you reach typical baking temperatures. This slow progression ensures that all layers of the oven, including the 4-inch thick insulation layer, are thoroughly dried and hardened.
Progressive heating schedules
During this phase, the oven’s ability to retain heat will significantly improve. The retained heat is what makes earth ovens so efficient, allowing them to cook for hours after the fire has died down. Continue to monitor for any new cracks, which might indicate that you are increasing the heat too quickly. It’s also important to manage the ash bed effectively so good airflow for combustion. For homesteaders relying on off-grid power systems for other needs, such as those discussed in off-grid and hybrid solar systems, understanding thermal efficiency in an earth oven contributes to overall energy independence. A fully cured oven can hold baking temperatures for 2-4 hours and then slowly cool over 12-24 hours, making it ideal for multi-course cooking or sequential baking.
- Increase oven temperature by 50-100°F with each subsequent fire.
- Aim to reach 500-700°F baking temperatures over 1-2 weeks.
- Observe how long the oven retains heat; this indicates its thermal mass development.
- Clean out ash regularly to maintain efficient burning and airflow.
- Consider adding a permanent door or flue damper once fully cured to improve heat retention.
Earth ovens on the off-grid homestead
Integrating an earth oven into an off-grid homestead offers significant advantages beyond just delicious food. It represents a tangible step towards energy independence and sustainable living. Unlike conventional electric or gas ovens, an earth oven requires no external power source, relying solely on wood fuel, which can often be sourced directly from the homestead or local, responsibly managed forests. This aligns perfectly with the principles of off-grid living, where self-sufficiency in food and energy is paramount. For example, a homestead in USDA zone 5 with access to fallen timber can significantly reduce its reliance on purchased energy for cooking.
Integrating natural building with off-grid systems
The construction of an earth oven often utilizes local materials—clay from the property, sand from a nearby riverbed, and straw from agricultural waste—further reducing its environmental footprint and cost. This approach to natural building complements other off-grid systems, such as solar panels for off-grid living, by diversifying energy sources and reducing overall demand on electrical systems. The oven’s passive heating capabilities mean that once it’s hot, it continues to radiate warmth for many hours, which can be a boon in colder climates, potentially even contributing to space heating in an adjacent structure. A well-built oven, with a thick thermal mass, can hold usable heat for an extended period, allowing for multiple cooking cycles from a single firing.
- Reduces reliance on grid electricity or propane for cooking.
- Utilizes locally sourced, often free, natural building materials.
- gives a resilient cooking solution independent of infrastructure.
- Provides significant thermal mass while aiding homestead energy efficiency.
- Can be used for cooking, baking, and even slow drying of herbs or produce.
Comparison of Earth Oven Curing Stages
Curing Stage | Duration | Temperature Range | Primary Goal |
|---|---|---|---|
Air Drying (Initial Set) | 7-14 days | Ambient (50-80°F) | Evaporate surface moisture, initial hardening |
Low-Heat Curing | 15-30 days | 100-150°F | Remove deep moisture, strengthen internal bonds |
First Firing | 1-3 days | 150-250°F | Expel residual moisture, set thermal mass |
Progressive Firing | 7-14 days | 250-700°F (gradual increase) | Harden oven fully, establish baking temperatures |
Moisture Content: New earth oven walls can hold 15% to 25% moisture by weight, which must be slowly released over 30+ days.
Temperature Control: The first 24-hour firing should not exceed 200°F to prevent rapid thermal expansion and cracking.
References
- Elastomeric seal formed without oven post-curing (2015).
- 24 hours a day in a curing oven without becoming magnetised (2001).
- oven curing (2021).
- Curing oven (1996).
- Curing/drying oven (2002).
- USDA Natural Resources Conservation Service (2024).