Key takeaways
- Cold-process soap requires a four to six week cure time for optimal mildness and hardness.
- Hot-process soap is cooked, making it ready to use within 24 hours after cooling.
- Melt-and-pour bases simplify soapmaking by eliminating the need to handle raw lye.
- Accurate measurement of ingredients, especially lye, is critical for safe and effective soap production.
- Garden herbs like calendula or lavender can be infused into oils to add natural properties and scents to your soap.
Quick answer: Making soap at home involves three primary methods: cold-process, hot-process, and melt-and-pour. Each method offers distinct advantages in terms of complexity, cure time, and final product characteristics.
In many homes across the US, from a small farm in Iowa to a suburban garden in USDA zone 7, the idea of making your own soap might seem complex. However, with a few basic ingredients and careful attention to detail, crafting a personalized bar of soap is well within reach for most gardeners and homesteaders. This practice offers control over ingredients and can be a fulfilling extension of your garden’s bounty, potentially saving you money over store-bought options.
This guide explores three primary methods for beginners: cold-process, hot-process, and melt-and-pour. Each approach offers distinct advantages and levels of involvement, allowing you to choose the best fit for your schedule and comfort level. Whether you’re aiming for a luxurious, long-cured bar or a quick, customizable gift, understanding these techniques will equip you to start your soapmaking journey with confidence.
The chemistry of soap: lye and saponification
Traditional soapmaking relies on a fundamental chemical reaction called saponification, which transforms oils or fats into soap and glycerin [2]. This process requires a strong alkali, typically sodium hydroxide, commonly known as lye [1]. When lye is carefully combined with water, it creates a highly caustic solution that, when mixed with specific oils like olive, coconut, or palm, initiates the conversion. Accurate measurement is paramount; a reliable digital scale, found in our online store, is an essential tool, which keeps measurements precise to 0.1 grams.
Safety first: handling lye
Working with lye demands strict adherence to safety protocols to prevent chemical burns or irritation. Always ensure you have a well-ventilated workspace, ideally outdoors or under an exhaust fan, to disperse fumes that can irritate airways. Protective gear is not optional; it is a requirement for anyone handling lye, even for small batches of soap, which might use as little as four ounces of lye.
- eye protection: wear safety goggles or a face shield to prevent splashes.
- hand protection: use chemical-resistant gloves.
- body coverage: wear long-sleeved shirts and pants to protect skin from accidental contact.
- ventilation: work in an open area or near an exhaust fan to manage fumes.
- first aid: have white vinegar readily available to neutralize small spills on non-skin surfaces, and ensure immediate access to plenty of cool, running water for skin contact. Flush any affected skin for at least 15 minutes.
Cold-process soapmaking: the traditional method
Cold-process soapmaking is the most widely recognized traditional method, yielding a hard, long-lasting bar with a rich lather. This technique involves carefully combining a lye solution with melted oils at specific, controlled temperatures, typically between 100°F and 120°F [4]. The mixture is then blended until it reaches “trace” – a consistency where the mixture thickens enough to leave a visible mark on the surface when drizzled from a spoon. This usually takes five to ten minutes with an immersion blender.
The curing process
After reaching trace, the soap batter is poured into a mold, insulated for 24 to 48 hours to encourage a complete gel phase, and then unmolded and cut into bars. The most significant characteristic of cold-process soap is its cure time: a minimum of four to six weeks [4]. During this period, excess water evaporates, making the bar harder and milder, and the saponification process finishes completely. A properly cured bar, which loses some water weight, will last significantly longer in use.
- precise measurements: weigh all ingredients accurately to 0.1 gram for safety and quality.
- temperature control: maintain oils and lye solution between 100°F and 120°F for optimal mixing.
- immersion blender: essential for achieving trace quickly and consistently, often within five minutes.
- insulation: covering the mold with a blanket helps retain heat and promotes a full gel phase.
- patience: allow four to six weeks for the soap to cure, resulting in a superior finished product.
Hot-process soapmaking: quicker results
Hot-process soapmaking gives a quicker turnaround time compared to cold-process, as the saponification reaction is accelerated by external heat. The initial steps are similar to cold-process: oils and lye solution are combined and brought to trace. However, instead of simply molding the soap, it is then cooked, often in a slow cooker or oven, at temperatures between 180°F and 200°F for 60 to 90 minutes [5]. This cooking ensures that the saponification process is fully completed before the soap is poured into molds.
Ready in a day
During the cooking phase, the soap goes through several stages, including a translucent, gel-like state, eventually resembling thick mashed potatoes. Once cooked, the soap is safe to use immediately after it cools and hardens, typically within 12 to 24 hours [5]. This makes hot-process an excellent choice for those who need soap quickly or prefer to verify full saponification before using the product. While the texture can be more rustic and less smooth than cold-process, the functionality is identical, providing a cleansing bar with a superfat of 5% to 8% for moisturizing properties [4].
- accelerated saponification: heat completes the chemical reaction faster, often within 90 minutes.
- immediate usability: soap is ready to use within 24 hours of cooling and hardening.
- rustic texture: often results in a more textured, sometimes chunkier, bar compared to cold-process.
- additives post-cook: fragrances and delicate botanicals can be added after cooking to preserve their properties.
- less cure time: while usable quickly, a short drying period of one to two weeks can still improve hardness.
Melt-and-pour soapmaking: simplicity for beginners
For those seeking the simplest entry into soapmaking, the melt-and-pour method is an excellent starting point. This technique uses a pre-saponified soap base, meaning the lye has already reacted with the oils, eliminating the need for beginners to handle caustic chemicals [5]. You simply purchase a block of melt-and-pour base, which often comes in one-pound or two-pound increments, and melt it down.
Customize with ease
Once melted, you can easily add your choice of fragrances, colors, and botanicals. Common additions include essential oils, cosmetic-grade colorants, and dried herbs like calendula petals or lavender buds. The melted soap is then poured into molds and allowed to cool and harden, which typically takes one to two hours. This method is ideal for crafting custom gift soaps or experimenting with different additives without the complexities of lye handling. A 10-ounce bar can be ready for use in under two hours.
- no lye handling: eliminates the need to work with caustic sodium hydroxide.
- quick turnaround: soap is ready to use within one to two hours after molding.
- easy customization: simple to add scents, colors, and botanicals to the melted base.
- beginner-friendly: ideal for those new to soapmaking or looking for a low-fuss option.
- wide variety of bases: available in clear, opaque, shea butter, goat milk, and other formulations.
Sourcing ingredients and garden botanicals
The quality of your soap depends directly on the quality of your ingredients. For traditional methods, sourcing high-quality oils like olive oil, coconut oil, and shea butter matters most. Olive oil, for instance, can make up 70% or more of the oils in a mild Castile soap recipe [3]. Lye (sodium hydroxide) can be purchased from soapmaking suppliers or hardware stores so it is 98% to 100% pure. For those cultivating their own botanicals, understanding soil conditions is key; a soil moisture probe can help ensure your plants, like Garden Sage (Salvia officinalis), thrive.
Incorporating garden bounty
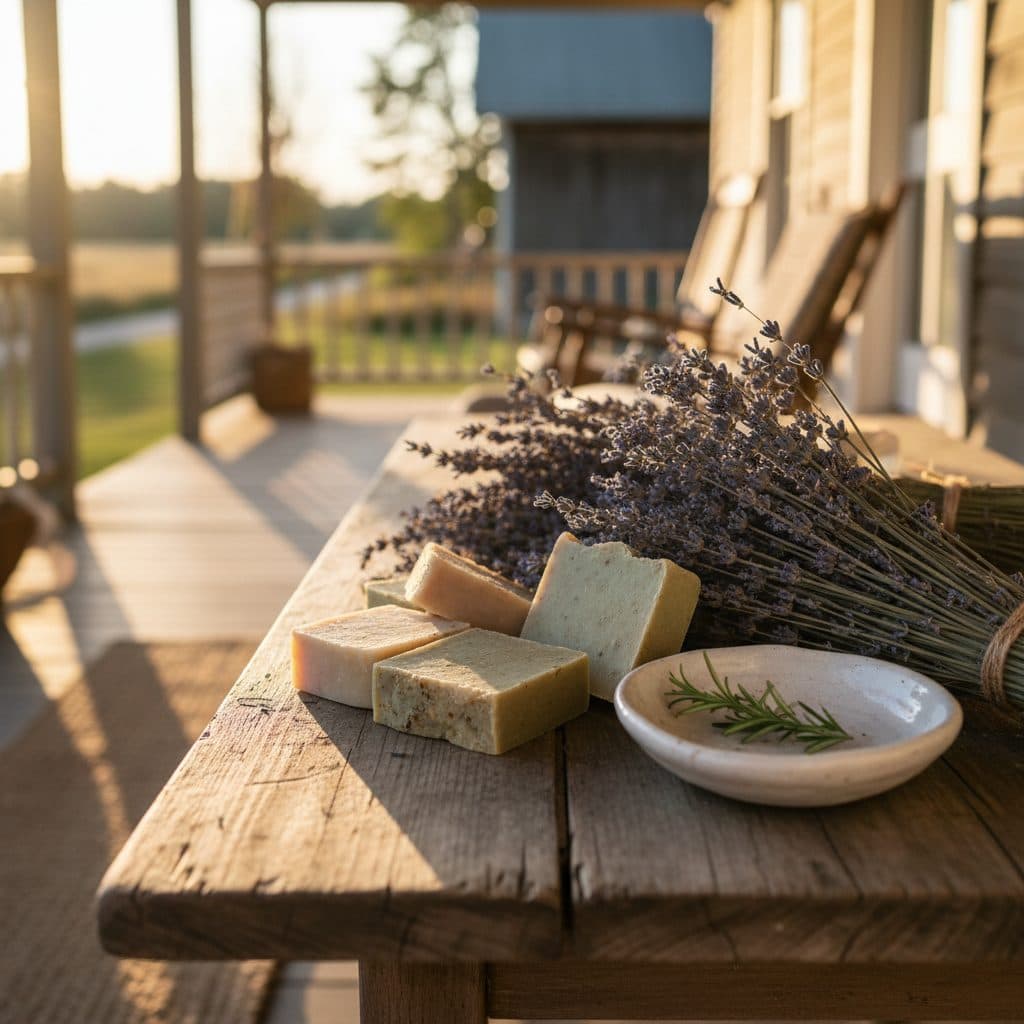
Your garden can provide a wealth of natural additives to add to your homemade soaps. Dried herbs like lavender, calendula, or rosemary can be infused into your base oils before saponification, imparting their beneficial properties and subtle scents. For example, infusing one ounce of dried calendula petals into two ounces of olive oil for four to six weeks can create a soothing, skin-friendly oil. Always ensure botanicals are thoroughly dried to prevent mold or discoloration in your finished soap, especially if you live in a humid climate like USDA zone 8.
- carrier oils: use high-quality olive, coconut, shea, or castor oils for a balanced bar.
- lye purity: ensure sodium hydroxide is 98% to 100% pure for accurate recipe calculations.
- distilled water: always use distilled water for lye solutions to avoid mineral reactions.
- dried botanicals: incorporate dried herbs, flowers, or ground oats for texture and properties.
- essential oils: use pure essential oils for natural fragrance, typically at 1% to 3% of the total oil weight.
Comparison of Soapmaking Methods
Feature | Cold-Process | Hot-Process | Melt-and-Pour |
|---|---|---|---|
Lye Handling | Directly handled | Directly handled | Pre-saponified, no lye handling |
Cure Time | 4-6 weeks | 1-2 days | Ready immediately |
Complexity | Medium | Medium-High | Low |
Customization | High (color, scent, texture) | High (color, scent, texture) | Moderate (scent, color, additives) |
Initial Investment | Moderate (scale, immersion blender, molds) | Moderate (scale, immersion blender, slow cooker, molds) | Low (base, molds, additives) |
Texture | Smooth, hard bar | Rustic, sometimes softer | Smooth, often translucent |
Lye Purity: Ensure lye is 98% to 100% pure sodium hydroxide for accurate recipe calculations and safe saponification.
Superfatting Benefits: A superfat of 5% to 8% leaves a small amount of unsaponified oils, making the soap more moisturizing for skin.
Temperature Control: Maintaining oil and lye solution temperatures between 100°F and 120°F keeps cold-process results consistent.
References
- Prelims – Small-scale Soapmaking (1986).
- 1. Small-scale Soapmaking (1986).
- Small-scale Soapmaking (1986).
- Soapmaking (1999).
- Soapmaking (1999).
- USDA Natural Resources Conservation Service (2024).