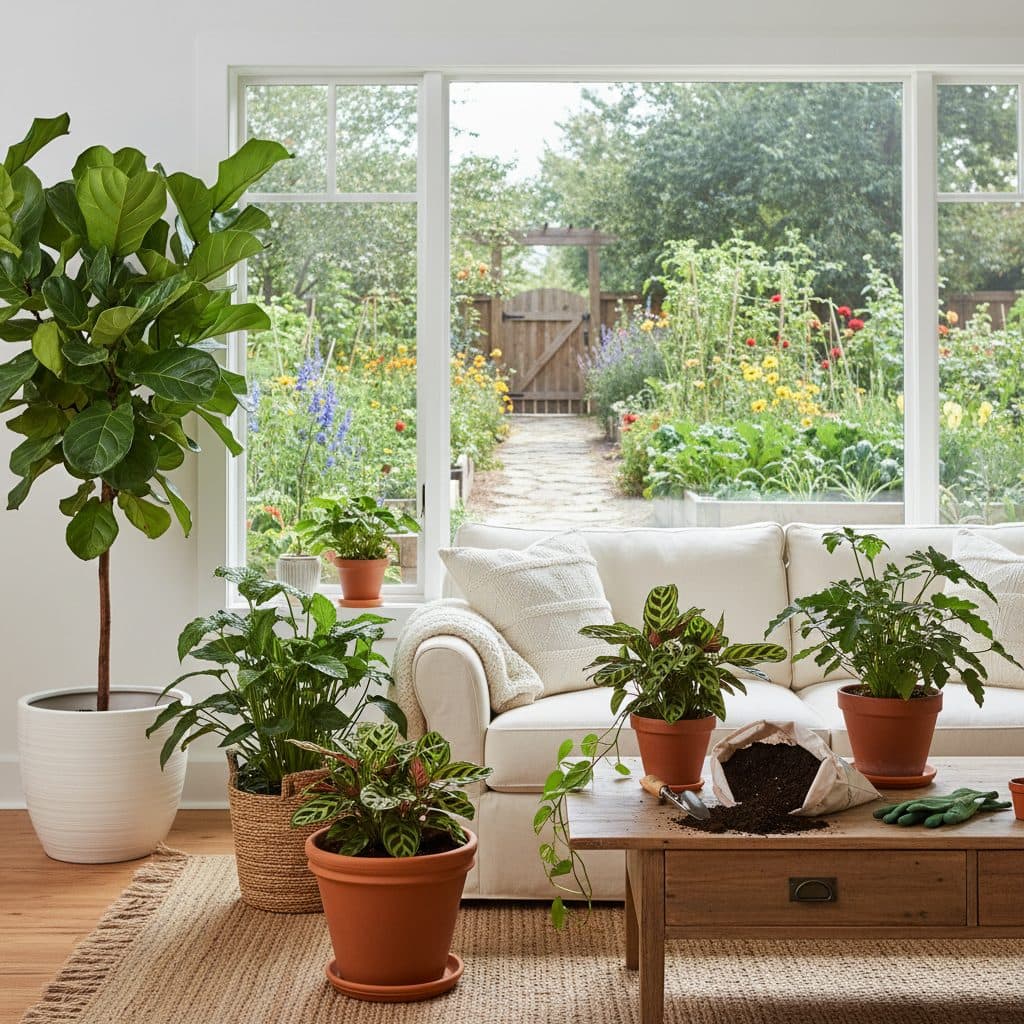
Key takeaways
- Repotting every one to three years is typical for most houseplants, depending on their growth rate and species.
- Recognize root-bound signs like roots circling the pot, water draining quickly, or stunted growth in plants like a Fiddle Leaf Fig.
- The best time to repot is during spring or early summer, when plants can recover and establish in warmer months.
- Choose a new pot only one to two inches larger in diameter than the old one to prevent overwatering.
- Craft a well-draining soil mix using components like peat moss, perlite, and compost, avoiding dense garden soil.
- Provide consistent moisture and indirect light for four to six weeks post-repotting to help the plant acclimate to its new environment.
Quick answer: To repot houseplants, identify root-bound signs like circling roots or stunted growth, then choose spring or early summer. Use a pot 1-2 inches larger and a well-draining soil mix, providing consistent moisture post-repotting.
In many US homes, from a small apartment in Brooklyn, New York, to a sprawling house in Phoenix, Arizona, houseplants are a common sight. They bring vitality indoors, but like any living organism, they eventually outgrow their space. Plenty of US households keep several indoor plants, and each of these will likely need repotting at some point to continue thriving. Repotting, defined simply as transferring a plant to a new pot, is a critical maintenance task that supports healthy growth and prevents common issues like nutrient deficiency or root rot.
Understanding when and how to repot can seem daunting, especially if you have lost a plant to a bad repot before. This guide will walk you through identifying root-bound signs, choosing the right timing, preparing an optimal soil mix, and executing the repotting process with confidence. By following these steps, you can ensure your indoor plants, from a resilient ZZ plant to a delicate orchid, continue to flourish in their indoor environment for many years.
Recognizing when your houseplant needs a new home
Identifying the right moment to repot your houseplant matters for its long-term health. One of the clearest indicators is when roots begin to emerge from the drainage holes at the bottom of the pot. This signals that the plant has exhausted its current space and needs more room to expand, a common occurrence for fast-growing species like Pothos, which can grow up to 12 inches in a month during peak season. Another sign is if the plant appears top-heavy and frequently tips over, indicating an imbalance between its foliage and root system, often seen in larger plants like a Fiddle Leaf Fig, which can reach 6 to 10 feet tall indoors.
visual cues of a root-bound plant
Beyond visible roots, consider the plant’s overall vigor. If your plant’s growth has slowed significantly, or if its leaves are smaller than usual despite adequate light and water, it might be root-bound. For instance, a healthy spider plant might produce several plantlets monthly, while a root-bound one might produce none for three months. When you water, if water rushes through the pot almost immediately without soaking the soil, it suggests the root ball is so dense it’s preventing proper moisture absorption, which can lead to dehydration even with regular watering. This issue can be particularly problematic in arid regions like Southern California, where plants already face lower ambient humidity of around 30%.
- Roots circling the pot: Visible roots forming a dense mat around the inside of the container.
- Stunted growth: A noticeable decrease in new leaf production or overall plant size for over six months.
- Water drainage issues: Water runs straight through the pot, indicating poor soil absorption.
- Yellowing or wilting leaves: Despite proper watering, leaves show signs of nutrient deficiency or stress.
- Pot distortion: Plastic pots may bulge, or terracotta pots may crack from root pressure.
The best season for houseplant repotting in US climates
Timing is everything when it comes to repotting, and for most houseplants, spring and early summer are the prime seasons. During these months, typically from March to June across the contiguous US, plants are naturally entering their active growth phase. This means they have the energy reserves to recover quickly from the stress of repotting and can readily put out new roots and foliage. Repotting during the dormant winter months, especially in colder USDA zones like 4 or 5, can shock the plant and hinder its ability to establish in its new container, potentially leading to a setback of several months.
frequency of repotting by plant type
The frequency of repotting depends significantly on the plant’s growth rate and species. Fast-growing plants, such as many types of philodendron or peace lilies, may need repotting annually, especially if they are young and actively expanding their root systems, potentially adding 6 to 10 inches of height per year. Slower-growing plants, like a Snake Plant or ZZ Plant, might only require repotting every two to five years. Some plants, like mature Ficus trees, can stay in the same large pot for five to seven years, only needing their topsoil refreshed annually. Always observe your specific plant’s cues rather than adhering strictly to a calendar, as environmental factors in your home, such as light levels or humidity (which can vary from 20% in winter to 60% in summer indoors), can influence growth rates.
- Fast growers: Annually or every one to two years (e.g., Pothos, Spider Plant).
- Moderate growers: Every two to three years (e.g., Monstera, Peace Lily).
- Slow growers: Every three to five years (e.g., Snake Plant, ZZ Plant, Cactus).
- Mature specimens: Every five to seven years, with annual topsoil replacement.
- Flowering plants: Often repotted after their bloom cycle concludes, typically in late spring.
Selecting containers and crafting optimal soil for indoor plants
Choosing the right pot and soil mix is paramount for successful repotting. For the new pot, select one that is only one to two inches larger in diameter than the previous one. For example, if your plant was in a 6-inch pot, move it to an 8-inch pot. A pot that is too large holds excess moisture, which can lead to root rot. Ensure the new pot has adequate drainage holes at the bottom—this is non-negotiable. Terracotta pots offer good breathability for roots, drying out faster, while plastic pots retain moisture longer, which can be beneficial for plants that prefer consistently moist soil, like a Boston fern.
customizing your houseplant soil mix
Most houseplants thrive in a well-draining, aerated soil mix that provides both moisture retention and good airflow. A general-purpose indoor potting mix is a good starting point, but customizing it often yields better results. For instance, succulents and cacti require a mix with a higher percentage of grit, like pumice or perlite, often 50% or more, to ensure rapid drainage. Tropical plants, on the other hand, benefit from a mix rich in organic matter and good moisture retention, such as one containing peat moss or coco coir, which can hold up to eight times its weight in water.
- Peat moss or coco coir: Provides moisture retention and organic matter, typically 30-50% of the mix.
- Perlite or pumice: Improves drainage and aeration, often 20-40% of the mix.
- Vermiculite: Improves water retention and nutrient exchange, usually 10-20% of the mix.
- Compost or worm castings: Adds essential nutrients and beneficial microbes, about 10% of the mix.
- Horticultural charcoal: Helps absorb impurities and improve drainage, a small amount of 5% is sufficient.
A step-by-step guide to successfully repotting your houseplant
Once you have your new pot and prepared soil mix, the repotting process itself is straightforward. First, gather all your materials: the plant, new pot, fresh soil, a small trowel, and pruning shears. Water the plant thoroughly one to two days before repotting; this makes the soil ball more cohesive and reduces transplant shock. For larger plants, like a mature Monstera deliciosa that can weigh 15 pounds, it’s helpful to have a second person assist. Working on a protected surface, such as a tarp or newspaper, will make cleanup easier, especially in an apartment setting where space might be limited to a 30 square foot balcony.
the repotting procedure
To begin, gently tip the plant on its side and carefully slide it out of its old pot. If it’s stubborn, you might need to tap the pot’s sides or use a thin knife to loosen the edges. Inspect the root ball; if roots are tightly circling, gently tease them apart with your fingers or a small tool. You can prune away any dead, mushy, or excessively long roots using clean shears, aiming to remove no more than 20% of the root mass. Add a layer of fresh potting mix to the bottom of the new pot, ensuring the plant sits at the same soil level as it did in its previous container, typically leaving one inch of space from the rim. Center the plant, fill the remaining space with soil, gently firming it down to remove large air pockets. Water thoroughly until water drains from the bottom, indicating the soil is fully saturated [1].
- Prepare materials: Gather new pot, soil, trowel, shears, and a watering can.
- Pre-water plant: Water the plant 24-48 hours before repotting to ease removal.
- Remove from old pot: Gently slide the plant out, tapping the pot if necessary.
- Inspect and prune roots: Tease out circling roots and trim any dead or damaged sections, removing up to one-fifth of the total root mass.
- Position in new pot: Add soil to the new pot, place the plant, ensuring the soil line is one inch below the rim.
- Fill and water: Backfill with soil, gently firm, and water until drainage occurs.
Post-repotting care: ensuring a smooth transition and new growth
The period immediately following repotting is critical for your plant’s recovery and establishment. For the first four to six weeks, treat your newly repotted plant with extra care. Place it in a location with bright, indirect light, avoiding direct sun exposure which can stress the plant further. An east-facing window, or a spot set back a few feet from a bright south window, offers consistent light without harsh intensity. Monitor soil moisture closely; while you want to keep the soil consistently moist, avoid overwatering, which is a common pitfall. You can use a soil moisture meter to accurately assess when your plant needs water, aiming for a reading of three to four on a scale of ten for most plants.
fertilizing and ongoing maintenance
Resist the urge to fertilize immediately after repotting. The fresh potting mix typically contains enough nutrients to sustain the plant for at least one to three months. Introducing fertilizer too soon can burn the tender, recovering roots. After this initial period, you can resume your regular fertilization schedule, perhaps with a balanced liquid fertilizer diluted to half strength, applied monthly during the growing season. Keep an eye out for signs of new growth, such as fresh leaves or stems, which indicate the plant has successfully acclimated. For example, a peace lily might show new flower buds within two months. Continued observation and consistent care will help your houseplant thrive in its new, larger home; many plants put on noticeably more growth in their first year after repotting.
- Indirect light: Place in a spot with bright, indirect light for four to six weeks.
- Consistent moisture: Keep soil evenly moist, but avoid saturation; check moisture daily for the first week.
- Avoid fertilizer: Do not fertilize for at least one to three months after repotting.
- Monitor for stress: Watch for wilting or yellowing leaves, which may indicate transplant shock.
- Gradual reintroduction: Slowly reintroduce to its previous light conditions after one month.
Pot Material Comparison for Houseplants
Feature | Terracotta Pots | Plastic Pots |
|---|---|---|
Breathability | High (porous material allows air exchange) | Low (non-porous, retains moisture) |
Moisture Retention | Low (dries out faster, requires more frequent watering) | High (retains moisture longer, less frequent watering) |
Weight | Heavy (provides stability for large plants) | Light (easy to move, good for hanging plants) |
Cost | Moderate to high (can range from $5 to $50+) | Low (often $2 to $20) |
Durability | Fragile (can break if dropped, susceptible to frost damage) | Durable (resistant to breaking, flexible) |
Best For | Cacti, succulents, plants prone to root rot (e.g., ZZ Plant) | Moisture-loving plants (e.g., Ferns, Peace Lily), plants in dry climates |
Pot Size Rule: When repotting, choose a new pot that is only one to two inches larger in diameter than the old one, so there is no reservoir of wet soil the roots cannot reach.
Repotting Season: The ideal time for repotting most houseplants is during spring or early summer, typically between March and June, when plants are in their active growth phase and can recover within four to six weeks.
Frequently asked questions
How often should I repot my houseplants?
Most houseplants benefit from repotting every one to three years, depending on their growth rate and size. Fast-growing plants like Pothos might need it annually, while slow growers like ZZ Plants can wait up to five years.
What are the signs that my plant needs repotting?
Key signs include roots growing out of drainage holes, water draining too quickly, stunted growth, or the plant becoming top-heavy. If your plant hasn’t grown in six months, it’s a good indicator.
Can I repot a plant in winter?
While possible, it’s generally not recommended. Plants are dormant in winter, and repotting can cause significant stress, potentially leading to a recovery period of three months or more. Spring is ideal.
What size pot should I choose for repotting?
Select a new pot that is only one to two inches larger in diameter than the current one. Moving to a pot that is three or more inches larger can lead to overwatering issues for up to two months.
What kind of soil mix is best for repotting?
A well-draining, aerated mix is best. A common recipe includes 40% potting mix, 30% perlite for drainage, and 20% peat moss for moisture retention, with 10% compost for nutrients. This blend supports healthy roots.
Should I fertilize immediately after repotting?
No, it’s best to wait at least one to three months after repotting. Fresh potting mix usually contains enough nutrients, and fertilizing too soon can burn the plant’s delicate, recovering roots.
References
- Happy houseplants : how to grow and maintain your indoor plants / by Elizabeth Walker. (1992). Happy houseplants : how to grow and maintain your indoor plants / by Elizabeth Walker..
- USDA Natural Resources Conservation Service (2024). USDA Natural Resources Conservation Service.