Key takeaways
- Understand how Phasmarhabditis nematodes infect and kill slugs naturally underground.
- Apply nematodes only when soil temperatures remain consistently above 5°C (optimal 10°C to 20°C from March to October).
- Water the soil thoroughly before application and keep the ground moist for at least two weeks afterward.
- Apply in the early morning, evening, or on overcast days to prevent ultraviolet sunlight from killing beneficial nematodes.
- Reapply every six weeks throughout the growing season to maintain biological control over ground-dwelling slug populations.
Quick answer: Nematodes for slugs are microscopic parasitic roundworms (Phasmarhabditis hermaphrodita or P. californica) that provide biological slug control on UK gardens and allotments. Mixed with water and applied through a watering can onto moist soil above 5°C, nematodes enter slugs underground, release bacteria that stop them feeding within three days, and kill them beneath the soil within one to two weeks.
Slugs are widely considered the number one pest challenge facing gardeners and allotment holders across the United Kingdom. In damp British springs and wet summers, populations of grey field slugs, garden slugs, and subterranean keel slugs can destroy newly planted vegetable seedlings, devour delicate salad crops, and riddle maincrop potatoes with unsightly holes overnight.
Following the withdrawal of synthetic chemical molluscicides like metaldehyde from retail sale in the UK, gardeners have turned to natural, targeted biological controls. Using nematodes for slugs offers an organic, wildlife-safe solution that targets slugs beneath the soil surface where standard physical barriers cannot reach.
However, beneficial nematodes are living biological organisms, not chemical contact poisons. Understanding their microscopic biology, soil temperature requirements, correct watering techniques, and realistic performance limitations ensures you achieve maximum pest protection across your vegetable plots.
The biology of Phasmarhabditis nematodes
Slug nematodes are sold as Phasmarhabditis hermaphrodita or, in the reformulated products on sale since 2023, P. californica — check which species your pack contains:
- Mode of infection: Infective juvenile nematodes (measuring less than 1 mm in length) actively swim through the thin film of moisture surrounding soil particles. They seek out slugs and enter beneath the rear edge of the mantle through the dorsal integumental pocket — the small cavity that houses the internal shell.
- Bacterial release: Once inside, the nematodes release associated bacteria (originally identified as Moraxella osloensis). This bacterium multiplies rapidly inside the slug's body cavity, breaking down slug tissues into a nutrient broth that the nematodes feed on.
- Feeding cessation: Within three days of infection, the slug experiences swelling of the mantle and stops feeding entirely. The infected slug retreats deep underground to die, meaning you will rarely see dead, slimy slugs on the soil surface.
- Reproduction & dispersal: Within 7 to 14 days, the slug dies beneath the soil. The nematodes reproduce inside the decaying slug carcass, producing thousands of new infective juveniles that emerge into the surrounding soil to hunt down new hosts.
For comprehensive pest management across diverse soil organisms, explore our reference on beneficial nematodes for soil pests and our wider guide on slug and snail control.
Critical timing and soil temperature requirements
Because nematodes are living organisms, applying them outside their environmental tolerance windows results in total treatment failure:
- Soil temperature threshold: Slug nematodes require a minimum soil temperature of 5°C to remain active and mobile, with optimal hunting efficiency occurring between 10°C and 20°C.
- Application window: In the UK, soil temperatures generally reach 5°C from late March through October. Applying nematodes into freezing March soil or cold November mud wastes the product, as nematodes become dormant or die.
- Storage conditions: Nematode packs contain living organisms formulated on inert powder or gel carrier. Store unopened packs in a domestic refrigerator (between 2°C and 5°C) upon delivery, and use the product before the printed date, which is usually only a week or two after dispatch — order to coincide with the week you intend to apply it. Never freeze nematode packs.
To integrate biological controls with wider allotment crop sanitation, review our guidance on managing onion white rot.
Step-by-step application guide for UK gardeners
Applying nematodes correctly ensures millions of microscopic roundworms establish successfully throughout your vegetable beds:
Step 1: Soil preparation
Water your garden bed thoroughly several hours before application if the soil is dry. Nematodes require continuous moisture films to swim through the soil; applying them to dry, baked earth causes fatal desiccation within minutes.
Step 2: Timing your application
Apply nematodes in the early morning, late evening, or on an overcast, drizzly day. Ultraviolet (UV) radiation from bright direct sunlight quickly kills nematodes on the soil surface before they can burrow down into the root zone.
Step 3: Mixing the solution
- Empty the contents of the nematode pack into a clean plastic bucket containing 5 to 10 litres of lukewarm tap water.
- Stir vigorously for two minutes to dissolve the carrier powder and disperse the nematodes evenly throughout the liquid.
- Using a measuring jug, take a portion of this concentrate and dilute it into a clean watering can filled with clean water, following the pack dilution ratios (typically one pack treats 40 to 100 square metres).
Step 4: Watering the soil
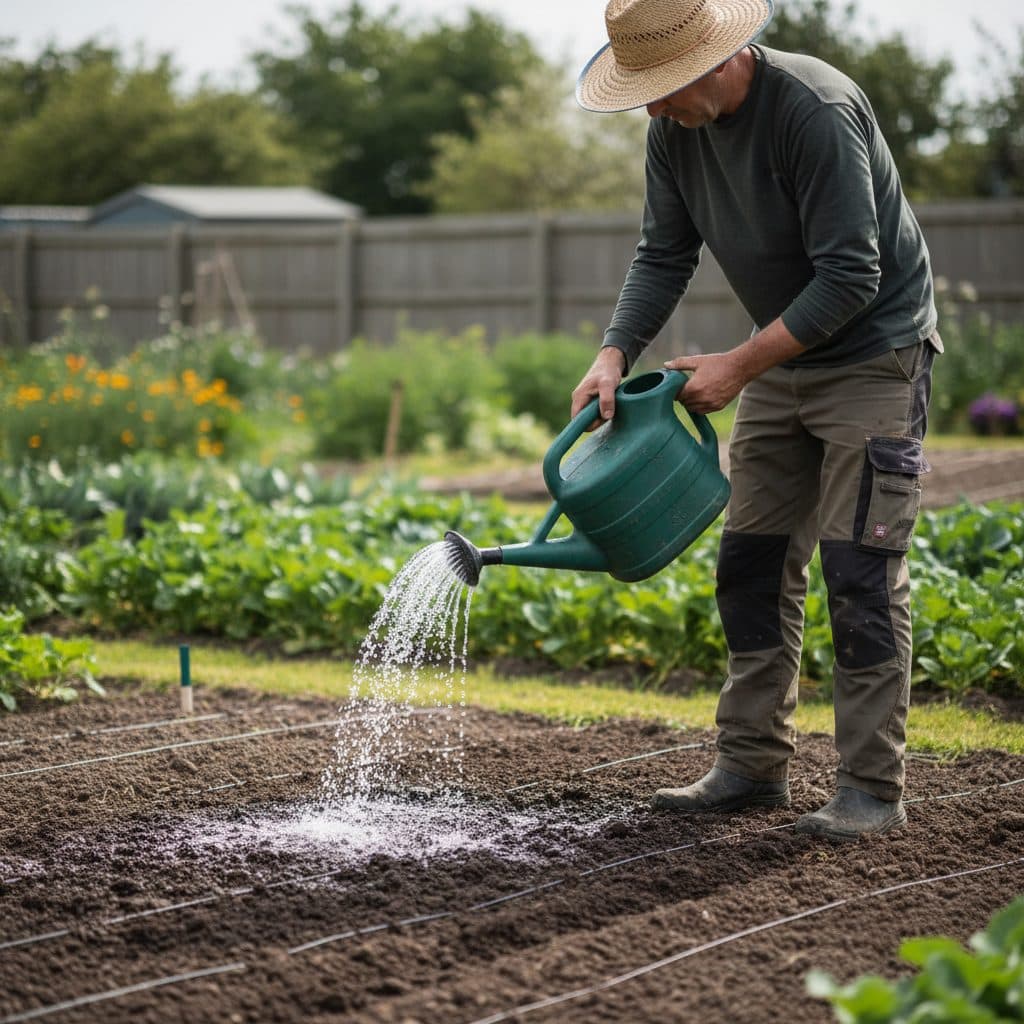
Fit your watering can with a coarse rose (with holes at least 1 mm in diameter) or use an open spigot. Fine sprinkler roses can trap nematodes inside the nozzle. Water the solution evenly over the target vegetable bed, paying special attention to strawberry beds, newly planted brassica patches, and potato trenches.
Step 5: Post-application watering
Immediately after application, water the treated area again with clean water from a hose or watering can. This post-application wash washes nematodes off plant leaves and deep into the upper 5 cm of topsoil. Keep the treated soil moist for at least two weeks following application to support nematode movement.
Realistic expectations and integrated slug management
While slug nematodes are exceptionally effective, gardeners should maintain realistic expectations regarding their biological scope:
- Soil-dwelling vs surface-active slugs: Nematodes are most lethal against ground-dwelling species: grey field slug (Deroceras reticulatum), garden slug (Arion hortensis agg.), and keeled slugs (Tandonia spp., formerly Milax) that attack root vegetables beneath the ground.
- Snails and large slugs: Nematodes live strictly in the soil. They have limited efficacy against large snails (Cornu aspersum) or large Arion species such as the Spanish slug (Arion vulgaris), which are poorly controlled because big slugs survive nematode infection far better than small ones. Snails must be managed with physical barriers, hand-picking at dusk, and clearing daytime sheltering sites.
- Duration of control: A single application provides active slug suppression for approximately six weeks. After six weeks, nematode populations decline naturally as host numbers drop. For high-value, vulnerable crops (like hostas, lettuces, and young brassicas), reapply every six weeks from April to September.
- Wildlife safety: Nematodes are entirely non-toxic and harmless to hedgehogs, songbirds, frogs, toads, domestic pets, earthworms, and humans. Birds and ground beetles that feed on infected slugs suffer no secondary poisoning. It is not, however, slug-specific among molluscs — it can infect non-target snails, so treat only the beds that need it rather than the whole plot.
- Encouraging natural predators: Complement nematode applications by building habitat for natural slug predators: leave log piles for ground beetles, install a small wildlife pond for frogs and toads, and encourage song thrushes into the garden.
Combine biological controls with foundational preventative cultural practices outlined in our guide to prevention-first gardening pests.