Key takeaways
- Stale seedbed preparation significantly reduces weed competition in early crop stages.
- False seedbeds encourage weed germination before planting, allowing for their removal with minimal soil disturbance.
- Crop rotation improves soil structure, nutrient cycling, and pest management over 3-5 year cycles.
- Succession planting ensures continuous harvests and maximizes bed utilization throughout the growing season, even in shorter USDA zones.
- Monitoring soil moisture and temperature is crucial for optimal seed germination and seedling establishment, aiming for 60-70°F for many common weeds.
- Integrating cover crops into rotation plans builds soil organic matter over time, boosting overall soil health.
Quick answer: A stale seedbed is a technique where you encourage weed seeds to germinate before planting your desired crop, then eliminate them with minimal soil disturbance. This method significantly reduces early-season weed pressure, improving crop establishment and yields while decreasing labor and herbicide use.
In the fertile fields of Iowa, farmers know that a good start is half the battle. Preparing a seedbed for direct sowing isn’t just about tilling the soil; it’s about setting the stage for a productive season, especially when dealing with persistent weeds. A stale seedbed can substantially cut early weed emergence in many row crop systems, saving labor and herbicide costs. This method is particularly effective in regions with predictable spring rains, like the Ohio River Valley, where moisture encourages weed germination.
This approach involves encouraging weed seeds to sprout before the cash crop is planted, then eliminating them with minimal soil disturbance. It’s a pragmatic strategy that, when combined with thoughtful crop rotation and succession planting, builds long-term soil health and ensures more consistent yields across diverse USDA zones, from the warm winters of zone 9 to the shorter seasons of zone 4. Farmers in places like central California see better crop establishment when early weed competition is removed.
what is a stale seedbed and why use it
In many US growing regions, from the humid southeast to the arid west, early-season weeds pose a significant challenge, often reducing crop yields by 20% to 50% if left unchecked. The stale seedbed technique offers a proactive solution by encouraging weed seeds to sprout before the cash crop is planted. This method creates a false seedbed – a finely prepared surface that mimics ideal germination conditions, but for weeds, not your intended crop. It’s a strategy that can substantially reduce early weed emergence in many row crop systems, saving labor and herbicide costs. By doing this, you deplete the weed bank in the top one to two inches of soil, giving your direct-sown crops a crucial head start.
Timing and killing the weed flush
The primary goal is to minimize soil disturbance once the weed seeds have germinated. Traditional tillage often brings new weed seeds to the surface, perpetuating the problem. With a stale seedbed, you’re aiming for minimal soil disturbance during planting, which keeps dormant weed seeds deeper in the soil where they are less likely to sprout. This approach is particularly valuable for slow-germinating crops or those sensitive to early season competition, such as carrots or onions, which can see yield increases of 15% to 25% when weed pressure is reduced. The process also helps ensure optimal seed-to-soil contact for your desired crop, leading to more uniform stands.
- Reduced need for hand weeding by up to 70% in the first four weeks of crop growth.
- Improved crop stand establishment, with germination rates potentially increasing by 10% to 15%.
- Lower reliance on chemical herbicides, cutting input costs.
- Enhanced soil health by reducing repeated deep tillage, preserving soil structure and microbial life.
- Better water infiltration and retention, as undisturbed soil keeps the pore structure that lets rain soak in.
a step-by-step guide to stale seedbed preparation
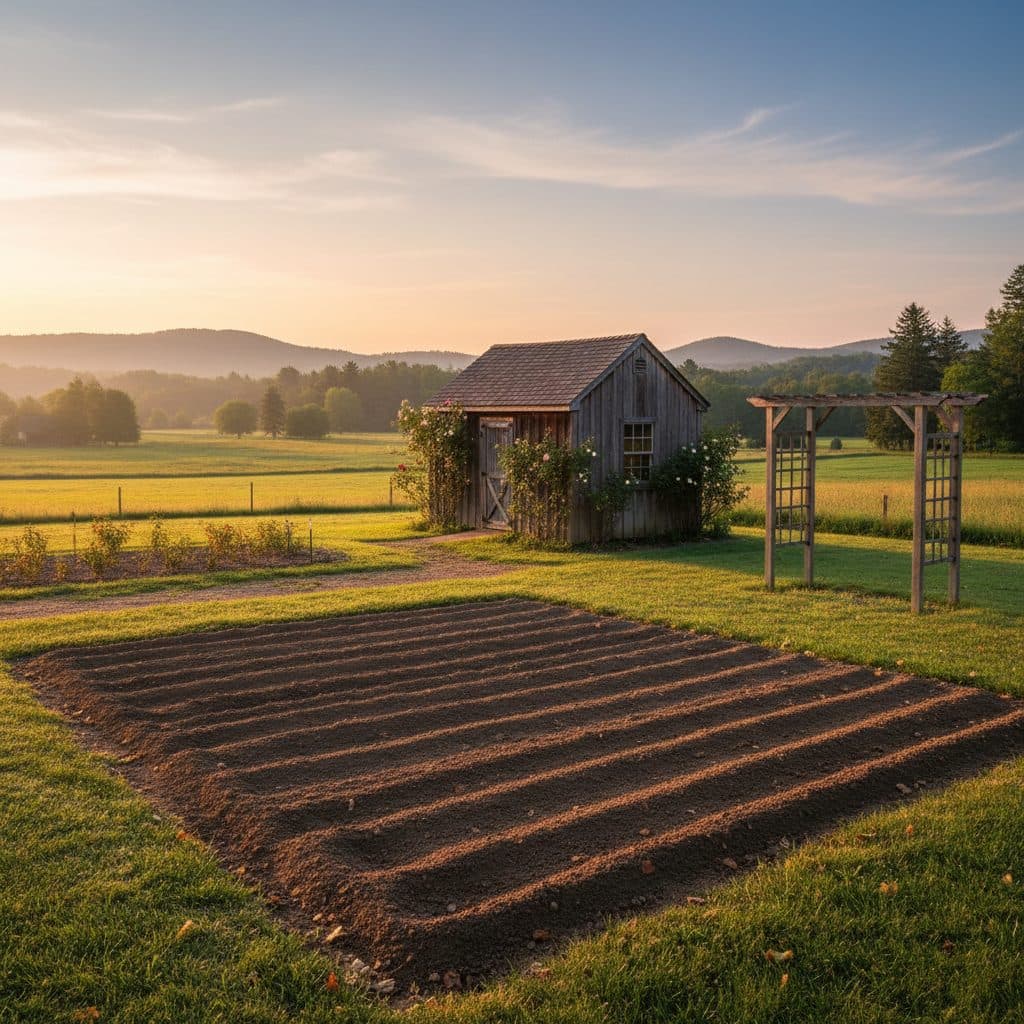
The effectiveness of a stale seedbed hinges on precise timing and execution. First, perform an initial shallow tillage or broadforking to a depth of four to six inches. This loosens the soil and brings dormant weed seeds closer to the surface, where they can germinate. Aim for a fine, crumbly tilth, removing any large rocks or debris that might impede future planting. In a 100 square foot bed, this might take 30 to 45 minutes of effort. Next, thoroughly water the prepared bed with 0.5 to 1 inch of irrigation, ensuring the top two inches of soil are consistently moist. This triggers the germination process for many weed species, especially those in USDA zones 5 through 8 where spring temperatures are rising.
Minimal soil disturbance
After watering, wait seven to fourteen days. During this period, the weed seeds will germinate, encouraged by the moisture and increasing soil temperatures, often reaching 60°F to 70°F. Once a significant flush of small weed seedlings, typically one to two inches tall, is visible, it’s time to eliminate them. Use a technique that causes minimal soil disturbance, such as flame weeding or a very shallow hoeing (less than 0.5 inch deep). Flame weeding kills young weeds without turning over the soil. Treat it as open-flame work: check your local burn ban and permit rules first, keep a fire extinguisher or charged hose within reach, work only in calm conditions, and stay well away from dry mulch, straw and standing crop residue. For larger areas, a light pass with a field cultivator set to a very shallow depth can also work. Remember, the goal is to kill the weeds without bringing new seeds to the surface.
Finally, direct sow your desired crop immediately after weed removal. Use a precision planter or hand-sow, disturbing the soil as little as possible to maintain the weed-free top layer. For example, carrots sown into a newly cleared stale seedbed spend their slow germination period without weed competition, which a conventionally tilled bed rarely offers. For more on soil building, consider incorporating cover crops after your harvest, like those discussed in Best Living-Mulch and Cover-Crop Legumes by USDA Zone for No-Dig Beds.
- Initial tillage or broadforking to a depth of four to six inches.
- Thorough irrigation with 0.5 to 1 inch of water.
- Waiting period of seven to fourteen days for weed germination.
- Elimination of sprouted weeds using flame weeding or very shallow hoeing.
- Direct sowing of cash crop with minimal soil disturbance.
planning for long-term soil health with crop rotation
While a stale seedbed addresses immediate weed pressure, crop rotation is your long-term strategy for maintaining soil fertility and plant vigor. A well-planned rotation can reduce pest and disease pressure by 20% to 30% and improve soil structure significantly [4]. For example, rotating a nitrogen-fixing legume, like clover, with a heavy feeder like corn, can add 50 to 150 pounds of nitrogen per acre, reducing the need for synthetic fertilizers [3]. In the Mid-Atlantic region, a common rotation might involve corn, followed by soybeans, then wheat, and finally a cover crop like hairy vetch, over a three-year cycle. Terminate hairy vetch before it sets seed: its hard seed carries over and volunteers in later crops, which is the opposite of what a weed-pressure program is for.
Pest and disease cycles
Effective crop rotation breaks pest and disease cycles specific to certain plant families. If you plant tomatoes in the same spot year after year, you’re inviting a buildup of diseases like early blight. By rotating to a different plant family – perhaps a brassica like cabbage, or a root crop like potatoes – you starve out those pathogens. This also helps manage weed populations, as different crops have different competitive abilities and cultivation requirements. For instance, a dense planting of buckwheat as a cover crop can smother up to 80% of broadleaf weeds before flowering.
Crop rotation contributes directly to increasing soil organic matter, which is the backbone of healthy soil. Rotations that include diverse crops and cover crops build soil organic matter, though the gain is measured over many years rather than in a single season. This improved soil structure enhances water infiltration, reducing runoff by 30% to 50% during heavy rains, and boosts nutrient availability for future crops. Consider exploring options for nitrogen fixation in perennial systems through resources like The Best Nitrogen-Fixing Trees for Every USDA Zone (2 to 12).
- Breaks pest and disease cycles, reducing crop losses by 10% to 30%.
- Improves nutrient cycling, potentially reducing fertilizer inputs by 20% to 50%.
- Builds soil organic matter over successive seasons.
- Suppresses weed growth by varying competitive crops and cultivation methods.
- Reduces soil erosion by improving soil structure and cover, sometimes by over 90% [1].
continuous harvest through succession planting
To truly maximize your garden’s output and ensure a steady supply of fresh produce, succession planting is a crucial technique. This involves planting smaller batches of crops at staggered intervals, rather than planting everything at once. For example, in USDA zone 7, you might plant a 10-foot row of bush beans every two to three weeks from May through July, ensuring a continuous harvest rather than a single overwhelming flush. This strategy significantly increases bed utilization, allowing you to get two or even three harvests from the same plot within a single growing season.
Planning succession planting requires understanding your local climate and crop maturity dates. For short-season crops like radishes (25-30 days to maturity) or lettuce (30-45 days), you can plant new batches every one to two weeks. For longer-season crops like bush beans (50-60 days), a three-week interval works well. In colder climates, such as USDA zone 4, focus on quick-maturing varieties and extend your season with cold frames or row covers, allowing you to plant greens into September for an October harvest. Choosing appropriate varieties is key; explore options in Plants for full sun: a zone-by-zone guide to what thrives in 6+ hours of direct light.
There are several methods for succession planting. You can replant the same crop in the same space once the previous harvest is complete, or plant a different crop that has a similar growth habit or nutrient needs. Relay planting involves sowing a new crop before the previous one is fully harvested, such as planting fall spinach between rows of corn that are nearing maturity. This maximizes light and space, potentially increasing overall yields by 15% to 20% per bed. This method is particularly effective in small-scale market gardens, where maximizing every square foot of growing space, perhaps 100 to 200 square feet, is paramount for profitability.
- Planting small batches of crops at staggered intervals (e.g., every two to three weeks).
- Utilizing short-season varieties to fit multiple harvests into one space.
- Employing relay planting, where new crops are sown before old ones are fully harvested.
- Extending the growing season with season extension techniques in colder zones.
- Maximizing overall bed productivity by 15% to 20% over a single-planting approach.
Comparing Seedbed Preparation Methods
Method | Primary Benefit | Weed Control Efficacy | Soil Disturbance |
|---|---|---|---|
Stale Seedbed | Reduces early weed pressure | High (50-70% reduction) | Low to Moderate |
Conventional Tillage | Quick soil loosening | Moderate (initial flush) | High |
No-Till/Cover Crop | Builds soil structure, adds OM | Moderate (suppression) | Very Low |
Soil Organic Matter: Consistent cover cropping and reduced tillage build soil organic matter over years, improving overall soil health.
Water Infiltration: A 1-inch rain event on a 1-acre field can deposit over 27,000 gallons of water, highlighting the importance of soil infiltration for water management [2].
Frequently asked questions
How long does a stale seedbed take to prepare?
The preparation process typically takes between one to three weeks. This includes the initial soil preparation, a waiting period of seven to fourteen days for weeds to germinate, and then a final weed elimination step before planting. This timeframe can vary slightly based on soil temperature and moisture levels in your specific USDA zone.
Can I use this method in a no-till system?
Yes, the stale seedbed technique can be adapted for no-till systems. Instead of initial tillage, you would prepare a fine seedbed on the surface using a rake or broadfork, ensuring minimal disturbance to deeper soil layers. Weed removal would then rely on very shallow hoeing or flame weeding, disturbing only the top 0.5 inch of soil, maintaining the no-till benefits.
What are the best crops for succession planting in USDA zone 6?
In USDA zone 6, excellent crops for succession planting include leafy greens like lettuce and spinach, which can be planted every two to three weeks from early spring through late summer. Bush beans, radishes, carrots, and beets also perform well with staggered plantings, allowing for continuous harvests from May through October. Aim for varieties with 30-60 day maturity windows.
How often should I rotate my crops?
A general guideline for crop rotation is a three-to-five-year cycle, meaning you shouldn’t plant the same crop family in the same spot more often than every three to five years. This duration helps to effectively break pest and disease cycles, which often require two to three years to dissipate in the soil.
Does a stale seedbed work for all types of weeds?
The stale seedbed technique is most effective against annual weeds that germinate from seeds in the top one to two inches of soil. It is less effective against perennial weeds with deep root systems, such as bindweed or quackgrass, which will regrow from their roots. For perennial weeds, additional strategies like persistent digging or targeted mulching over several weeks are often required.
What’s the ideal soil temperature for germinating weed seeds?
Most common annual weed seeds, such as lamb’s quarter and pigweed, germinate optimally when soil temperatures are consistently between 60°F and 75°F. Monitoring soil temperature with a thermometer, especially in the top two inches, helps determine the best time to initiate the watering phase of your stale seedbed preparation, often occurring in early spring in USDA zones 5-8.
References
- USDA Natural Resources Conservation Service (2024). USDA Natural Resources Conservation Service.
- EPA — Soak Up the Rain (2024). EPA — Soak Up the Rain.
- SARE — Sustainable Agriculture Research & Education (2023). SARE — Sustainable Agriculture Research & Education.
- ATTRA / NCAT Sustainable Agriculture (2023). ATTRA / NCAT Sustainable Agriculture.
- USDA National Agroforestry Center (2023). USDA National Agroforestry Center.