Key takeaways
- Earthbag foundations require a stable, well-drained site, typically a trench 12-18 inches deep filled with gravel to prevent moisture issues in regions like the Pacific Northwest.
- The first course of earthbags is essential for stability, often laid on a gravel trench and leveled precisely to within 1/4 inch over a 20-foot length.
- Earthbag walls are built by filling polypropylene bags with a 70% sand, 30% clay mix, compacting them, and stacking them with barbed wire between courses for tensile strength.
- Proper plastering, often with a three-coat system of earthen or lime plaster, protects earthbag walls from weather and UV degradation, extending their lifespan for many years.
- An average 200 square foot earthbag structure can be built for $5 to $15 per square foot for materials, depending on local soil availability and labor contribution.
- Integrating passive solar design and proper roof overhangs helps manage moisture and temperature, especially in climates with 40 inches of annual rainfall.
Quick answer: Earthbag construction involves preparing a stable, well-drained foundation trench, filling polypropylene bags with a sand-clay mix, compacting and stacking them with barbed wire, and applying a protective plaster.
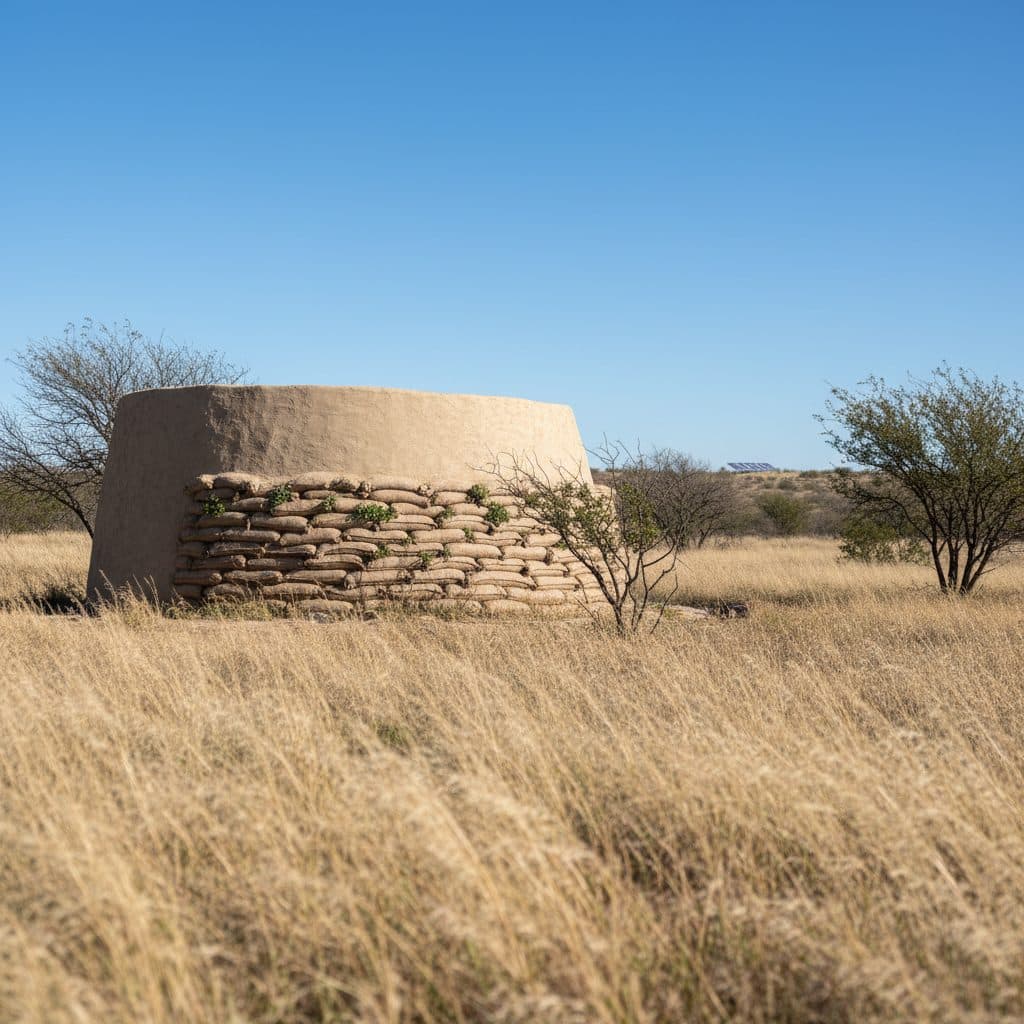
Building a solid structure on your homestead can be economical, especially when you consider natural building methods. In a place like central Oregon, where temperatures can swing 50 degrees Fahrenheit in a single day, thermal mass is a useful asset. Earthbag construction, using readily available soil and common polypropylene bags, gives a durable, thermally stable, and cost-effective option for everything from root cellars to small homes. A typical 200 square foot earthbag shed might require 800 to 1,200 bags, depending on wall thickness and height, representing a significant material cost saving over conventional lumber.
This method has been used for decades, proving its resilience in various climates, from arid deserts to humid regions. For instance, in Rwanda, earthbag construction is being explored as a teaching tool for sustainable building practices, showing its global applicability and simplicity [1]. Understanding the basics, from digging the first foundation trench to applying the final plaster, helps build a structure that will stand strong for decades, providing shelter and storage for your homestead operations.
Laying the foundation: site preparation and trenching
A strong foundation is the bedrock of any durable structure, and earthbag buildings are no exception. Before you even think about filling your first bag, careful site preparation is necessary. In a USDA zone 6 region like the high plains of Wyoming, where frost heave can be a concern, you’ll want to excavate a trench that extends below the local frost line, often 24 to 36 inches deep. This prevents the ground from shifting and compromising your walls over time. The trench width should be at least 18 inches, providing a stable base for your 15-inch wide earthbag walls.
Preparing the trench for drainage and stability
Once your trench is dug, it’s time to ensure proper drainage, especially in areas with 30 inches or more of annual rainfall. We typically fill the bottom 12 inches of the trench with 3/4-inch crushed gravel, compacted in 4-inch lifts. This gravel layer acts as a French drain, redirecting water away from your foundation and preventing moisture from wicking up into the earthbags. On top of the gravel, a 6-inch layer of tamped earth or road base provides a level surface for your first course of bags. Ensuring this layer is level to within 1/4 inch across a 20-foot span is essential for the structural integrity of the entire building, preventing uneven settling and potential cracking in the future.
- Excavate trench 24-36 inches deep, 18 inches wide.
- Add 12 inches of compacted 3/4-inch crushed gravel.
- Install a vapor barrier, such as 6 mil polyethylene sheeting.
- Lay a 6-inch compacted layer of earth or road base.
- Ensure the surface is level within 1/4 inch for the first course.
Building up: filling and stacking earthbag courses
With the foundation set, the real work of building the walls begins. Earthbags are typically filled with a mix of subsoil, ideally 70% sand and 30% clay, which provides excellent compaction and thermal mass. This blend is common in many agricultural areas across the Midwest, making it a readily available resource. Each bag, usually a standard 18 by 30-inch polypropylene sack, is filled to about 70-80% capacity, leaving enough room for the material to spread and compact. For a 200 square foot structure with 8-foot walls, you might use 800 to 1,200 bags, depending on the wall thickness. Once filled, the bags are tamped firmly using a hand tamper, compressing the soil to create a dense, stable block.
Interlocking courses with barbed wire and rebar
The strength of an earthbag wall comes from its mass and the friction between courses. After each course of bags is laid and tamped, two strands of 4-point barbed wire are placed lengthwise along the top of the bags. This barbed wire acts as a tensile reinforcement, preventing the bags from slipping and binding the courses together. For a 15-inch wide wall, this creates a strong, monolithic structure capable of supporting significant roof loads. Around openings like doors and windows, vertical rebar pins, typically 1/2-inch diameter, are driven through the bags and into the foundation or lower courses, providing additional lateral stability. This method ensures the long-term stability of the structure, especially in areas prone to seismic activity or high winds, like parts of California.
- Select soil with 70% sand, 30% clay content for optimal compaction.
- Fill 18 by 30-inch polypropylene bags 70-80% full.
- Tamp each bag thoroughly to create a dense, stable block.
- Lay two strands of 4-point barbed wire between each course.
- Install 1/2-inch rebar pins around door and window openings for stability.
Finishing strong: plastering and protection
Once your earthbag walls are up, they need protection from the elements. Unplastered polypropylene bags will degrade rapidly under UV exposure, often within a relatively short period in sunny climates like Arizona. Plastering protects the bags while improving the durability and appearance of the structure. A typical plaster system involves three coats: a scratch coat, a brown coat, and a finish coat. The scratch coat, often a coarse mix of clay, sand, and straw, is applied roughly 3/8 inch thick, providing a strong bond to the irregular surface of the earthbags. This initial layer provides adhesion and helps prevent cracking.
Choosing and applying the right plaster
The choice of plaster depends on your climate and desired finish. Earthen plasters, made from local clay and sand, are breathable and cost-effective, ideal for dry climates or interior walls. For exterior applications, especially in regions with high humidity or heavy rainfall, like the Gulf Coast, a lime-based plaster offers superior water resistance and durability. Lime plaster is typically applied in layers, each 1/4 to 3/8 inch thick, allowing sufficient drying time (often 24 to 48 hours) between coats. The final finish coat, whether earthen or lime, can be pigmented for color and smoothed to a desired texture. Proper plastering can extend the life of an earthbag structure for decades, which protects the building over time. Consider integrating passive solar design principles into your structure to further reduce energy needs, which can be powered by solar for tiny homes.
- Apply a 3/8-inch scratch coat of coarse plaster for adhesion.
- Allow each plaster coat to dry for 24-48 hours before the next.
- Use earthen plaster for breathable interiors or dry climates.
- Opt for lime plaster for superior water resistance in humid or wet regions.
- Apply a final finish coat, 1/4 inch thick, for aesthetics and added protection.
Structural considerations and roof integration
While earthbags provide excellent compressive strength, integrating a roof structure requires careful planning to distribute loads evenly. The top course of earthbags is typically capped with a bond beam, which can be a reinforced concrete beam, a wooden plate, or even a continuous course of cement-stabilized earthbags. This bond beam ties the walls together and provides a level, strong surface for attaching roof rafters or trusses. For a small 10×20 foot shed, standard 2×6 or 2×8 rafters spaced 24 inches on center are often sufficient. In areas like the Rocky Mountains, where snow loads can be substantial, engineering calculations for roof design are essential.
Managing moisture and thermal performance
Beyond structural support, the roof also helps manage moisture. Large roof overhangs, typically extending 24 to 36 inches beyond the wall, are vital for protecting the earthbag walls and plaster from rain and direct sun. This is especially important in the humid southeastern US, where excessive moisture can lead to plaster degradation and mold growth. Earthbag walls themselves offer significant thermal mass, helping to stabilize interior temperatures. A 15-inch thick earthbag wall can have a moderate R-value, but its true benefit lies in its ability to absorb and release heat slowly, reducing daily temperature swings. For off-grid power needs, consider how solar panels for off-grid living can complement the thermal stability of your earthbag structure.
- Install a bond beam (concrete, wood, or stabilized earthbag) on the top course.
- Design roof rafters or trusses to accommodate local snow and wind loads.
- Ensure roof overhangs extend 24-36 inches to protect walls from weather.
- Integrate passive ventilation to manage interior humidity, especially in damp climates.
- Consider a living roof for added insulation and aesthetic appeal, adding 30-50 pounds per square foot to the roof load.
Cost and labor for earthbag structures
One of the most appealing aspects of earthbag construction is its potential for significant cost savings compared to conventional building methods. For a small 200 square foot structure, material costs can range from $5 to $15 per square foot, depending heavily on the availability of suitable soil. If you have good subsoil on your property, your primary material costs will be for polypropylene bags (around $0.50-$1.00 each), barbed wire ($0.20-$0.40 per linear foot), and plastering materials. In contrast, a similar sized stick-built structure might cost $20-$40 per square foot for materials alone. This makes earthbag a viable option for homesteaders in regions like rural Kansas looking to build on a tighter budget.
Estimating labor and time commitment
While material costs are low, earthbag construction is labor-intensive. Filling, tamping, and stacking 800-1,200 bags for a 200 square foot structure can take two to three people 100-200 hours of work. This doesn’t include the time for foundation work, roof installation, or plastering. A small crew of three individuals could complete the earthbag wall construction for a shed in three to five weeks, working 40-hour weeks. However, much of this labor can be contributed by the homesteader and volunteers, effectively reducing the cash outlay. For instance, community builds have shown that volunteer labor can significantly reduce construction time and cost. Homesteaders often rely on volunteer or family labor to lower total construction expenses. For lighting and small appliance needs in your new structure, explore solar power for a shed.
- Material costs range from $5-$15 per square foot for a 200 square foot structure.
- Polypropylene bags cost $0.50-$1.00 each, and barbed wire $0.20-$0.40 per linear foot.
- Labor for filling and stacking bags can be 100-200 hours for a 200 square foot building.
- A small crew can complete wall construction in three to five weeks.
- Volunteer labor can significantly reduce overall cash costs, often by 50% or more.
Comparison of earthbag vs. stick-frame construction for a 200 sq ft shed
Feature | Earthbag construction | Stick-frame construction |
|---|---|---|
Material cost (per sq ft) | $5 – $15 (low soil cost) | $20 – $40 |
Labor intensity | High (manual filling/tamping) | Moderate (skilled carpentry) |
Thermal mass | Excellent (reduces temperature swings by 10-20 °F) | Low (requires added insulation) |
Fire resistance | Very High (non-combustible soil) | Moderate (wood is combustible) |
Moisture vulnerability | Requires good drainage/plaster | Vulnerable to rot/mold if not sealed |
UV protection | Essential (plaster required within 6 months) | Siding provides protection |
Soil Composition: Optimal earthbag fill consists of 70% sand and 30% clay, providing maximum compaction and stability for walls up to 15 inches thick.
Plaster Thickness: A three-coat plaster system, with each layer 1/4 to 3/8 inch thick, is essential for protecting earthbag walls from UV and moisture for 50 years or more.