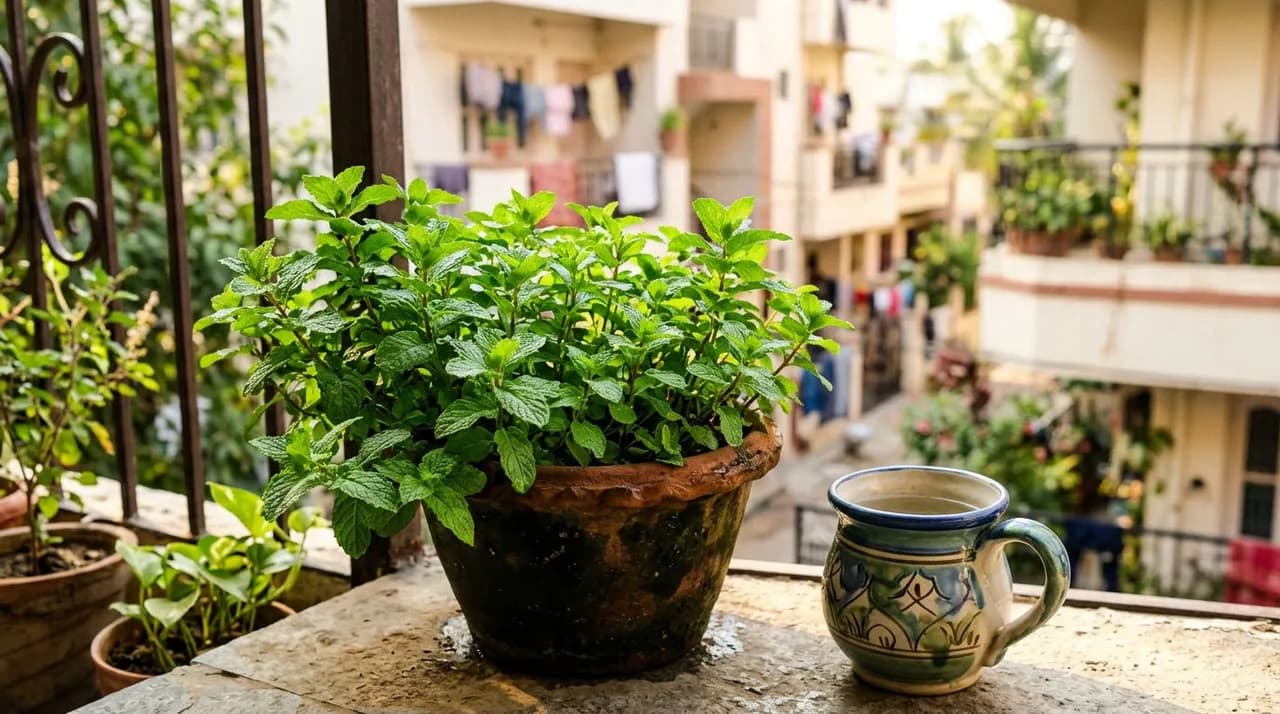
Key takeaways
- Propagate mint (Mentha spicata) easily from thick, healthy market-bought stems rooted in water within 5 to 7 days.
- Always grow mint in dedicated containers to prevent its vigorous underground rhizomes and surface stolons from choking out other garden plants.
- Use wide, shallow pots (15 cm to 20 cm depth) filled with a moisture-retentive blend of coco peat, vermicompost, and sand.
- Provide 4 to 5 hours of morning sunlight and protect plants from extreme afternoon summer heat to prevent leaves drying up.
- Pinch terminal shoot tips regularly to stimulate dense, bushy side branching and delay flowering.
Quick answer: To grow mint at home in India, take 15 cm cuttings from market pudina, root them in a glass of water for a week, and transplant into wide, shallow pots filled with coco peat and vermicompost. Keep the soil evenly moist in bright morning light, pinching tips regularly for bushy growth.
Learning how to grow mint at home gives every Indian kitchen an unending supply of intensely aromatic, fresh pudina leaves. From refreshing summer lemonades (shikanji) and cooling raitas to spicy mint-coriander chutneys and fragrant biryanis, fresh pudina is a daily culinary necessity across India.
Unlike many delicate herbs that demand specialized nursery seeds and finicky care, mint is one of the most vigorous, fast-multiplying perennial herbs in the world. You do not even need to buy seed packets; a single fresh bunch of pudina from your local vegetable market (sabzi mandi) gives you a dozen or so usable cuttings — enough to fill several pots once they have rooted and grown on.
However, home growers frequently struggle with two common issues: leggy, yellowing stems, or finding their mint plant drying up in intense summer heat. Understanding mint's runner anatomy, moisture demands, and pruning triggers ensures lush green pots throughout the year.
Propagating from market cuttings and rooting in water
Starting a mint patch from grocery store stems is fast, cost-effective, and highly reliable:
+---------------------------------------------------------+
|                  [Water Rooting Pudina]                 |
|                                                         |
|    (Market Mint Stem)         (Strip Lower Leaves)      |
|           \ | /                       \ | /             |
|            \|/                         \|/              |
|             |                           |               |
|             |               ===>        | (Bare Node)   |
|             |                           |               |
|                                                         |
|    (5-7 Days in Water)        (Fibrous White Roots)     |
|          [Water]            ===>     [Water]            |
|       (Bright Window)               /// | \\\           |
+---------------------------------------------------------+
1. Selecting the best stems to grow mint from cuttings
When sorting through a fresh bunch of market pudina:
- Choose thick, green, pencil-stout stems that feel firm and hydrated. Avoid thin, black, withered, or mushy stems.
- Cut stems to roughly 12 cm to 15 cm in length using clean kitchen scissors, making a clean 45-degree angle cut directly below a leaf node (the junction where leaves join the stem).
2. Stripping and preparing cuttings
- Strip off all leaves from the bottom two-thirds of the stem, leaving only 4 to 6 small leaves at the very top.
- Removing lower leaves prevents foliage from rotting underwater while reducing moisture loss through transpiration.
3. Rooting the mint plant in water
- Place the prepared cuttings into a clean glass jar or mug filled with clean, room-temperature water. Ensure the bare leaf nodes are submerged while top leaves remain dry above the rim.
- Position the jar in a bright location that receives indirect natural light, such as a kitchen windowsill. Avoid hot, direct sun during water rooting.
- Change the water every 2 days to maintain high dissolved oxygen levels and prevent bacterial slime.
- Within 5 to 7 days, white adventitious roots will emerge from the submerged nodes. When roots reach 3 cm to 5 cm in length, the cuttings are ready for potting.
For complementary herb cultivation advice, explore how to grow coriander at home.
Soil requirements and why mint must always be containerised
Understanding mint's invasive growth habit is essential before planting:
The golden rule: grow mint in dedicated pots
Mint spreads two ways at once — underground rhizomes that push out sideways below the soil, and stolons that creep across the surface and root wherever a node touches down. If planted directly into open soil in a shared vegetable bed, mint roots will rapidly spread in all directions, strangling adjacent root vegetables, leafy greens, and herbs.
- Always plant mint in its own dedicated container.
- Never mix mint into the same container with slow-growing herbs like coriander, basil, or curry leaves.
+---------------------------------------------------------+
|                   [Shallow Pot Design]                  |
|                                                         |
|       (Lush Green Pudina Canopy & Pinched Tips)         |
|             \ \ \ \ \ \ \ \ \ \ \ \ \ \                 |
|   ===========|===|===|===|===|===|===|===========       |
|   <--- Horizontal Surface Stolons / Runners --->        |
|   ---------------------------------------------------   |
|   15 cm - 20 cm Depth Lightweight Coco Peat Blend       |
|   ====================================================  |
|               [Wide Terracotta Pot / Tray]              |
+---------------------------------------------------------+
Choosing wide, shallow containers
Mint has a shallow, fibrous root system that expands horizontally instead of plunging deep into the soil:
- Container shape: Wide, shallow circular bowls, rectangular planter troughs, or 25 cm diameter terracotta pots with a depth of 15 cm to 20 cm are ideal.
- Material: Breathable terracotta or non-woven fabric grow bags allow natural root aeration and prevent water stagnation.
The ideal potting mix for pudina
Mint prefers a rich, moisture-retentive, loose soil with a slightly acidic to neutral pH (6.0 to 7.0):
- 50% washed coco peat: Retains consistent moisture and prevents rapid container drying during summer.
- 40% aged vermicompost or well-rotted cow dung manure: Provides steady, mild organic nitrogen that fuels continuous green leaf flush.
- 10% coarse river sand or perlite: Ensures free drainage and prevents anaerobic root rot.
For small-space balcony layout principles, review our guide to small home terrace garden.
Essential pudina plant care: light, water, and feeding
Providing attentive daily pudina plant care ensures continuous leaf production across changing Indian seasons:
1. Sunlight and heat protection
- Optimal light: Mint performs best with 4 to 6 hours of gentle morning sunlight (from 7:00 AM to 11:00 AM).
- Afternoon protection: In hot Indian summers (April to June) when temperatures climb above 38°C, shift pots into bright, dappled shade or place them beneath a 50% green agro-shade net. Intense afternoon solar radiation bleaches leaf chlorophyll and scorches delicate foliage.
2. Watering discipline
Mint naturally originates from moist riverbanks and damp meadows; it hates completely dry soil:
- Keep the potting soil consistently cool and moist to the touch.
- In peak summer, water containers twice daily (early morning and evening).
- In winter and monsoon, water only when the top 1 cm of soil feels slightly dry.
- Avoid leaving pots sitting in deep saucers of stagnant water, which suffocates roots.
3. Organic nutrition
Because you harvest leaves frequently, replenish nutrients every 3 to 4 weeks:
- Top-dress the pot with two handfuls of fresh vermicompost or composted cow manure.
- Apply a diluted organic liquid feed, such as vermiwash (diluted 1:10) or fermented liquid seaweed drench, once a month to boost leaf essential oil concentration.
For whole-rooftop spatial design, consult our comprehensive walkthrough on terrace garden design in India.
Troubleshooting why your mint plant is drying up
If your potted pudina begins shedding leaves, drying out, or turning brown, identify the underlying cause:
+-------------------+--------------------+--------------------------------------------+
| Symptom           | Primary Cause      | Corrective Action                          |
+-------------------+--------------------+--------------------------------------------+
| Crispy brown leaf | Harsh midday sun & | Move to morning sun; water deeply twice    |
| tips in summer    | dry potting mix    | daily; mulch surface with dry leaves       |
+-------------------+--------------------+--------------------------------------------+
| Leggy, pale green | Insufficient light | Shift to a brighter balcony receiving      |
| stems             |                    | 4-5 hours of direct morning sunlight       |
+-------------------+--------------------+--------------------------------------------+
| Dense woody base, | Root-bound pot &   | Unpot, divide root ball into quarters, and |
| small pale leaves | choked stolons     | replant in fresh coco peat and compost     |
+-------------------+--------------------+--------------------------------------------+
| Blackened stems   | Overwatering &     | Clear drainage holes; reduce watering; let |
| at soil level     | waterlogged clay   | topsoil dry slightly between waterings     |
+-------------------+--------------------+--------------------------------------------+
1. Extreme heat and moisture loss
When a mint plant drying up occurs in May or June, it is usually due to small container volume combined with hot winds (loo). Mulch the pot surface with dry leaves and shift the pot to a sheltered balcony corner.
2. The root-bound choke
After 6 to 9 months of rapid growth, mint stolons completely fill the pot, forming a dense, tangled root mat that displaces all potting soil. Water runs straight down the inside of the pot without wetting the roots:
- Tip the plant out of its pot in spring or monsoon.
- Cut the root ball into three or four equal wedges using a sharp knife.
- Replant one wedge into fresh potting mix, gifting the remaining divisions to friends.
Harvesting techniques and boosting bushy growth
Proper harvesting technique helps prevent leggy, flowering mint:
1. Pinching tips regularly
Never harvest by pulling individual leaves off the stem. Plucking leaves leaves bare, woody stalks that gradually die back:
- Always harvest by pinching or snipping the top 5 cm to 8 cm of the stem just above a set of leaf nodes.
- Removing the terminal growing tip breaks apical dominance and forces the two dormant buds at the node below to grow into two new vigorous branches.
- Regular pinching encourages a thick, bushy mound of fragrant foliage.
2. Preventing flowering
If you see small purple flower spikes forming, pinch them off. Flowering pushes the plant's energy into seed and the leaves turn coarser and more resinous. If a pot does get away from you and flowers, cut the whole thing back hard to a few centimetres — it will flush again with better leaf.
Pair your kitchen herb containers with perennial staples like curry leaf plant care, and plan seasonal vegetable beds with our planting guides for summer vegetables in India and winter vegetables in India.