Key takeaways
- Lay thick, unprinted corrugated cardboard across the base with 15 cm overlaps to smother perennial weeds without disturbing native subsoil.
- Build frame sides between 15 cm and 30 cm high for standard vegetable crops, or up to 45 cm for root vegetables on compacted ground.
- Prefer untreated larch, sweet chestnut or cedar; modern copper-treated softwood is acceptable if you line the inside face to keep wood out of direct contact with the soil.
- Fill the upper 15 cm of the bed with well-rotted organic compost to provide a friable, weed-free seedbed from day one.
- Top-dress beds annually each autumn with a 2.5 cm to 5 cm layer of compost to feed soil biology without mechanical tilling.
Quick answer: No dig raised beds combine the drainage and ergonomics of timber or masonry frames with the biological benefits of no-till soil stewardship. Gardeners in the UK build these beds by placing thick overlapping cardboard directly over existing grass or weeds, erecting rigid timber surrounds, and filling the structure with organic compost and well-rotted matter. This method preserves mycorrhizal fungal networks, eliminates backbreaking digging, and establishes a weed-free growing medium immediately.
Establishing no dig raised beds provides UK gardeners and allotment holders with a practical solution for heavy clay, stony ground, and persistent weed pressure. Rather than inverting soil horizons with a spade—which brings dormant weed seeds to the surface and disrupts worms—the no-dig method builds fertility upward from the ground surface.
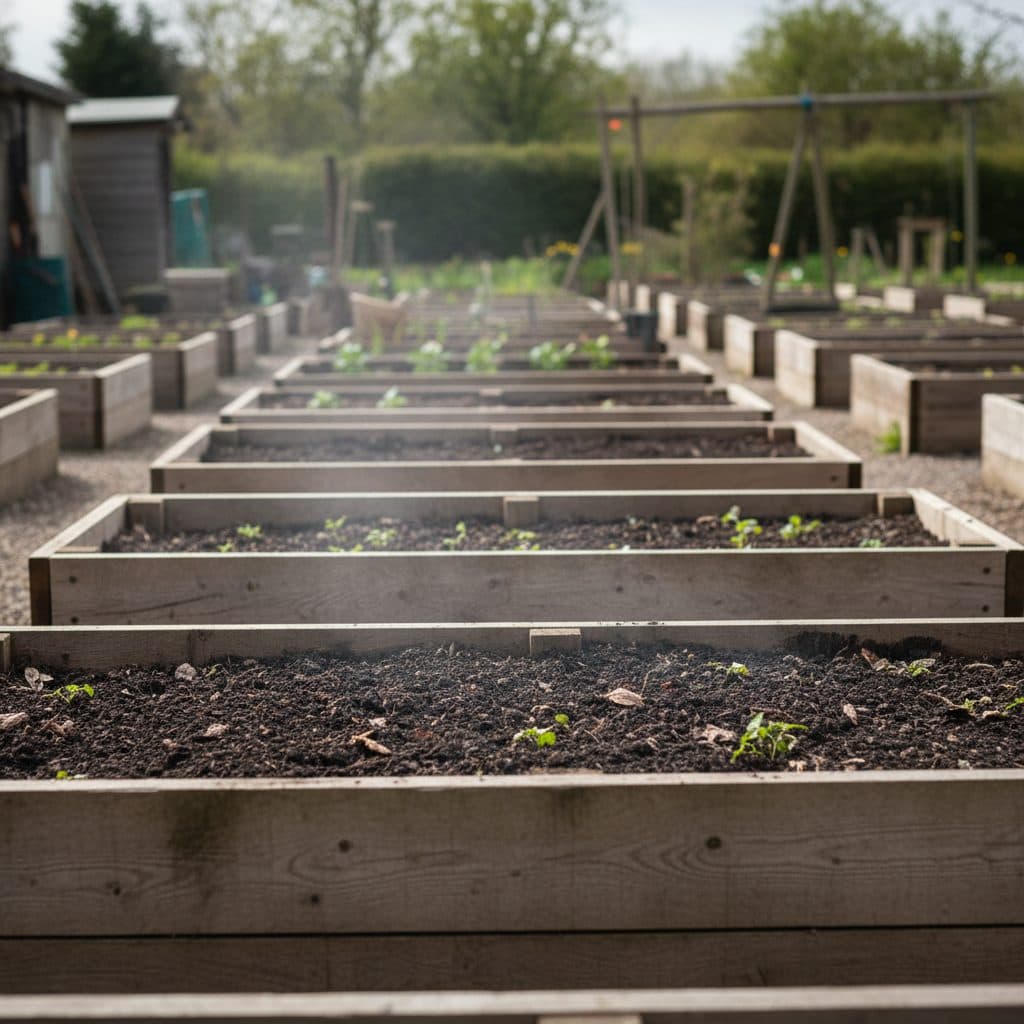
Raised frames define distinct growing areas from permanent walking pathways. This physical boundary prevents soil compaction caused by foot traffic, concentrates organic amendments where plant roots feed, and allows earlier spring sowing as elevated soil warms faster than flat earth.
Whether converting an overgrown allotment plot or upgrading a suburban back garden, building no dig beds creates resilient growing conditions. By understanding how to select durable timber, prepare base layers, calculate fill volumes, and manage soil ecology, you can establish productive growing beds that require minimal weed management for years to come.
Choosing between framed and unframed no dig beds
While no-dig methods can be practiced as simple mounded beds without borders, timber frames offer significant advantages across British plots subject to persistent rain and aggressive grass paths.
+------------------------+-----------------------------------+-----------------------------------+
| Characteristic         | Framed No Dig Raised Beds         | Unframed No Dig Mounds            |
+------------------------+-----------------------------------+-----------------------------------+
| Construction Cost      | Higher (timber, fixings, brackets)| Minimal (compost and cardboard)   |
| Path Containment       | Keeps compost neatly separated    | Edges erode into pathways         |
| Slug & Woodlice Habitat| Timber edges offer daytime shelter | Fewer permanent hiding places     |
| Longevity              | 7 to 15 years depending on wood   | Indefinite; shape reshaped yearly |
| Sowing Surface         | Defined, level planting zone      | Sloping shoulders reduce flat area|
+------------------------+-----------------------------------+-----------------------------------+
Timber frames hold precious compost in place during intense autumn downpours and provide clean fixing points for protective netting, fleece tunnels, and cloches. For gardens with creeping couch grass or bindweed along pathways, a solid border acts as an initial physical barrier against invasive runners.
Unframed beds remain suitable for large market gardens where machinery or broad pathways require continuous reconfiguration. For the majority of UK home gardeners and plot holders, rigid framed beds deliver superior neatness, easier path weeding, and stable footing.
Preparing the ground and laying the base
The core principle of no-dig establishment is leaving the existing subsoil intact. You do not need to strip turf, hire a rotavator, or double-dig the site.
+-------------------------------------------------------------------+
|               NO DIG RAISED BED LAYER STRUCTURE                   |
+-------------------------------------------------------------------+
| [Layer 4] 15 cm Well-Rotted Garden Compost / Sowing Medium        |
| [Layer 3] 10 cm Well-Rotted Manure / Partially Composted Organic  |
| [Layer 2] Coarse Woody Prunings / Carbon Base (Optional for deep) |
| [Layer 1] Overlapping Plain Corrugated Cardboard (Base Barrier)   |
| ======================= Native Soil / Turf ====================== |
+-------------------------------------------------------------------+
Clearing tall growth
Begin by mowing or strimming surface vegetation as close to the ground as possible. Leave the chopped plant debris in place; it will decompose under the dark base layer and return nutrients to the soil. Remove large stones or woody debris that would prevent the frame from sitting flush against the ground.
Sourcing and laying cardboard
Collect clean, unprinted corrugated cardboard boxes from local shops or delivery packaging. Remove all plastic packaging tape, staples, and synthetic labels, as these will not break down in the soil.
Lay the cardboard across the entire footprint of the bed, extending slightly under the timber edges. Ensure adjacent pieces overlap by at least 15 cm to 20 cm. This generous overlap prevents light from penetrating when weeds push upward through gaps. Thoroughly soak the cardboard with water from a hose or watering can before adding organic matter, which accelerates microbial breakdown and prevents the cardboard from wicking moisture away from new plant roots.
For plots with severe drainage issues, performing a soil drainage percolation test helps confirm whether deep subsoil compaction requires forking without inversion before cardboard placement.
Selecting frame materials and edging
Selecting the right timber ensures your raised beds remain structurally sound for a decade or more without introducing unwanted synthetic residues to edible crops.
Recommended timber types
- Untreated Sweet Chestnut: A durable hardwood (BS EN 350 class 2) that holds up in wet UK ground for roughly 15 years untreated.
- Untreated Larch: A moderately durable softwood (class 3-4); expect nearer 7 to 10 years for boards in ground contact.
- Western Red Cedar: Highly durable and dimensionally stable, though generally more expensive.
- Reclaimed Scaffold Boards: Economical and sturdy (typically 38 mm thick by 225 mm wide), but require inspection to ensure they are free from industrial chemical spills.
- Treated Construction Softwood: Widely available and affordable. Modern UK pressure-treated timber uses copper-based compounds rather than historic arsenic formulations, but lining the inside with breathable membrane avoids direct soil-to-wood contact.
Secure corners using sturdy wooden corner posts (such as 50 mm x 50 mm timber stakes driven 20 cm into the ground) or galvanised steel angle brackets fastened with exterior-grade screws. For beds longer than 2.4 metres, install a central cross-tie wire or wooden brace to prevent the long side boards from bowing outward under the weight of wet compost.
How deep should no dig beds be?
The ideal depth of a raised bed depends on the underlying subsoil condition and the crops you intend to cultivate.
Standard beds (15 cm to 20 cm)
If your native subsoil is reasonably permeable and free from impenetrable hardpan, a frame height of 15 cm to 20 cm is optimal. Cardboard usually softens enough for roots to pass through within about two months during the growing season; on cold winter ground expect it to persist longer.
Deep beds (30 cm to 45 cm)
Where beds are placed over solid concrete, contaminated urban ground, or heavily compacted subsoil, construct frames 30 cm to 45 cm deep. 45 cm gives parsnips and maincrop carrots enough depth to make a usable root, though parsnips will go deeper given the chance. Over solid concrete, leave a drainage gap at the base or lay coarse rubble so the bed does not sit waterlogged. Taller beds also reduce bending, making maintenance easier for gardeners with limited mobility.
Filling and layering your no dig bed
Filling a deep bed entirely with premium compost can be expensive. Using a layered approach balances cost while providing long-term soil structure.
Base and mid layers
For beds deeper than 25 cm, place a 5 cm to 10 cm base layer of coarse carbon materials—such as small tree twigs, shredded woody prunings, or semi-rotted leaf mould—directly over the wet cardboard. This layer creates airspace and slowly breaks down over several seasons. Follow this with a 10 cm layer of well-rotted farmyard manure, spent mushroom compost, or coarse homemade compost.
Top layer: the sowing medium
The top 10 cm to 15 cm must consist of clean, well-aerated, fully decomposed compost. This layer is your immediate planting medium. Sourcing high-quality organic matter is discussed in our dedicated guide on compost for no dig gardening.
Rake the surface completely flat using a garden rake. Lightly firm the surface by pressing down with the back of the rake or a wooden board to eliminate large voids without compacting the compost.
Planting, cropping and annual maintenance
Once filled, a no dig raised bed is immediately ready for planting. There is no need to wait for layers to settle before sowing seeds or transplanting plugs.
Immediate planting strategies
Transplant young vegetable plugs directly into the compost layer. For direct-sown crops such as carrots, radishes, or salad leaves, draw shallow drills into the fine compost surface and water gently. Combine this with early spring ground preparation as outlined in an allotment first year plan.
Protecting against early weeds
While cardboard smothers annual weeds and grass, horsetail and bindweed are the two weeds no-dig does not beat quickly. Both regrow from rhizomes far below the reach of cardboard, so expect to snap off every shoot as it appears, repeatedly, for several seasons — three years or more for horsetail — before the plants weaken. A no-dig bed contains them; it does not clear them in a year. For broad pathways around beds, suppress growth using sheet mulching cardboard weed control.
Autumn maintenance and mulching
Never dig, invert, or rotavate the bed at the end of the season. After harvesting summer crops, clear spent foliage to the compost heap. In October or November, apply a 2.5 cm to 5 cm layer of fresh compost across the entire bed surface. Winter rain and earthworm activity naturally draw these nutrients down into the root zone, leaving a friable, weed-free seedbed ready for early spring sowing. Alternatively, protect bare compost over winter by sowing a winter green manure that can be hoed off in spring.