Key takeaways
- A significant fruit glut, potentially 50+ pounds from a single tree, can be effectively preserved by making fruit vinegar.
- The basic process involves primary alcoholic fermentation by yeast, followed by secondary acetic acid fermentation by bacteria, requiring 2 to 4 weeks per stage.
- Proper sanitation, including washing fruit thoroughly, prevents microbial contamination and keeps the finished product safe.
- Vinegar starter, or ‘mother,’ is essential for consistent acetic acid production and can be maintained for future batches.
- Homemade fruit vinegar, with a pH typically between 2.4 and 3.4, offers a shelf life of up to 2 years when stored correctly below 60°F.
- Beyond culinary uses, fruit vinegar can serve as a natural cleaner or hair rinse, providing versatile applications for your harvest.
Quick answer: Homemade fruit vinegar is made by a two-stage fermentation process: first, yeast converts fruit sugars to alcohol, then bacteria convert the alcohol to acetic acid. This method effectively preserves excess fruit, turning it into a shelf-stable, versatile product.
Out here in the Ozarks, particularly in USDA Zone 6, we often face a bounty that can quickly become a burden: a fruit glut. Picture a mature mulberry tree, perhaps 20 years old, dropping 50 to 100 pounds of fruit over a few weeks in late spring. Or a wild elderberry patch yielding 30 pounds of berries after a good rain. It’s a common scenario for many growers across the United States. While fresh eating is always a joy, and dehydrating food is a solid option, there’s only so much you can consume or freeze before waste becomes a real concern.
This is where homemade fruit vinegar steps in as a practical, rewarding preservation method. It’s a way to capture the essence of your harvest, transforming a perishable glut into a shelf-stable, versatile product. We’re talking about taking those 20 gallons of overripe grapes or 40 pounds of mulberries that might otherwise spoil and turning them into something useful for months, even years. The process is straightforward, relying on natural fermentation, and the end result is a flavorful vinegar that far surpasses most store-bought options.
Why turn excess fruit into vinegar?
When your fruit trees or bushes produce more than you can possibly use fresh, making vinegar offers several advantages over other preservation methods. For instance, a single established mulberry tree (Morus spp.) can yield 20 to 100 pounds of fruit annually, and sometimes much more in a bumper year. Instead of watching part of that harvest go to waste, converting it into vinegar puts most of it to use. This method reduces food waste significantly and turns a potential loss into a pantry staple. Furthermore, berry fruits are rich in phytochemicals like anthocyanins, which are potent antioxidants, meaning your vinegar will carry some of these beneficial compounds [1].
economic and practical benefits
The cost savings alone can be substantial. A gallon of quality fruit vinegar can retail for $15 to $30, while your homemade version costs pennies per gallon, primarily for sugar and time. This is particularly true if you’re working with a 10-gallon harvest of riverbank grape (Vitis riparia) or a similar native fruit. The process also requires minimal specialized equipment—a few 5-gallon food-grade buckets, some cheesecloth, and bottles are often all you need. This makes it accessible for most home growers, even those processing 50 pounds of fruit at a time.
- Reduces food waste: Converts 10 to 100 pounds of perishable fruit into a stable product.
- Cost-effective: Significantly cheaper than buying specialty vinegars, saving $15 to $30 per gallon.
- Utilizes natural bounty: Makes use of wild or cultivated fruit gluts, like 25 pounds of elderberries.
- Adds pantry value: Creates a versatile ingredient for cooking, cleaning, and health.
Selecting and preparing your fruit
The quality of your fruit directly impacts the flavor of your finished vinegar. For mulberries, elderberries, and grapes, aim for fully ripe, even slightly overripe fruit. A 15-pound harvest of ripe elderberries (Sambucus spp.), common in USDA Zones 3-9, will have higher sugar content, which the initial alcoholic fermentation needs. Avoid any fruit with mold or significant spoilage, as microbial contamination can introduce off-flavors or even safety concerns [2]. Rinse the fruit under cool running water to remove dirt and insects. Don’t scrub or soak it — the primary ferment here relies on the wild yeast living on the skins. If the must has not started bubbling after several days, or if you cooked the fruit first, pitch a packet of wine yeast to get the primary going.
mulberries, elderberries, and grapes
Mulberries (Morus spp.) are particularly good candidates due to their high sugar content and prolific yields in USDA Zones 4-8. For elderberries, use only fully ripe, dark purple berries of American or European elder (Sambucus canadensis or S. nigra), and strip out every trace of stem, not just the large woody ones. Red elderberry (S. racemosa), green berries, and the stems, leaves and seeds of any elder carry cyanogenic glycosides that cause nausea, vomiting and diarrhea, and fermentation does not destroy them. Cook the berries first, simmering them as a tested elderberry syrup recipe directs, and cool them before they go into the jar. Cooking also kills the wild yeast on the skins, so pitch a packet of wine yeast to start the primary ferment. Grapes are classic choices for vinegar, cultivated varieties and wild ones alike. If you are picking wild, know what you have: the wild grapes of the Ozarks are riverbank grape (Vitis riparia) and summer grape (V. aestivalis), and both have a poisonous lookalike in Canada moonseed (Menispermum canadense), which climbs the same thickets. Grape vines climb by tendrils and each berry holds two to four pear-shaped seeds; moonseed has no tendrils and each berry holds a single flat crescent-shaped seed. If you cannot check the seed, leave the fruit. For a 20-pound batch, you’ll want to gently crush the fruit to expose the juices and natural yeasts, but avoid pulverizing it into a fine pulp, which can make straining difficult later. Leave stems on grapes if you wish, as they contribute tannins, but remove large woody stems from mulberries and elderberries.
- Mulberries: Use fully ripe, dark berries from trees in USDA Zones 4-8.
- Elderberries: Harvest dark purple berries, avoiding green or unripe ones, common in Zones 3-9.
- Grapes: Any variety, including wild grapes, that are sweet and ripe, typically yielding 10-20 pounds per vine.
- Quantity: Aim for at least 5 pounds of fruit for a 1-gallon batch of vinegar.
- Washing: Rinse all fruit for 30-60 seconds to remove dirt and potential contaminants.
The fermentation process: from fruit to tang
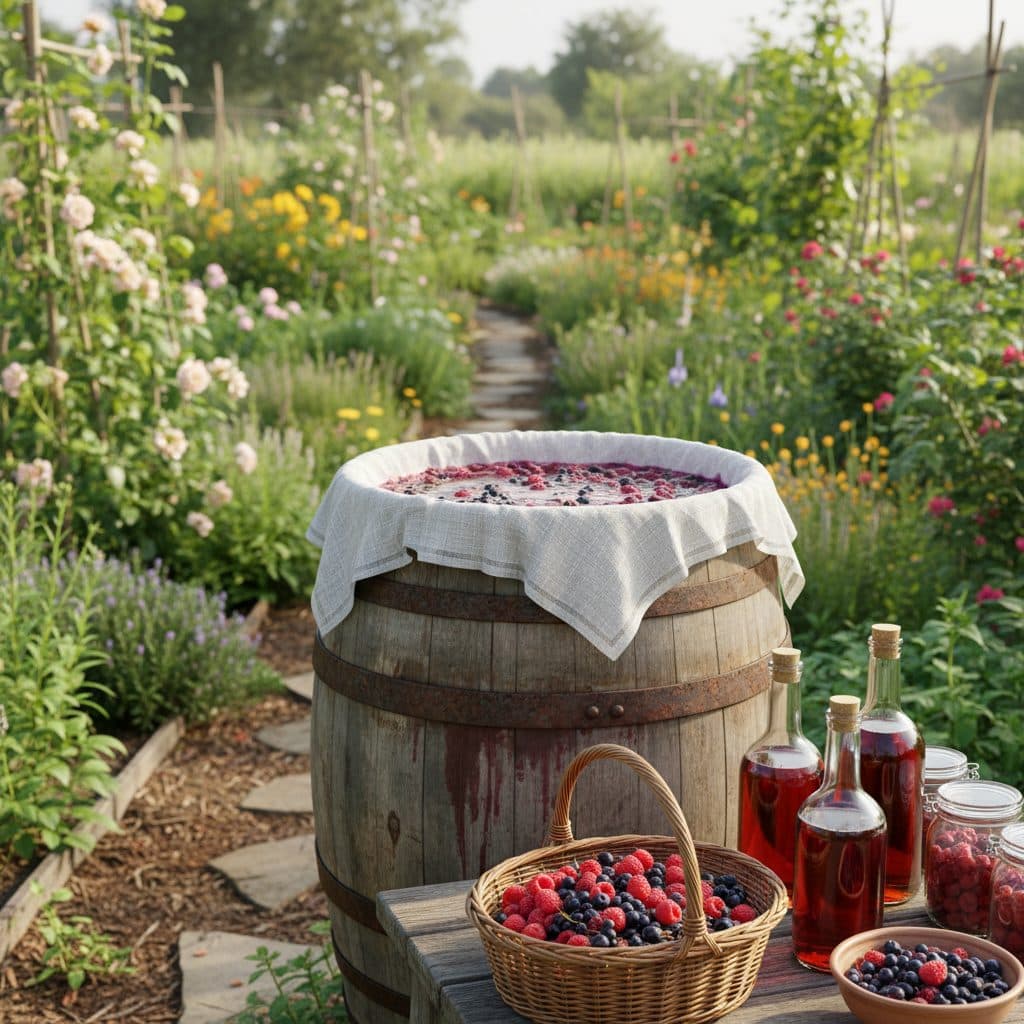
Making fruit vinegar is a two-stage fermentation process. The first stage is alcoholic fermentation, where yeast converts the fruit’s sugars into alcohol. For a 1-gallon batch, combine 5 pounds of crushed fruit with 4 cups of sugar and 8 cups of non-chlorinated water. That is a heavy sugar charge for vinegar. Acetic acid bacteria stall out in high alcohol, so a must this strong ferments to wine strength and then resists turning to vinegar — cut the sugar back until the strained liquid tastes winey rather than hot and spirituous. Cover your fermentation vessel (a 1-gallon jar, or a 5-gallon food-grade bucket for larger batches) with cheesecloth secured by a rubber band. This allows air exchange while keeping out fruit flies. Maintain a temperature between 65°F and 75°F for 1 to 2 weeks, stirring daily to prevent mold and ensure even fermentation.
introducing the vinegar mother
Once the initial bubbling subsides, indicating the yeast has largely finished its work, it’s time for the second stage: acetic acid fermentation. Strain out the fruit solids, pressing gently to extract all the liquid. You should have about 0.75 gallons of fruit wine per 5 pounds of fruit. Now, add a ‘vinegar mother’ (a gelatinous culture of acetic acid bacteria), or 1 cup of unpasteurized, unfiltered apple cider vinegar with the mother (like Bragg’s) per gallon of liquid. This introduces the bacteria that convert alcohol into acetic acid. Keep the vessel covered with cheesecloth at 60°F to 80°F for another 2 to 4 weeks, or until the liquid smells and tastes distinctly like vinegar, with a pH typically between 2.4 and 3.4.
- Primary fermentation: Mix 5 pounds fruit, 4 cups sugar, 8 cups water; ferment 1-2 weeks at 65-75°F.
- Straining: Separate fruit solids after primary fermentation, yielding about 0.75 gallons liquid per 5 pounds fruit.
- Secondary fermentation: Add 1 cup vinegar mother per gallon; ferment 2-4 weeks at 60-80°F.
- Oxygen exposure: Ensure consistent air exposure during secondary fermentation for acetic acid bacteria.
- pH check: Aim for a final pH of 2.4 to 3.4 for stable vinegar.
Troubleshooting and long-term storage
Even experienced growers encounter issues during fermentation. If you see mold forming during the primary fermentation, it’s often due to insufficient stirring or too much fruit exposed to air. Discard the batch. Mold on a fruit ferment can leave mycotoxins distributed through the liquid, not just in the surface film you can see, so skimming is not a safe fix. A healthy fermentation should smell fruity and yeasty, not rotten. If your vinegar isn’t developing a strong tang after 4 weeks in secondary fermentation, it might need more time, a warmer environment (up to 80°F), or a fresh vinegar mother. Ensure there’s adequate airflow; acetic acid bacteria are aerobic, meaning they need oxygen to convert alcohol to acetic acid.
bottling and shelf life
Once your vinegar reaches the desired acidity, typically after 4 to 8 weeks total fermentation, it’s ready for bottling. Strain it one last time through a fine mesh sieve or coffee filter to remove any remaining sediment or small pieces of mother. Bottle the vinegar in clean, sterilized glass bottles, leaving about 1 inch of headspace. Store your finished fruit vinegar in a cool, dark place, ideally below 60°F, such as a root cellar or pantry. Properly stored, homemade fruit vinegar can last for up to 2 years, often longer. Over time, a new mother may form in the bottle, which is perfectly normal and indicates a live, active product; simply strain it out if you prefer, or leave it in.
- Mold prevention: Stir daily during primary fermentation to submerge fruit and prevent mold growth.
- Acidity issues: If vinegar lacks tang, add more mother or increase fermentation temperature (up to 80°F).
- Bottling: Use clean, sterilized glass bottles, leaving 1 inch of headspace.
- Storage conditions: Store in a cool, dark place, below 60°F, for optimal shelf life.
- Shelf life: Expect homemade fruit vinegar to last 1 to 2 years, or more, if stored correctly.
Creative uses for your homemade fruit vinegar
Once you have a few gallons of your homemade fruit vinegar bottled, you’ll find its uses extend far beyond a simple salad dressing. A robust mulberry vinegar, for example, can add a complex, fruity tang to marinades for pork or chicken. Try a 1:3 ratio of vinegar to olive oil for a vibrant vinaigrette, seasoned with fresh herbs from your garden. Elderberry vinegar, with its unique floral notes, pairs wonderfully with roasted vegetables or in shrub drinks, mixed with sparkling water and a touch of honey.
beyond the kitchen
Don’t limit your vinegar to culinary applications. Its natural acidity makes it an excellent, non-toxic household cleaner. Dilute it 1:1 with water for cleaning countertops, windows, or even as a fabric softener in your laundry. A 1/4 cup of fruit vinegar added to the rinse cycle can leave clothes feeling softer and smelling fresh. For personal care, a 1:4 dilution of fruit vinegar with water makes a fantastic hair rinse, helping to balance scalp pH and add shine. This can be particularly beneficial for those with hard water, as it can remove mineral buildup. With 10 gallons of vinegar from a large grape harvest, you’ll have plenty to experiment with.
- Salad dressings: Combine 1 part vinegar with 3 parts olive oil for a flavorful vinaigrette.
- Marinades: Use 1/2 cup of fruit vinegar for every 2 pounds of meat or poultry.
- Shrubs and drinks: Mix 2 tablespoons of elderberry vinegar with 8 ounces of sparkling water and a sweetener.
- Household cleaner: Dilute 1:1 with water for an effective, natural all-purpose cleaner.
- Hair rinse: Use a 1:4 dilution with water after shampooing to balance pH and add shine.
Comparison of Fruit Types for Vinegar
Fruit Type | Typical Yield (lbs/plant) | USDA Zones | Flavor Profile |
|---|---|---|---|
Mulberry (Morus spp.) | 20-100 | 4-8 | Sweet, earthy, slightly tart |
Elderberry (Sambucus spp.) | 10-30 | 3-9 | Floral, tart, robust |
Grape (Vitis spp.) | 15-50 | 4-10 (varies by species) | Fruity, acidic, wine-like |
Passion Fruit (Passiflora edulis) | 5-15 | 9-11 | Tropical, intensely tart, aromatic |
Optimal Fermentation Temp: Maintain fermentation temperatures between 65°F and 75°F for yeast, and 60°F to 80°F for acetic acid bacteria, crucial for a 2-4 week process.
Vinegar pH Range: Finished fruit vinegar should have a pH between 2.4 and 3.4, ensuring stability and safety for up to 2 years of storage.
Frequently asked questions
What kind of fruit works best for homemade vinegar?
Any fruit with good sugar content can work, but berries like mulberries, elderberries, and grapes are excellent choices due to their natural yeasts and flavor profiles. Aim for 5 to 10 pounds of ripe fruit per gallon of vinegar.
How long does it take to make fruit vinegar?
The entire process, from initial fruit preparation to finished vinegar, typically takes 4 to 8 weeks. The primary alcoholic fermentation usually lasts 1 to 2 weeks, followed by 2 to 4 weeks for acetic acid fermentation.
Do I need a ‘vinegar mother’ to start the process?
While wild yeasts can initiate alcoholic fermentation, a ‘vinegar mother’ or 1 cup of unpasteurized apple cider vinegar with the mother is crucial for consistent and reliable acetic acid fermentation. This ensures a strong vinegar tang and a pH below 3.4.
What if my vinegar doesn’t smell or taste right?
If your vinegar isn’t developing properly, check the temperature (ideally 60-80°F), ensure adequate airflow, and consider adding a fresh vinegar mother. If it smells rotten or has extensive mold, it’s best to discard the batch to prevent issues, as microbial safety is important [2].
How long can I store homemade fruit vinegar?
When bottled in sterilized containers and stored in a cool, dark place below 60°F, homemade fruit vinegar can maintain its quality for 1 to 2 years, and often longer. The pH level, typically between 2.4 and 3.4, contributes to its stability.
Can I use frozen fruit for vinegar?
Yes, frozen fruit can be used, and often works well because freezing breaks down cell walls, releasing more juice and sugar. Just thaw the fruit completely before crushing and starting the fermentation process, using 5 to 10 pounds for a gallon batch.
References
- Berry fruit phytochemicals (2007). Berry fruit phytochemicals.
- Microbial safety concerns of berry fruit (2007). Microbial safety concerns of berry fruit.
- Self-Adhesive Mask and Homemade Carbon Ink: Turning Unusable Screen-Printed Electrodes into a New Voltammetric Sensor (2023). Self-Adhesive Mask and Homemade Carbon Ink: Turning Unusable Screen-Printed Electrodes into a New Voltammetric Sensor.
- Self-Adhesive Mask and Homemade Carbon Ink: Turning Unusable Screen-Printed Electrodes into a New Voltammetric Sensor (2023). Self-Adhesive Mask and Homemade Carbon Ink: Turning Unusable Screen-Printed Electrodes into a New Voltammetric Sensor.
- USDA Natural Resources Conservation Service (2024). USDA Natural Resources Conservation Service.