Key takeaways
- Ginger (Zingiber officinale or adrak) is a tropical understory perennial that grows easily in home containers, terrace gardens, and kitchen garden beds.
- Because ginger rhizomes expand horizontally near the soil surface, wide and shallow pots (35 to 45 cm wide, 25 to 30 cm deep) are far superior to deep, narrow containers.
- Potting soil must be exceptionally loose and well-draining; heavy clay combined with excess water causes fungal rhizome rot (soft rot).
- Ginger requires warm temperatures (22°C to 32°C), high relative humidity, and dappled or partial shade, avoiding harsh direct midday summer sun.
- The full growth cycle spans eight to ten months, planted in pre-monsoon summer (March to May) and harvested in winter (December to February) when foliage dies back.
Quick answer: To grow ginger at home, select plump organic rhizomes with visible growth eyes, soak them in water overnight, and plant them 3 to 5 cm deep in wide containers filled with loose coco peat and vermicompost. Keep the pot in bright partial shade, maintain consistent soil moisture, and harvest plump rhizomes in winter once the leafy stems turn yellow and dry.
Fresh culinary ginger (adrak) is a staple in Indian kitchens, used in daily chai, curries, and traditional wellness preparations. Growing ginger at home yields aromatic, tender rhizomes without synthetic chemicals.
Ginger tolerates part shade better than most vegetable crops, which suits a balcony, but it is not a deep-shade plant: rhizome bulking needs good light. In India it is grown both in open fields and under about 25 to 50 percent shade. Aim for bright light most of the day with protection from the harshest afternoon sun instead of placing it in a dim corner.
Selecting viable grocery rhizomes, providing a porous potting mix, and following the 8 to 10-month monsoon growth cycle produces a steady crop of fresh ginger.
+-------------------------------------------------------------+
|              GINGER GROWTH CYCLE TIMELINE (INDIA)           |
|                                                             |
|   SEASON         MONTHS         CROP STAGE                  |
|   ------         ------         ----------                  |
|   Pre-Monsoon    March - May    Rhizome planting & sprouting|
|   Monsoon        June - Sept    Vigorous leafy cane growth  |
|   Post-Monsoon   Oct - Nov      Subterranean rhizome growth |
|   Winter         Dec - Feb      Foliage dies back; harvest  |
+-------------------------------------------------------------+
How do you select and prepare grocery rhizomes for planting?
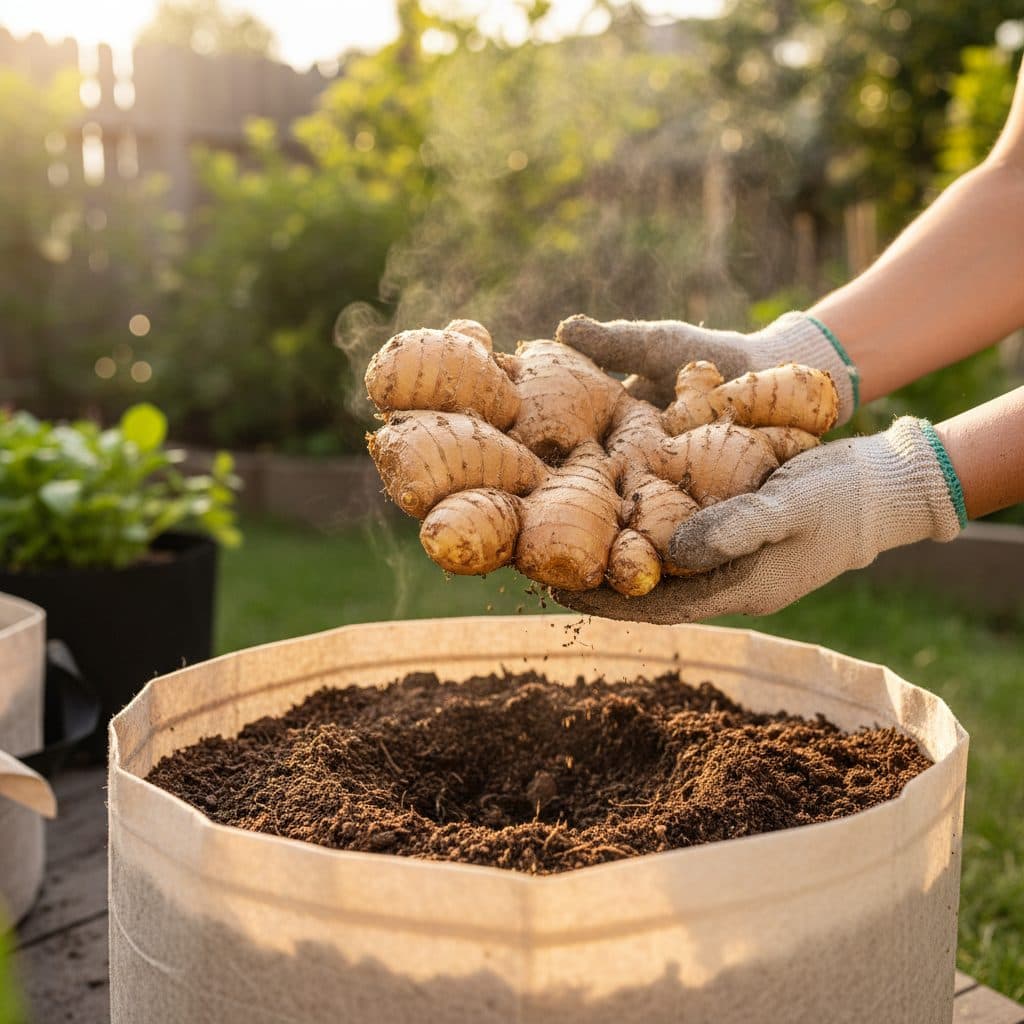
You do not need specialized nursery stock to start growing ginger; fresh, healthy ginger rhizomes purchased from your local vegetable market or organic store work well.
1. Selecting viable seed rhizomes
- Choose plump, firm rhizomes with smooth, light-tan skin. Avoid shrivelled, soft, or blackened pieces.
- Reject any rhizome from a lot containing soft, water-soaked or foul-smelling pieces, and any piece that shows a milky ooze when a cut end is stood in clear water, which indicates bacterial wilt. Never reuse potting mix from a pot that collapsed with rot.
- Look for visible "eyes" or growth buds (small, rounded, horn-like greenish nodules at the tips of the rhizome fingers).
- Whenever possible, choose organic ginger. Non-organic supermarket ginger is sometimes treated with growth-inhibiting sprays to prevent sprouting on store shelves.
2. Soaking and cutting
- Soaking: Submerge the seed rhizomes in a bowl of lukewarm water overnight (12 to 24 hours). Soak pieces individually or change the water between batches, and consider a Trichoderma or hot-water treatment before planting. This rehydrates the plant tissues and leaches away any surface growth inhibitors.
- Cutting into sets: Cut large rhizomes into smaller 3 to 5 cm sections. Ensure every individual planting piece contains at least one or two prominent growth eyes.
- Callusing: Allow cut pieces to air-dry on a paper towel in a warm, dry room for 24 to 48 hours. The cut surfaces will form a protective callus skin that prevents soil fungi from entering once planted.
+-------------------------------------------------------------+
|              SEED RHIZOME PREPARATION SEQUENCE              |
|                                                             |
|   1. Select plump rhizomes with distinct green growth eyes  |
|   2. Soak in lukewarm water 12-24 hours to rehydrate        |
|   3. Cut into 3-5 cm pieces (min 1-2 eyes per piece)        |
|   4. Air-dry 24-48 hours to callus cuts before planting     |
+-------------------------------------------------------------+
What container size and potting mix does ginger need?
Ginger rhizomes grow outward horizontally in wide clusters instead of growing downward. Matching container geometry to this horizontal growth habit improves yields.
Container selection
- Shape: Use wide, shallow rectangular planter boxes, round shallow tubs, or breathable fabric grow bags measuring at least 35 to 45 cm wide and 25 to 30 cm deep. A 30 cm diameter grow bag holds two seed pieces; use a 45 cm bag or a rectangular trough for three or more.
- Drainage: Ensure the container has multiple drainage holes at the base. Stagnant water around rhizomes quickly leads to soft rot, also called rhizome rot, caused by Pythium species. Pythium is an oomycete rather than a true fungus and spreads in free water, so drainage and avoiding splash between pots control the disease instead of chemical sprays.
Potting mix formulation
Ginger requires loose, friable, humus-rich soil that roots and rhizomes can expand through without resistance:
- 40% Washed coco peat: Provides moisture retention without compaction.
- 30% Well-aged vermicompost or cow dung manure (gobar khad): Delivers continuous organic nutrients.
- 25% Coarse river sand or perlite: Ensures free gravitational drainage during heavy monsoon downpours.
- 5% Crushed neem cake powder (neem khali): Deters soil grubs and adds slow nitrogen. Do not exceed this: neem cake is roughly 5% nitrogen and heavier rates scorch emerging shoots.
For layout and space planning in compact apartments, reference our balcony garden ideas for India.
+-------------------------------------------------------------+
|              GINGER POTTING MIX COMPOSITION                 |
|                                                             |
|   [ 40% Washed Coco Peat (Moisture Retention)             ] |
|   [ 30% Aged Vermicompost / Manure (Organic Nutrition)    ] |
|   [ 25% Coarse Sand / Perlite (Free Drainage)             ] |
|   [ 5% Neem Cake Powder (Antifungal / Pest Barrier)       ] |
+-------------------------------------------------------------+
How do you plant and care for ginger through the seasons?
Planting ginger at the right depth and managing sunlight exposure ensures steady development.
Planting procedure (March to May)
- Fill your container with potting mix, leaving 5 to 7 cm of space below the container rim.
- Lay the callused rhizome pieces horizontally on the soil surface, spaced 15 to 20 cm apart, with the growth eyes pointing upwards.
- Cover the rhizomes with 3 to 5 cm of potting mix and water gently until runoff emerges from the drainage holes.
- Keep the container in a warm, sheltered spot (25°C to 30°C). Shoots will push through the soil within two to four weeks.
+-------------------------------------------------------------+
|              GINGER PLANTING DEPTH PROFILE                  |
|                                                             |
|   ---------------- Container Rim Level -------------------- |
|   [ 3-5 cm Potting Soil / Compost Top Cover               ] |
|   ( *Rhizome Eye* )               ( *Rhizome Eye* )         |
|   ========================================================= |
|   [ 20 cm Loose Nutrient-Rich Potting Substrate           ] |
+-------------------------------------------------------------+
Seasonal care routine
- Light management: Aim for bright light most of the day with protection from the harshest afternoon sun (above 38°C), which bleaches and curls leaf tips, instead of placing the container in a dim corner.
- Watering: Keep the soil evenly damp like a wrung-out sponge throughout the active summer and monsoon growing periods. In peak summer, water daily in early morning. During the monsoon, reduce watering frequency and allow natural rain to hydrate pots.
- Hilling up: As rhizomes swell, they may push near the soil surface. Topdress the container every two months with a 2 to 3 cm layer of rich vermicompost to keep rhizomes covered and fed.
For perennial fruit and floral companion container ideas, read our guides on how to grow papaya at home and rose plant care in pots.
When and how do you harvest homegrown ginger?
Depending on your culinary preference, you can harvest ginger at two distinct stages:
1. Immature green ginger (5 to 6 months)
In late monsoon or early autumn (September to October), you can harvest tender young ginger.
- Carefully brush aside soil from the outer edge of the container.
- Slice off small outer rhizome fingers with a clean knife and recover the parent plant with soil.
- Young green ginger has thin, translucent skin, crisp pink-tipped shoots, mild heat, and no stringy fibre, making it suitable for fresh pickling and salads.
2. Mature storage ginger (8 to 10 months)
For firm, pungent storage ginger, wait until winter (December to February).
- As daylight shortens and temperatures cool, the tall reed-like leaves will naturally turn yellow, dry out, and collapse.
- Stop watering the container completely once yellowing begins to allow the rhizomes to mature and cure in dry soil.
- Once all foliage has dried, tip the entire container out onto a tarp.
- Gently shake away the loose potting mix to reveal clusters of fresh ginger rhizomes.
- Snap off the dry stems, brush off remaining soil, and wash the rhizomes thoroughly under clean running water.
Save the plumpest central rhizomes to replant as seed stock for next spring's crop. To explore other multi-purpose subtropical and tropical perennials, see our guide on growing moringa by zone.