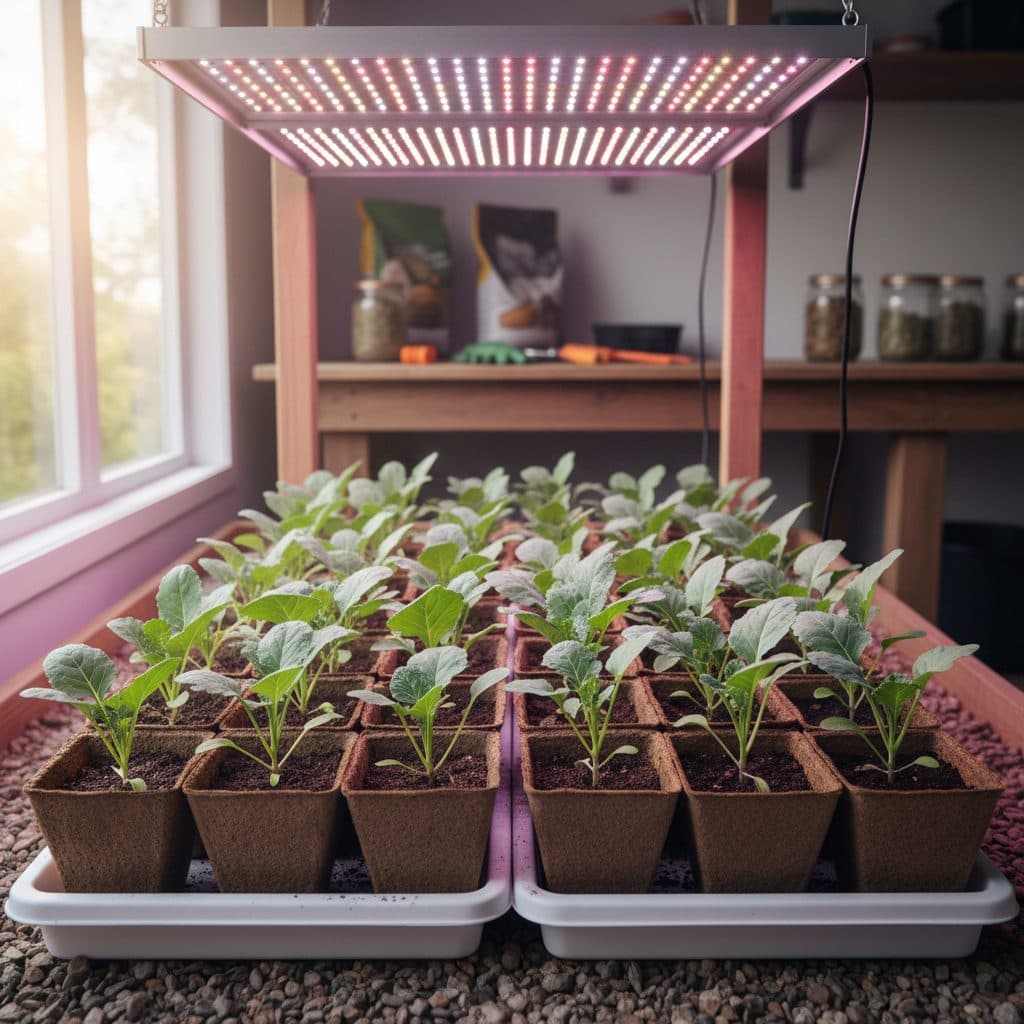
Key takeaways
- Prick out seedlings when they develop their first set of true leaves, typically two to three weeks after germination.
- Prepare a sterile, well-draining potting mix with a pH between 6.0 and 7.0 for optimal nutrient uptake.
- Handle seedlings by a cotyledon or true leaf to avoid damaging the delicate stem and root system.
- Pot into larger containers, at least 2-3 inches in diameter, to allow for significant root development.
- Harden off transplanted seedlings over 7 to 14 days before moving them permanently outdoors, giving tender warm-season crops the longer end of that range.
- Provide consistent light for 14-16 hours daily and maintain temperatures between 65-75°F for vigorous growth.
Quick answer: To pot up tomato seedlings, prick them out when they have true leaves, handling them by a cotyledon or leaf. Transplant into 2-3 inch pots with sterile, well-draining potting mix (pH 6.0-7.0) and harden off before outdoor planting.
In the Mid-Atlantic region, particularly USDA zones 6 and 7, many growers begin their vegetable and herb seeds indoors as early as February or March to get a head start on the growing season. This practice allows for a longer harvest window, especially for crops like tomatoes and peppers that require a longer period of warmth. Successfully starting seeds is only the first step; the essential transition from tiny sprouts to sturdy young plants involves careful pricking out and potting up.
Moving seedlings from their initial crowded germination trays into individual pots is a vital nursery skill that promotes stronger root systems and prevents common issues like damping-off disease. This process, ideally performed when seedlings develop their first true leaves, gives each plant the space and nutrients it needs to thrive before outdoor transplanting. For example, a single tomato plant will eventually need far more root room than a seedling cell provides.
Recognizing the true-leaf stage for optimal transplanting
After germination, seedlings first produce cotyledons, which are embryonic leaves that provide initial energy for growth. These often look different from the mature leaves of the plant. The true-leaf stage begins when the plant develops its first set of leaves that resemble the adult foliage, typically appearing one to three weeks after the cotyledons emerge. For many common vegetables like basil or lettuce, these true leaves will be visibly distinct from the initial two cotyledons, signaling the plant is ready for its next step. Waiting for these true leaves ensures the seedling has developed a sufficient root system and the photosynthetic capacity to handle the stress of transplanting.
Why timing matters for seedling health
Pricking out too early, before true leaves appear, can damage a fragile seedling that has not yet established a robust root system. Conversely, waiting too long can lead to overcrowding, causing seedlings to compete for light, water, and nutrients, resulting in leggy, weak plants that are more susceptible to lodging, or falling over [2]. For instance, a crowded tray of 72 cells can quickly deplete local nutrients, stressing plants within 10-14 days. Aim to transplant once the first pair of true leaves has fully opened, while the seedling is still small and easy to lift. This window ensures the plant has enough energy reserves to recover from the move and establish itself in a new pot. For more on initial seed starting, review our seed starting for beginners guide.
- Cotyledons provide initial energy.
- True leaves resemble adult foliage.
- Transplant at the first set of true leaves.
- Avoid overcrowding to prevent lodging.
- Proper timing reduces transplant shock.
Setting up a sterile and efficient potting station
Before you begin pricking out, gather all necessary tools and prepare your workspace. A clean, disinfected surface is essential to prevent the spread of diseases like damping-off, which can devastate young seedlings. Use a diluted bleach solution (one part bleach to nine parts water) or a commercial disinfectant to wipe down your work area, trays, and tools. Ensure good ventilation, especially if working indoors in a small space, to maintain air quality and reduce humidity, which can foster fungal growth. Having everything organized within an arm’s reach can reduce the time each seedling spends out of its growing medium.
Choosing the right potting mix and containers
Select a high-quality, sterile potting mix specifically formulated for seedlings. This mix should be light, well-draining, and free of large chunks or garden soil, which can introduce pathogens or weed seeds. A good mix will have a pH between 6.0 and 7.0, which is optimal for nutrient uptake for most vegetables and herbs. Moisten the potting mix thoroughly before use, aiming for a consistency like a wrung-out sponge – damp but not soggy. For containers, consider individual pots that are at least 2-3 inches in diameter or a 24-cell seedling propagation tray for at least three to four weeks. Using larger cells, such as 3-inch square pots, can reduce the need for a second potting-up step for many plants like tomatoes.
- Disinfect workspace with 1:9 bleach solution.
- Use sterile, well-draining potting mix.
- Target a potting mix pH of 6.0 to 7.0.
- Moisten mix to a wrung-out sponge consistency.
- Select pots 2-3 inches in diameter or larger.
Step-by-step guide to pricking out and potting up
Carefully remove seedlings from their original tray. Use a small tool, like a popsicle stick, a dull knife, or a specialized seedling tool, to gently loosen the soil around the seedling’s roots. Avoid pulling the seedling by its stem, as this can easily crush the delicate tissues and lead to plant death; instead, hold it by a cotyledon — the seed leaf is expendable, whereas a torn true leaf costs the plant working foliage it cannot spare. This technique minimizes damage to the stem, which is essential for water and nutrient transport. A crushed stem cannot move water and nutrients past the damage, and a seedling rarely recovers from it. This careful handling is a core skill for successful herb garden propagation.
Transplanting with care for strong root development
Once removed, create a small hole in the center of your new, pre-moistened pot using your finger or a dibber. The hole should be deep enough to accommodate the seedling’s roots without bending or compacting them. Place the seedling into the hole to ensure the root collar (where the stem meets the roots) is at the same level as, or slightly below, the soil line in the new pot. For plants like tomatoes, you can bury a portion of the stem, as they will develop adventitious roots along the buried section, creating a stronger root system. Gently backfill with potting mix, lightly firming it around the seedling to remove air pockets. Water immediately with a gentle stream to settle the soil and provide initial hydration, using about 0.5 cups of water per 3-inch pot.
- Handle seedlings by a leaf, not the stem.
- Create a hole deep enough for straight roots.
- Bury tomato stems for adventitious roots.
- Ensure root collar is at or slightly below soil line.
- Water immediately to settle soil and hydrate.
Providing optimal conditions and hardening off for outdoor success
After potting up, seedlings will experience a period of adjustment, often called transplant shock. To minimize this, place newly potted plants in a slightly shadier spot for one to two days, or under slightly reduced light intensity, before returning them to full light. Maintain consistent moisture in the potting mix, but avoid overwatering, which can lead to root rot. Provide adequate light, typically 14-16 hours per day, using grow lights positioned 2-4 inches above the plant canopy for optimal growth. Temperatures between 65-75°F are ideal for most warm-season crops like peppers and eggplants.
Hardening off for successful outdoor transition
Before moving your seedlings permanently outdoors, they need to be hardened off. This process gradually acclimates them to outdoor conditions — stronger sunlight, wind, and fluctuating temperatures — over a period of 7 to 14 days. Start by placing them outdoors in a sheltered, shady spot for a few hours on day one, ideally when temperatures are above 50°F. Each day, gradually increase their exposure to direct sunlight and wind, bringing them indoors at night or during adverse weather. This gradual exposure helps prevent sunscald and wind damage, which can otherwise strip a tender plant of most of its leaves in an afternoon. After this period, your seedlings, whether they are basil or bell peppers, will be significantly more resilient and ready for planting in the garden.
- Reduce light intensity for 1-2 days post-transplant.
- Provide 14-16 hours of light daily.
- Maintain temperatures between 65-75°F.
- Harden off seedlings over 7-14 days.
- Gradually increase sun and wind exposure.
pH Balance: Maintaining a potting mix pH between 6.0 and 7.0 is essential for most seedlings to absorb essential nutrients effectively.
Lodging Prevention: Overcrowded seedlings stretch and fall over more readily than well-spaced ones, which reduces their chances of establishing well.
Stem Damage: A stem crushed between finger and thumb cannot move water past the damage, and the seedling usually dies.
Browse seed-starting essentials
Frequently asked questions
When is the best time to prick out seedlings?
The optimal time to prick out seedlings is when they have developed their first set of true leaves, which are distinct from the initial cotyledons. This usually occurs one to three weeks after germination, once the seedling has established enough root system to withstand transplanting.
What kind of potting mix should I use for potting up?
You should use a sterile, high-quality potting mix specifically designed for seedlings. This mix should be light, well-draining, and have a pH between 6.0 and 7.0 to ensure proper nutrient absorption. Avoid using garden soil, as it can contain pathogens and weed seeds that could harm young plants.
How do I prevent transplant shock after potting up?
To prevent transplant shock, place newly potted seedlings in a slightly shadier location or under reduced light for one to two days. Maintain consistent moisture in the soil and provide 14-16 hours of light daily. Keeping temperatures between 65-75°F also helps them recover quickly.
What is hardening off and why is it important?
Hardening off is the process of gradually acclimating seedlings to outdoor conditions—such as direct sunlight, wind, and fluctuating temperatures—over a period of seven to ten days. This prepares them for permanent outdoor planting, preventing sunscald and wind damage.
Can I bury the stems of all seedlings when potting up?
No, not all seedlings benefit from having their stems buried. Tomatoes readily develop adventitious roots along a buried stem, so burying part of the stem builds a stronger root system. Peppers do not root reliably from the stem, and burying them — along with most herbs and brassicas — can lead to stem rot, so set those at their original soil level. Always research the specific needs of your plant species before burying their stems.
References
- Effect of Soil pH on the Uptake of Essential Elements by Tea Plant and Subsequent Impact on Growth and Leaf Quality (2024). Effect of Soil pH on the Uptake of Essential Elements by Tea Plant and Subsequent Impact on Growth and Leaf Quality.
- Improving the resistance of cucumber seedlings to lodging (2026). Improving the resistance of cucumber seedlings to lodging.