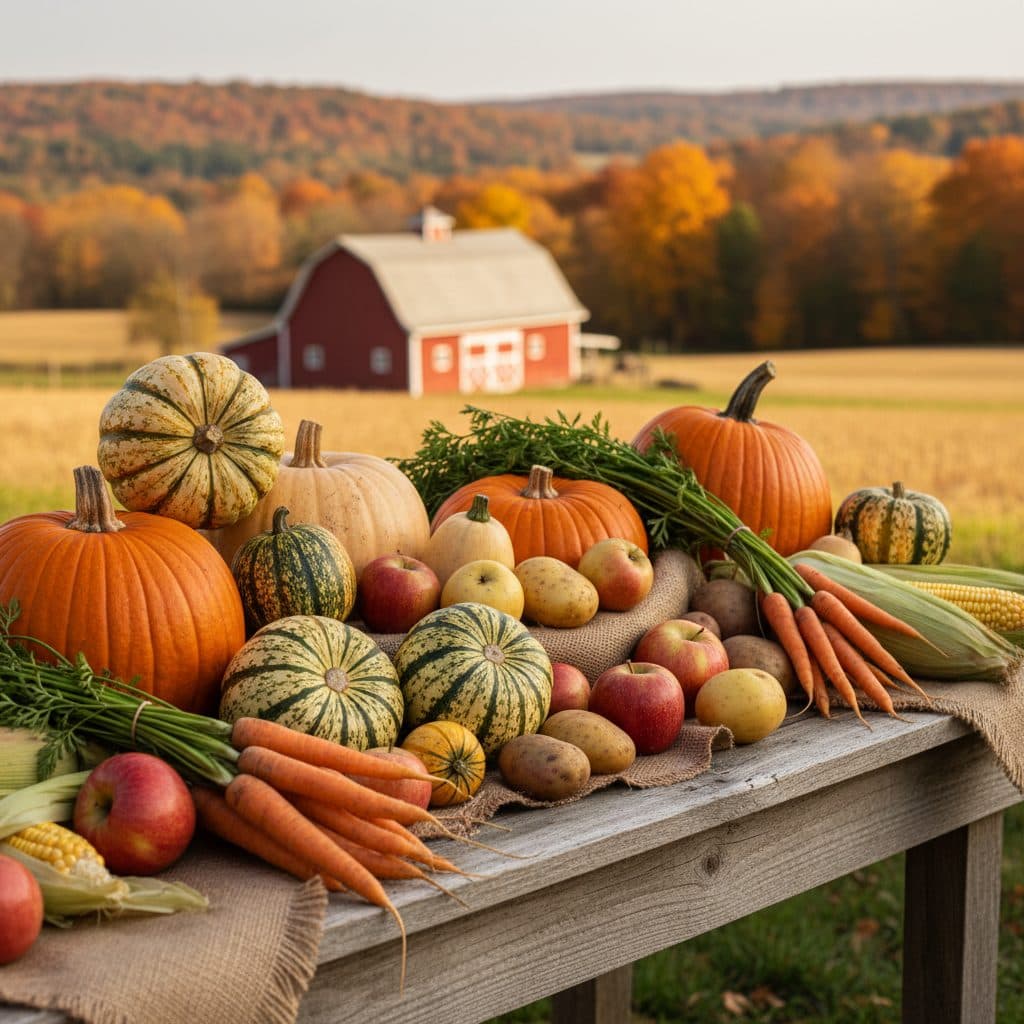
Key takeaways
- Match preservation method to crop for optimal storage, flavor, and nutrient retention.
- Proper preparation, such as blanching or drying to 10% moisture, is crucial for food safety and quality.
- Root cellars can store specific crops for 6-8 months at 35-40°F and 85-95% humidity, extending their freshness.
- Fermentation extends shelf life and adds complex flavors, often requiring a precise 2-3% salt brine.
- Dehydrating reduces food volume by 80-90%, making it an efficient method for compact, long-term storage.
Quick answer: To preserve garden gluts in USDA Zone 6, match preservation methods like fermenting, dehydrating, curing, and root cellar storage to specific crops. Proper preparation, temperature control, and moisture reduction are crucial for extending shelf life and ensuring food safety.
In the humid summer air of central Georgia, where temperatures often reach 90°F by July, a successful garden can quickly produce more than a family can consume fresh. For over three decades, I’ve seen countless bushels of tomatoes, beans, and peppers ripen all at once, creating a delicious but daunting challenge. Learning to handle this seasonal abundance, or ‘garden glut,’ isn’t just about avoiding waste; it’s about extending the harvest, ensuring food security through the colder months, and savoring the flavors of your hard work long after the first frost hits USDA zone 7.
This guide offers practical, crop-by-crop playbooks for preserving your specific garden surplus, drawing on methods like fermenting, dehydrating, curing, and root-cellar storage. From the crisp snap of a pickled green bean to the rich sweetness of a dried tomato, these techniques allow you to store a significant portion of your garden’s yield, sometimes up to 80%, for six months or more. We’ll cover what works best for common garden staples, ensuring you have a full pantry even when the snow flies in northern Michigan, often with a 50% reduction in food waste compared to fresh-only consumption.
fermenting for flavor and longevity
In the heart of many US gardens, especially in cooler regions like USDA zone 4, cabbage and cucumbers often yield a massive harvest in late summer. Fermentation offers a straightforward, low-energy method to transform this bounty into delicious, shelf-stable foods like sauerkraut and pickles. This process relies on lactic acid fermentation, where beneficial bacteria consume sugars and produce lactic acid, which acts as a natural preservative. For sauerkraut, a 2% salt brine is typically used, meaning 20 grams of non-iodized salt for every 1000 grams of shredded cabbage. This ratio inhibits spoilage organisms while allowing the desired bacteria to thrive, usually at temperatures between 60-75°F for two to four weeks. The resulting product can be stored for 6-12 months in a cool pantry, extending the enjoyment of your harvest significantly.
preparing for a successful ferment
Before starting, ensure all equipment is thoroughly cleaned and sanitized. For a 5-gallon fermentation crock, you might need 10-15 pounds of cabbage. Shred the cabbage thinly, about 1/8 inch thick, and massage it with the measured salt until brine forms. This usually takes 10-15 minutes of vigorous work. Pack the cabbage tightly into your fermentation vessel, ensuring it’s fully submerged under its own brine, creating an anaerobic environment. Using an airlock lid prevents oxygen from entering while allowing fermentation gases to escape. Maintaining a consistent temperature, ideally around 68°F, is key for a predictable ferment. After the initial active fermentation, which might last 10-14 days, move the finished product to a cooler storage area, below 55°F, for longer preservation. This method not only preserves but also enhances the probiotic benefits of the vegetables, adding value beyond simple storage. For precise measurements, consider a kitchen scale, available at most kitchen supply stores for under 30 dollars.
- clean and sanitize all equipment, including jars and weights, to prevent contamination.
- shred cabbage or slice cucumbers to a consistent size, typically 1/8 to 1/4 inch thick.
- mix vegetables with non-iodized salt, aiming for a 2-3% salt concentration by weight.
- pack tightly into a fermentation vessel, ensuring vegetables are fully submerged under brine.
- seal with an airlock lid and ferment at 60-75°F for 2-4 weeks, then store below 55°F.
dehydrating: reducing volume, concentrating taste
Dehydrating is an ancient preservation method that removes moisture from food, inhibiting microbial growth and enzyme activity. This technique is particularly effective for crops like tomatoes, peppers, and herbs such as garden sage, especially in arid regions like Arizona or during dry spells in USDA zone 5. By reducing the water content to below 10%, dehydrated foods become incredibly lightweight and compact, often shrinking to 10-20% of their original volume. This makes them ideal for long-term storage in small spaces, like a pantry shelf or a camping backpack. The process typically involves maintaining a consistent low temperature, usually between 125-140°F, for several hours or even days, depending on the food’s thickness and initial moisture.
optimizing your drying process
For best results, vegetables should be sliced uniformly, about 1/4 inch thick, to ensure even drying. Pre-treatment, such as blanching for 1-2 minutes for carrots or dipping apples in a lemon juice solution, can prevent discoloration and preserve nutrients. A good dehydrator with consistent airflow is essential for efficient drying; some models can dry 10 pounds of produce in 12-18 hours. Once dried, allow the food to cool completely before packaging. Store in airtight containers, like vacuum-sealed bags or glass jars, in a cool, dark place. Properly dehydrated tomatoes, for example, can retain their flavor and nutritional value for over 18 months. For more detailed instructions on various foods, see our article on dehydrating food.
- slice produce uniformly, typically 1/4 inch thick, for even drying.
- blanch vegetables for 1-2 minutes or pre-treat fruits to prevent browning.
- arrange food in a single layer on dehydrator trays, ensuring good air circulation.
- dry at 125-140°F until food is brittle or leathery, with less than 10% moisture.
- cool completely, then store in airtight containers in a cool, dark pantry for up to 18 months.
root cellar storage: nature’s refrigerator
For root vegetables like carrots, potatoes, and beets, along with certain fruits such as apples, a root cellar offers an unparalleled method of long-term storage. This traditional technique leverages the earth’s natural insulation to maintain a consistently cool, dark, and humid environment, typically between 35-40°F with 85-95% relative humidity. In regions like upstate New York or USDA zone 5, a well-designed root cellar can extend the freshness of these crops for 6-8 months, significantly reducing grocery bills during winter. The key is to mimic the conditions of the soil where these plants thrive, preventing both dehydration and premature sprouting.
preparing your harvest for cellar storage
Not all produce is suitable for root cellar storage; select only blemish-free, mature crops. Potatoes should be cured for 1-2 weeks at 50-60°F and high humidity to toughen their skins before moving to the cellar. Carrots and beets can be stored in layers of damp sand or sawdust to maintain moisture, preventing them from shriveling over 5-6 months. Apples should be stored separately from vegetables, as they release ethylene gas which can accelerate spoilage in other produce. Ensure adequate ventilation within the cellar to prevent the buildup of gases and molds; a simple passive ventilation system with two 4-inch diameter pipes can be effective. Regular checks, perhaps once every two weeks, are necessary to remove any spoiled items, protecting the rest of your stored bounty.
- harvest crops when mature and blemish-free, avoiding any damaged produce.
- cure potatoes and sweet potatoes for 1-2 weeks at 50-60°F before storage.
- store root vegetables like carrots and beets in layers of damp sand or sawdust.
- maintain root cellar temperature between 35-40°F and humidity at 85-95%.
- ensure proper ventilation and inspect stored produce every 2 weeks to remove spoiled items.
curing and salting: time-honored techniques
Beyond fermentation and dehydration, curing and salting represent some of the oldest and most effective methods for preserving food, particularly for items like green beans and winter squash. These techniques rely on drawing out moisture and inhibiting microbial growth through high concentrations of salt or by allowing the produce to develop a protective skin. For example, dry-salting green beans, a practice common in Appalachia, involves layering fresh beans with salt in crocks, creating an osmotic dehydration effect that can preserve them for 6-12 months. Winter squash, such as butternut or acorn, benefits from a curing period of 10-14 days at 75-80°F and 80-85% humidity, which hardens their skins for subsequent storage at cooler temperatures.
applying curing techniques to your harvest
When curing winter squash, harvest them with 2-3 inches of stem attached to prevent rot. After the initial curing period, store them in a cool, dry place, ideally 50-55°F, where they can last for 3-6 months. For salt-cured green beans, use a ratio of 1 part non-iodized salt to 8-10 parts trimmed beans by weight. Pack them tightly into a clean crock or jar, ensuring each layer is generously salted. The salt will draw out moisture, forming a brine that covers the beans. Place a weight on top to keep them submerged. This method, while requiring significant salt, provides a distinct flavor profile and a shelf life of up to a year when stored below 60°F. Always use a clean lightweight garden hand trowel for harvesting to minimize damage to the produce, which can lead to spoilage.
- harvest winter squash with 2-3 inches of stem and cure at 75-80°F for 10-14 days.
- store cured squash in a cool, dry place (50-55°F) for 3-6 months.
- trim green beans and layer them with non-iodized salt in a crock, using a 1:8 salt-to-bean ratio.
- ensure beans are submerged in their own brine, using a weight if necessary.
- store salt-cured beans in a cool, dark place below 60°F for up to 12 months.
Comparing Preservation Methods for Garden Tomatoes
Method | Shelf Life | Space Needed | Best Use |
|---|---|---|---|
Dehydrating | 12-18 months | Low (80-90% volume reduction) | Soups, stews, snacks, rehydrated sauces |
Canning (Water Bath) | 12-18 months | Moderate (jars) | Sauces, diced tomatoes, whole peeled tomatoes |
Freezing | 8-12 months | High (freezer space) | Sauces, purees, diced for cooking |
Fermenting (Sauce) | 6-9 months | Moderate (jars) | Tangy sauces, condiments, flavor base |
Volume Reduction: Dehydrated foods can reduce their original weight by up to 90%, making them ideal for long-term, compact storage.
Root Cellar Lifespan: A properly maintained root cellar in USDA zone 5 can extend the life of carrots and potatoes by 6-8 months, maintaining a consistent temperature of 38°F.
Frequently asked questions
What’s the best way to store potatoes long-term?
Potatoes store best in a cool, dark, and humid environment, ideally around 40°F with 85-95% relative humidity. Avoid light exposure to prevent greening, which can produce solanine. In a good root cellar, they can last for 6-8 months, significantly extending their usability from a single harvest.
Can I dehydrate any vegetable?
Most vegetables can be dehydrated, but some, like leafy greens or tomatoes, yield better results than high-water content vegetables such as cucumbers. For best quality, vegetables should be blanched first to stop enzyme action, then dried to a moisture content of 10% or less. This process can reduce their weight by up to 90%.
What salt ratio is recommended for fermenting vegetables?
For most vegetable ferments, a 2-3% salt brine by weight is effective. This means for 1000 grams (1 liter) of water, you would add 20-30 grams of non-iodized salt. This ratio inhibits spoilage organisms while allowing beneficial lactic acid bacteria to thrive, typically at temperatures between 65-75°F for 2-4 weeks.
How long do home-cured items typically last?
The shelf life of home-cured items varies significantly by method and ingredient. Dry-cured meats can last for several months to a year or more when stored properly in a cool, dry place below 60°F. Salt-cured vegetables, like green beans, can last 6-12 months in a sealed container in a cool pantry, offering substantial long-term storage.
Is a dedicated root cellar necessary, or can I use a basement?
While a dedicated root cellar offers optimal conditions, a cool, dark, and moderately humid basement corner can often serve a similar purpose, especially in USDA zones 4-6. Ensure the area maintains a consistent temperature between 35-50°F and has good air circulation to prevent spoilage, extending the life of many root crops by several months.
References
- A First Step Towards Preserving Valuable Garden Plants (1975). A First Step Towards Preserving Valuable Garden Plants.
- Stage-Specific Expressions of GLUT-1, GLUT-3 and GLUT-12 in Estrogen-Induced Breast Cancer. (2009). Stage-Specific Expressions of GLUT-1, GLUT-3 and GLUT-12 in Estrogen-Induced Breast Cancer..
- Preserving the Historic Garden Suburb in London and New York (2021). Preserving the Historic Garden Suburb in London and New York.
- Preserving Sunnyside Gardens (2021). Preserving Sunnyside Gardens.
- EXPLORING SUBSTRATE SPECIFICITY OF FRUCTOSE TRANSPORTERS EN ROUTE TO GLUT SPECIFIC PROBES FOR BIOCHEMICAL AND BIOMEDICAL APPLICATIONS (2023). EXPLORING SUBSTRATE SPECIFICITY OF FRUCTOSE TRANSPORTERS EN ROUTE TO GLUT SPECIFIC PROBES FOR BIOCHEMICAL AND BIOMEDICAL APPLICATIONS.
- Microglia-Specific Metabolic Changes in Neurodegeneration (2019). Microglia-Specific Metabolic Changes in Neurodegeneration.