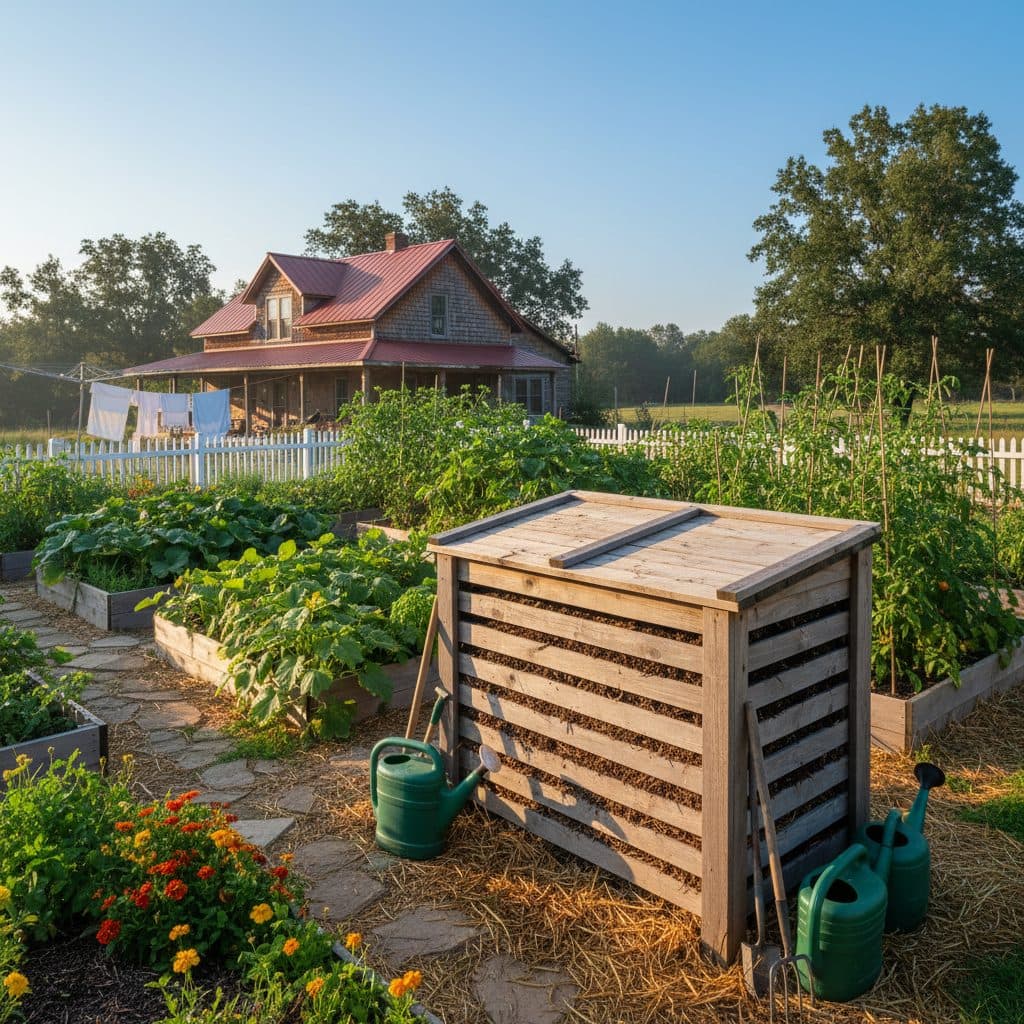
Key takeaways
- Maintain proper moisture levels, typically 70-80%, to deter pests and support worm health.
- Balance carbon-to-nitrogen ratios with adequate bedding to prevent odors and mold growth.
- Feed worms small amounts of appropriate scraps every 3-5 days to avoid overfeeding and anaerobic conditions.
- Address fruit flies by burying food scraps and using simple traps, as their lifecycle can be as short as 7 days.
- Ensure good air circulation and suitable temperatures, ideally between 55°F and 77°F, for optimal worm activity.
Quick answer: To solve common worm bin problems, maintain proper moisture, balance carbon-to-nitrogen ratios, feed worms small amounts every 3-5 days, and ensure good air circulation. Address issues like fruit flies, odors, and mold with timely adjustments to feeding and bedding.
Maintaining a thriving worm bin can feel like a delicate balance, especially for growers in varied climates, from the humid Southeast to the drier regions of USDA zone 6. While vermicomposting is a powerful method for turning kitchen scraps into nutrient-rich soil amendments, it’s not without its challenges. Common issues like fruit flies, unpleasant odors, mold, and overfeeding can quickly turn a productive system into a frustrating one, impacting worm health and compost quality.
Many of these problems stem from imbalances in moisture, aeration, or food input. For instance, an overly wet bin in a warm climate can become a breeding ground for pests within a few days. Understanding the root causes and implementing timely, practical solutions ensures your red wigglers (Eisenia fetida) remain productive, converting organic waste into castings for your garden beds, improving soil structure by up to 15% over time.
Battling fruit flies in your worm bin
Fruit flies are a common nuisance in worm bins, particularly during warmer months when temperatures rise above 70°F. These tiny insects are attracted to exposed, fermenting food scraps, and their lifecycle can be surprisingly rapid, completing in just 7 to 10 days under ideal conditions. A single female can lay hundreds of eggs, quickly leading to an infestation that can spread throughout your home or greenhouse. The key to control lies in prevention and quick intervention.
burying food scraps and setting traps
To prevent fruit flies, always bury fresh food scraps completely under at least 2 inches of bedding material. This denies adult flies access to laying eggs on the food source. If you already have an infestation, reduce feeding for a week and ensure all existing food is covered. For active control, simple traps can be highly effective. Fill a small jar with about 1 inch of apple cider vinegar, add a drop of dish soap to break the surface tension, and cover the opening with plastic wrap secured by a rubber band. Poke three to five small holes, about 1/8 inch in diameter, into the plastic wrap. Place these traps near your bin; the flies will be attracted to the vinegar and drown. This method can significantly reduce populations within 24 to 48 hours.
- Bury all food scraps under 2-3 inches of bedding.
- Reduce feeding for one week during an active infestation.
- Set out apple cider vinegar traps with a drop of dish soap.
- Ensure bin lid is tightly sealed to prevent entry.
- Consider a thin layer of biochar or rock dust on top of bedding to deter flies.
Addressing unpleasant odors in your worm bin
A healthy worm bin should have a pleasant, earthy smell, similar to fresh forest soil after a rain. If you detect a sour, rotten, or ammonia-like odor, it’s a clear sign of an imbalance, often indicating anaerobic conditions. This typically occurs when there’s too much moisture, too much nitrogen-rich food, or insufficient air circulation. In the humid climates of the Pacific Northwest, this can be a more frequent issue due to ambient moisture levels.
restoring balance and aeration
The primary culprit behind foul odors is usually an excess of wet, nitrogen-rich food scraps, like fruit and vegetable peels, without enough carbon-rich bedding. When this happens, microorganisms that don’t require oxygen thrive, producing gases that smell bad. To fix this, immediately stop adding food for several days, or even a week, until the odor subsides. Gently aerate the bin by fluffing the bedding with a small hand trowel, being careful not to harm the worms. Add a generous amount of dry, carbon-rich materials such as shredded newspaper, cardboard, or coconut coir. These materials absorb excess moisture and provide the necessary carbon to balance the system, aiming for a carbon-to-nitrogen ratio around 30:1. For more general composting odor solutions, you might find insights at compost troubleshooting: odor, screening, and finishing a clean pile.
- Stop feeding immediately for 3-7 days until the odor dissipates.
- Add dry, shredded cardboard or newspaper to absorb excess moisture.
- Gently aerate the bedding with a small tool to increase oxygen levels.
- Ensure adequate drainage holes in your bin to prevent waterlogging.
- Avoid adding dairy, meat, or oily foods, which decompose slowly and cause odors.
Managing mold and fungi in your worm bin
Finding mold or fungi in your worm bin can be unsettling, but it’s often a natural part of the decomposition process. White, fuzzy molds are typically harmless and indicate that fungi are breaking down organic matter, which is beneficial. However, excessive mold, especially colorful varieties like green or black, can signal an imbalance, usually too much moisture, inadequate aeration, or too much food. In consistently humid regions like Florida, this can be a more prevalent concern.
understanding and preventing excessive mold growth
While some mold is good, a thick layer of colorful mold can outcompete beneficial microbes and even create an environment less appealing to worms, potentially reducing their activity by 20% or more. To manage excessive mold, first, reduce the amount of food you’re adding. Ensure that food scraps are buried and not left exposed on the surface. Increase aeration by gently turning the bedding every few days. Add more dry, carbon-rich bedding materials like shredded newspaper or coconut coir to absorb excess moisture. A healthy worm bin should maintain a moisture level between 70% and 80%, which is ideal for worms but less favorable for aggressive mold growth. If the problem persists, consider adding a handful of garden soil or finished compost to introduce a broader range of beneficial microorganisms that can help balance the microbial community.
- Reduce food input for 5-7 days to allow worms to catch up.
- Increase dry, carbon-rich bedding like shredded paper or leaves.
- Gently aerate the bin to improve oxygen flow throughout the bedding.
- Bury all food scraps to prevent surface mold growth.
- Maintain optimal moisture levels, checking with a soil moisture meter.
Avoiding the pitfalls of overfeeding
Overfeeding is one of the most common mistakes new vermicomposters make, leading to a cascade of problems including odors, fruit flies, and anaerobic conditions. Worms, specifically red wigglers (Eisenia fetida), are efficient eaters, but they have their limits. A general guideline is that worms can consume roughly half their body weight in food scraps per day under optimal conditions, thriving best when temperatures are between 55°F and 77°F. However, this rate can fluctuate significantly based on bin conditions and worm population.
signs of overfeeding and corrective actions
Signs of overfeeding include a sour smell, an abundance of uneaten food scraps, fruit flies, and a noticeable decrease in worm activity. When too much food is added, it begins to rot rather than being processed by the worms, leading to anaerobic decomposition where oxygen levels can drop below 2%. This environment is harmful to worms and beneficial microbes. To correct overfeeding, stop adding food immediately. Gently aerate the existing bedding and food mixture to introduce oxygen. Add a generous amount of dry, carbon-rich bedding like shredded paper or straw, which will help absorb excess moisture and balance the carbon-to-nitrogen ratio. Resume feeding only when most of the previous food has been consumed, typically after 3 to 5 days. Start with smaller portions, increasing gradually as you observe the worms’ consumption rate.
- Stop all feeding for at least 3-5 days until existing food is consumed.
- Add a substantial amount of dry, shredded cardboard or leaves to absorb moisture.
- Gently aerate the bin to improve oxygen circulation.
- Monitor worm activity; they should be actively moving and consuming.
- When resuming, feed smaller portions, about 25% less than before.
Optimizing bedding and moisture levels
The foundation of a healthy worm bin is its bedding. It provides a home for the worms, holds moisture, and is a carbon source. Ideal bedding materials include shredded newspaper, cardboard, coconut coir, or aged leaves. The bedding should be deep enough, typically 6 to 8 inches, to allow worms to move freely and for food scraps to be properly buried. In arid regions like Arizona, maintaining adequate moisture can be a constant challenge, requiring more frequent checks.
maintaining ideal moisture for worm health
Moisture is critical for worms, as they breathe through their skin and require a moist environment to survive. The ideal moisture content for a worm bin is between 70% and 80%, feeling like a damp sponge that has been wrung out. If the bedding is too dry, worms will become sluggish and may try to escape; if it’s too wet, anaerobic conditions can develop, leading to odors and pest problems. You can check moisture levels by squeezing a handful of bedding; a few drops of water should emerge. To increase moisture, mist with a spray bottle or add slightly damp food scraps. To decrease moisture, add dry, carbon-rich bedding materials and gently aerate the bin. Using a soil moisture meter can provide precise readings, helping you maintain consistent conditions. Proper bedding and moisture management ensure your worms remain active and productive, converting food waste into rich castings more efficiently.
- Maintain bedding depth between 6 and 8 inches for optimal worm habitat.
- Ensure moisture content is consistently between 70% and 80%.
- Use shredded newspaper, cardboard, or coconut coir as primary bedding.
- Add dry bedding to absorb excess moisture or mist with water to increase it.
- Regularly fluff the bedding to prevent compaction and improve aeration.
Ideal Moisture: A healthy worm bin maintains a moisture level between 70% and 80%, feeling like a damp sponge.
Worm Consumption: Red wigglers can consume roughly half their body weight in food scraps per day under optimal conditions, typically between 55°F and 77°F.
Explore soil fertility articles
Frequently asked questions
Why are there so many fruit flies in my worm bin?
Fruit flies are attracted to exposed, fermenting food scraps. Ensure all new food additions are buried under at least 2 inches of bedding. Their lifecycle is short, often 7-10 days, so consistent burial and traps are key to control.
My worm bin smells bad, what should I do?
A foul odor usually indicates anaerobic conditions from too much moisture or nitrogen-rich food. Stop feeding for 3-7 days, add dry carbon-rich materials like shredded cardboard, and gently aerate the bin to restore balance.
Is mold in my worm bin a problem?
White, fuzzy mold is generally harmless and helps decomposition. However, excessive or colorful mold suggests too much moisture or food. Reduce feeding, add dry bedding, and ensure good air circulation to keep moisture around 75%.
How often should I feed my worms?
Feed your worms small amounts every 3-5 days, or when 80% of the previous food has been consumed. Overfeeding can lead to odors and unhealthy conditions, reducing worm activity by up to 20%.
What is the ideal moisture level for a worm bin?
The ideal moisture level for a worm bin is between 70% and 80%, feeling like a damp sponge that has been wrung out. This range supports worm respiration and microbial activity, preventing issues like dry bedding or waterlogging.
References
- Troubleshooting Consumption (2023). Troubleshooting Consumption.
- Troubleshooting Xcode (2015). Troubleshooting Xcode.
- Distillation Troubleshooting (2006). Distillation Troubleshooting.
- Service Application Troubleshooting (2017). Service Application Troubleshooting.
- Troubleshooting Distillation Simulations (2006). Troubleshooting Distillation Simulations.
- USDA Natural Resources Conservation Service (2024). USDA Natural Resources Conservation Service.