Key takeaways
- Choose a suitable worm bin, such as a plastic tote or wooden box, with adequate drainage for optimal worm health.
- Red wiggler worms (Eisenia fetida) are ideal for composting kitchen scraps, thriving in temperatures from 55 to 77 degrees Fahrenheit.
- Feed your worms a balanced diet of fruit and vegetable scraps, coffee grounds, and shredded paper, avoiding meat, dairy, and oily foods.
- Maintain a consistent moisture level of 70% to 80% and a neutral pH between 6.0 and 7.0 in your worm bin.
- Harvest nutrient-rich worm castings every two to three months, using them to boost plant growth and soil fertility.
- Troubleshoot common issues like odors, pests, or escaping worms by adjusting moisture, food input, or bedding materials.
Quick answer: Vermicomposting in US homes involves setting up a worm bin with red wiggler worms to break down kitchen scraps into nutrient-rich castings, diverting waste from landfills and enriching garden soil.
In the United States, households generate approximately 103 pounds of food waste per person annually, with much of it ending up in landfills [1]. This organic material, when buried, produces methane, a potent greenhouse gas. However, a simple solution exists right in your backyard or even on a porch: vermicomposting. By building and maintaining a worm bin, you can transform your kitchen scraps into a valuable soil amendment, reducing waste and enriching your garden.
Vermicomposting, or worm composting, is a natural process where specific species of worms, primarily red wigglers, break down organic matter into nutrient-rich material called worm castings. This guide will walk you through the practical steps of setting up a functional worm bin, feeding your worms effectively, and harvesting the black gold they produce. You’ll learn how to manage a small system that can process one to two pounds of kitchen scraps weekly, contributing to healthier soil and a more sustainable home.
Choosing your worm bin and worms
A typical worm bin with one pound of worms can process one to two pounds of kitchen scraps each week under ideal conditions.
Selecting the best worms for composting
The best worms for vermicomposting are red wigglers (Eisenia fetida), known for their voracious appetites and tolerance to varying conditions. Unlike common garden earthworms, red wigglers thrive in decomposing organic matter and are surface dwellers, making them ideal for bin systems. You can purchase one pound of red wigglers online or from local bait shops for around $30 to $40. They prefer temperatures between 55 and 77 degrees Fahrenheit, making them suitable for indoor or shaded outdoor environments in many US regions, including USDA zones 5 through 9. Avoid using common garden worms, as they burrow deep and won’t adapt well to a contained bin environment.
- Plastic storage tote: Inexpensive, readily available, easy to modify.
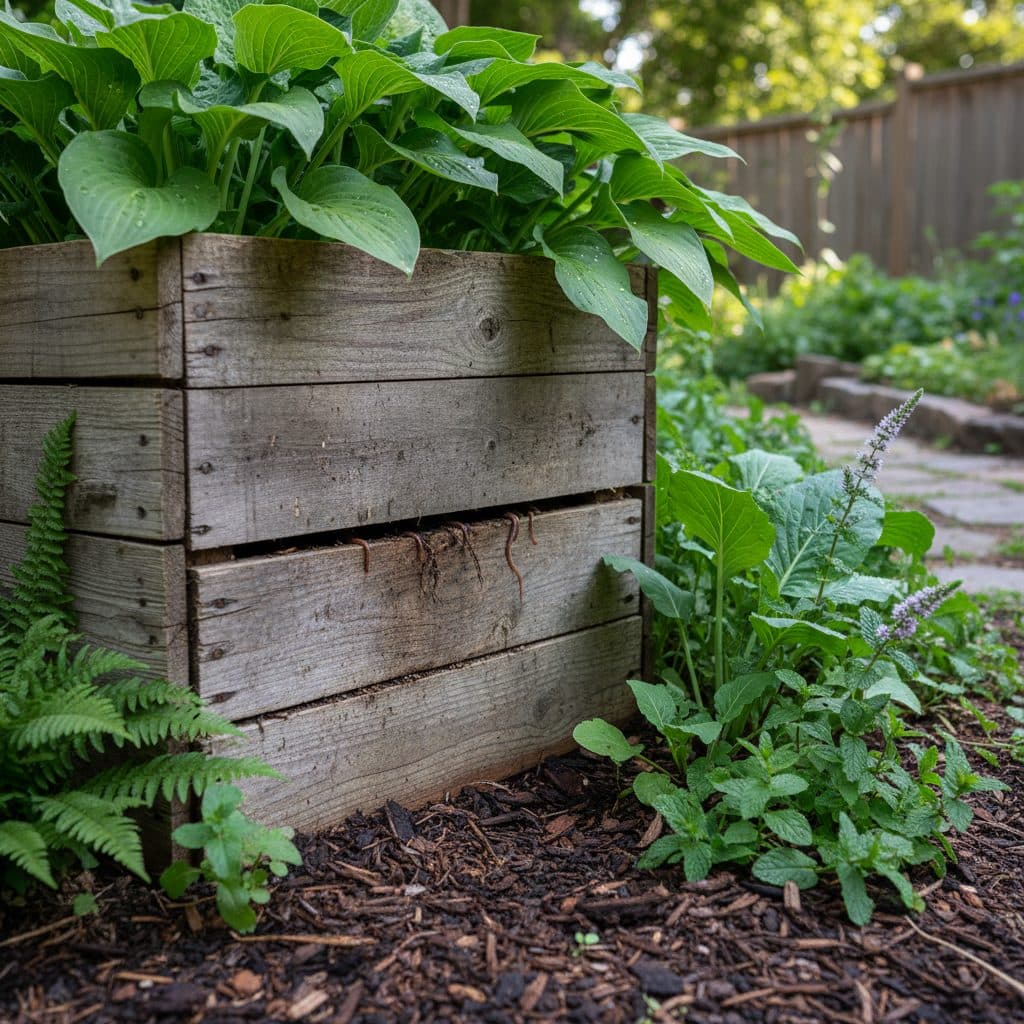
- Wooden bin: Offers better insulation, can be custom-sized, often more aesthetically pleasing.
- Stacking bin systems: Allow for continuous composting and easier harvesting of castings.
- Flow-through systems: Larger scale, continuous operation, often used for higher volumes of waste.
Setting up your worm bin
Once you have your bin and worms, the next step is to prepare their habitat. The bedding material matters because it provides a stable environment, retains moisture, and offers a food source. A good starting point is about six to eight inches of shredded newspaper, cardboard, or coconut coir. Moisten the bedding thoroughly until it feels like a damp sponge, holding water but not dripping when squeezed. This ensures a moisture level of 70% to 80%, which is ideal for worm respiration and decomposition [6].
Adding worms and initial food
After preparing the bedding, gently introduce your worms to their new home. They will initially stay on the surface, exploring, before burrowing down. Give them 24 to 48 hours to acclimate before adding any food. For their first meal, offer a small amount—about one cup—of kitchen scraps, burying it under a few inches of bedding in one corner of the bin. This allows the worms to find the food at their own pace and prevents odors. Maintaining a neutral pH between 6.0 and 7.0 is also important, which can be monitored with a 3-in-1 soil pH, moisture, and fertility meter if you’re concerned about acidity from certain food scraps. The initial bedding should be enough to sustain them for a few days.
- Shredded newspaper: Readily available, free, good carbon source.
- Cardboard: Provides structure, breaks down slowly, excellent carbon.
- Coconut coir: Excellent moisture retention, pH neutral, durable.
- Leaves: Dried and shredded leaves can be used, but ensure they are not chemically treated.
Feeding your worms
The success of your worm bin largely depends on what and how much you feed your worms. Red wigglers are excellent at consuming a wide range of organic materials, but some foods are better than others. A typical worm bin with one pound of worms can process one to two pounds of kitchen scraps each week [1]. It’s best to feed them small amounts frequently, rather than large amounts infrequently, to prevent anaerobic conditions and odors. Bury the food scraps in different sections of the bin each time, rotating through the available space.
What to feed and what to avoid
Worms thrive on a diet rich in fruit and vegetable scraps, coffee grounds, tea bags, and crushed eggshells. These items provide a good balance of nitrogen and carbon, essential for healthy decomposition. For instance, a small household might generate 3-5 pounds of suitable scraps weekly. However, certain items should be strictly avoided. Meat, dairy products, oily foods, and citrus peels can attract pests, create foul odors, and harm your worms. Processed foods, while technically organic, often contain salts and preservatives that are detrimental to worm health. For more detailed information on suitable kitchen scraps, you can refer to resources like what to feed chickens, as many principles apply to composting too.
- Fruit and vegetable scraps: Apple cores, banana peels, carrot tops, lettuce leaves.
- Coffee grounds and tea bags: Provide nitrogen and grit for worm digestion.
- Crushed eggshells: Add calcium and help neutralize pH.
- Shredded paper and cardboard: Excellent carbon source, balances nitrogen-rich food.
Harvesting worm castings
After two to three months, your worm bin will be largely filled with dark, crumbly, earthy-smelling material—these are your worm castings. This “black gold” is a potent soil amendment, containing five times more nitrogen, seven times more phosphorus, and eleven times more potassium than ordinary topsoil [6]. There are several methods for harvesting, each with its own advantages. One common approach is the “migration method,” where you encourage the worms to move to one side or a new layer of the bin, leaving the finished castings behind.
Methods for collecting castings
To use the migration method, stop feeding the entire bin for about one week. Then, add fresh bedding and a new batch of food scraps to only one side of the bin, or to the top tray of a stacking system. Over the next two to three weeks, the worms will gradually migrate towards the new food source. Once most worms have moved, you can gently scoop out the finished castings from the other side or lower tray. Alternatively, the “dump and sort” method involves emptying the entire bin onto a tarp, forming small cones, and letting the worms burrow to the bottom of each cone as light hits them. You can then scrape away the top layers of castings, repeating until only worms remain. Worm castings can improve soil water retention by up to 20%, reducing the need for frequent irrigation in many gardens [6].
- Migration method: Encourages worms to move to new food, leaving castings behind.
- Dump and sort method: Involves manually separating worms from castings on a surface.
- Screening: Using a screen with 0.25-inch holes to separate fine castings from larger debris and worms.
- Continuous flow-through: Larger systems where castings are harvested from the bottom while worms remain on top.
Troubleshooting common worm bin issues
Even experienced growers encounter challenges with their worm bins. The most common issues include odors, pests, and worms trying to escape. Understanding the cause can help you quickly resolve these problems, ensuring a healthy and productive system. For instance, a strong, putrid odor usually indicates too much food, especially nitrogen-rich items, leading to anaerobic decomposition. Reducing the food input by 50% for a week and adding more shredded cardboard can often resolve this.
Addressing odors, pests, and escaping worms
If you notice a sour smell, it’s likely due to overly acidic conditions. Adding a handful of crushed eggshells or a sprinkle of garden lime can help balance the pH, which ideally should be between 6.0 and 7.0. Fruit flies are common pests, attracted to exposed food. Burying all food scraps completely under at least two inches of bedding will largely prevent them. If worms are trying to escape, it often means their environment is too wet, too dry, too acidic, or they’re simply out of food. Check the moisture level with a soil moisture meter and adjust as needed, aiming for 70% to 80% dampness. Adding a layer of fresh, dry bedding can help absorb excess moisture and provide a safe haven for the worms. Consistent monitoring, perhaps once every three to five days, helps catch issues early.
- Odor: Reduce food, add dry bedding, ensure proper ventilation.
- Fruit flies: Bury food deeply, avoid overfeeding, ensure bin lid is snug.
- Escaping worms: Check moisture, pH, and food levels; add fresh bedding.
- Mites: Often harmless, but if excessive, reduce moisture and food, add dry bedding.
Comparison of common worm bin materials
Feature | Plastic Tote Bin | Wooden Bin | Stacking Tray System |
|---|---|---|---|
Cost | $15 – $30 | $50 – $150 | $80 – $200 |
Durability | High (many years) | Medium (3-10 years, depends on wood/treatment) | High (many years) |
Capacity (worms) | 1-2 pounds | 2-5 pounds | 1-3 pounds |
Harvesting Ease | Medium (dump & sort) | Medium (dump & sort) | High (migration) |
Insulation | Low | Medium-High | Low-Medium |
Food Waste Reduction: US households generate approximately 103 pounds of food waste per person annually, much of which can be diverted through vermicomposting [1].
Soil Nutrient Boost: Worm castings contain five times more nitrogen, seven times more phosphorus, and eleven times more potassium than ordinary topsoil [6].
Frequently asked questions
How much food can I feed my worms each week?
A general rule of thumb is that one pound of red wiggler worms can consume one to two pounds of kitchen scraps per week [1]. It’s better to start with smaller amounts, perhaps half a pound, and gradually increase as you observe your worms’ eating habits. Overfeeding can lead to odors and attract pests, so adjust based on how quickly they process the food.
What kind of bedding is best for a worm bin?
The best bedding for a worm bin consists of materials like shredded newspaper, cardboard, or coconut coir. These materials provide a carbon source, retain moisture, and create a suitable habitat. Aim for about six to eight inches of bedding, moistened to the consistency of a damp sponge, holding 70% to 80% moisture [6].
How often should I harvest worm castings?
You should plan to harvest your worm castings every two to three months, depending on the size of your bin and the amount of food you’re processing. Regular harvesting prevents the bin from becoming too full and ensures a continuous supply of this nutrient-rich soil amendment. Methods like the migration technique make harvesting easier by encouraging worms to move to fresh food.
Why are my worms trying to escape the bin?
Worms attempting to escape often indicate an imbalance in their environment. Common reasons include the bin being too wet, too dry, too acidic, or a lack of food. Check the moisture level, aiming for 70% to 80% dampness, and ensure the pH is between 6.0 and 7.0. Adding fresh, dry bedding can help correct moisture issues and provide a safe space for the worms.
Can I use regular garden earthworms for composting?
No, regular garden earthworms are not ideal for composting in a bin. They are deep burrowers and prefer mineral soil, unlike red wigglers (Eisenia fetida), which are surface dwellers that thrive in decomposing organic matter. Red wigglers are more efficient at processing kitchen scraps in a contained environment and tolerate a wider range of conditions, including temperatures between 55 and 77 degrees Fahrenheit [6].
References
- [PDF] Sam Holland’s Kitchen Kickstart: Simple, Budget-Friendly Recipes for Beginner Cooks by Sam Holland (2026). [\PDF] Sam Holland’s Kitchen Kickstart: Simple, Budget-Friendly Recipes for Beginner Cooks by Sam Holland.
- Read online: Sam Holland’s Kitchen Kickstart: Simple, Budget-Friendly Recipes for Beginner Cooks by Sam Holland (2026). Read online: Sam Holland’s Kitchen Kickstart: Simple, Budget-Friendly Recipes for Beginner Cooks by Sam Holland.
- Sam Holland’s Kitchen Kickstart: Simple, Budget-Friendly Recipes for Beginner Cooks by Sam Holland on Iphone New Format (2026). Sam Holland’s Kitchen Kickstart: Simple, Budget-Friendly Recipes for Beginner Cooks by Sam Holland on Iphone New Format.
- PDF [DOWNLOAD] Sam Holland’s Kitchen Kickstart: Simple, Budget-Friendly Recipes for Beginner Cooks by Sam Holland on Iphone (2026). [PDF \DOWNLOAD] Sam Holland’s Kitchen Kickstart: Simple, Budget-Friendly Recipes for Beginner Cooks by Sam Holland on Iphone.
- The Application of Artificial Intelligence (2021). The Application of Artificial Intelligence.
- USDA Natural Resources Conservation Service (2024). USDA Natural Resources Conservation Service.