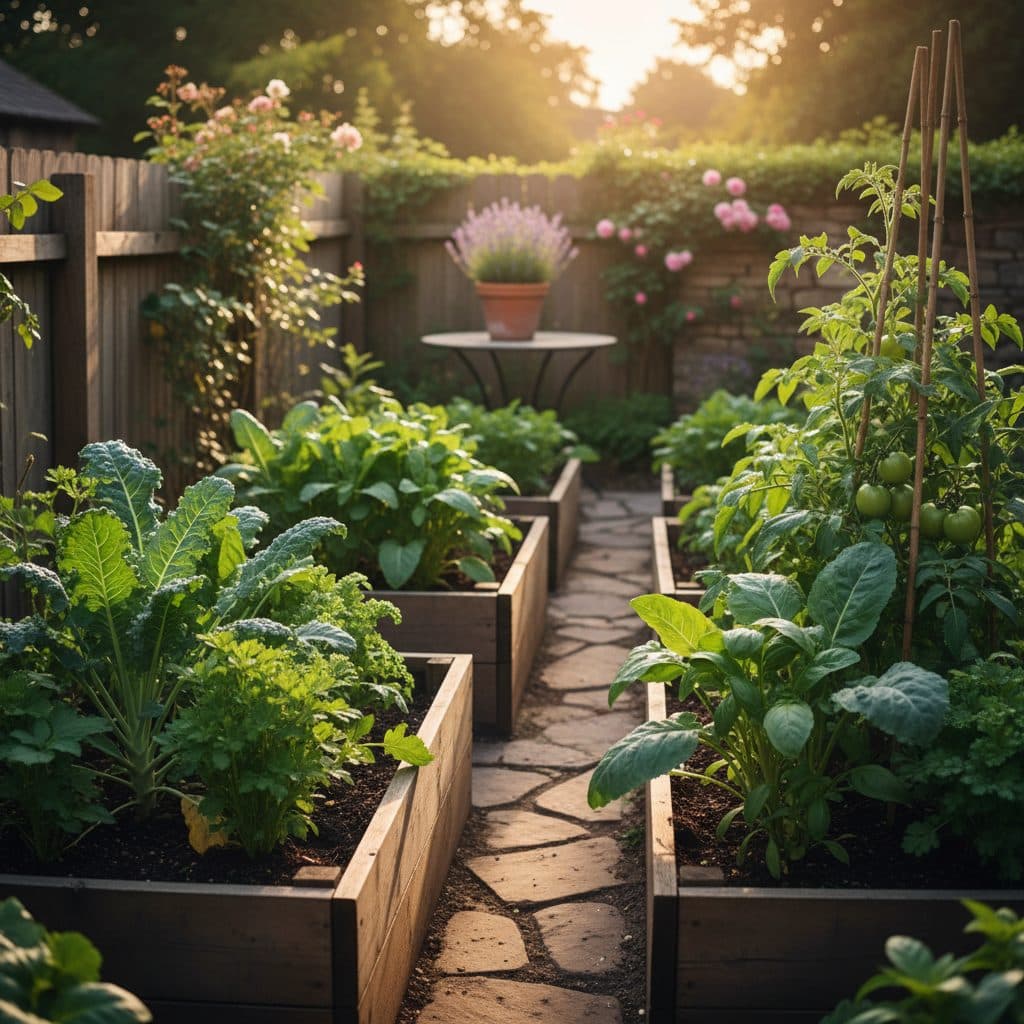
Key takeaways
- Assess soil compaction and drainage in containers, especially those exposed to temperatures below 20°F.
- Remove the top 2-3 inches of old soil and incorporate fresh organic matter like compost, aiming for 20-30% of the total volume.
- Replenish nutrients with an organic fertilizer. A nitrogen-forward analysis such as 5-1-1 suits early leafy growth, while an even 4-4-4 type carries a mixed container through the season.
- Consider soil pasteurization for containers with known disease issues, heating soil to 180°F for 30 minutes.
- Plan crop rotations to prevent pest and disease buildup, avoiding planting the same plant family in the same container for at least two seasons.
- Regularly monitor soil moisture with a meter, maintaining optimal levels for plant health and nutrient availability.
Quick answer: To revitalize container soil after winter, assess compaction and drainage, then remove the top 2-3 inches of old soil and incorporate 20-30% fresh organic matter. Replenish nutrients with organic fertilizers for increased spring yields.
Across the northern United States, from USDA zone 3 in Minnesota to zone 7 along the mid-Atlantic coast, container gardeners face a common challenge each spring: what to do with the soil left over from last year. A hard winter, with temperatures dropping below 20°F for extended periods, can compact soil, deplete nutrients, and even damage beneficial microbial communities. Simply reusing the same tired medium without intervention often leads to stunted growth and disappointing yields compared with a refreshed mix.
For those cultivating vegetables on balconies, rooftops, or in small urban plots, maximizing container soil volume is essential. Refreshing and revitalizing container soil restores soil structure, nutrient availability, and biological activity across diverse US growing conditions.
Assessing your winterized containers
As spring arrives in regions like the Pacific Northwest (USDA zone 8) or the colder plains (USDA zone 4), the first step to successful container gardening is a thorough assessment of your overwintered soil. Many gardeners simply assume last year’s soil is ready for new plants, but winter’s freeze-thaw cycles can lead to significant compaction, squeezing out the pore space roots and water need. Begin by examining the top 2-3 inches of soil; it should still feel loose and crumbly. If it’s hard or forms a solid block, compaction is an issue. Check for a white crust, which can indicate salt buildup from fertilizers or hard water, particularly in drier climates like Arizona or parts of California. This buildup can inhibit water uptake and nutrient absorption.
Checking for drainage and root health
Drainage is paramount in containers. To test, water a container thoroughly, applying at least one gallon of water to a 10-gallon pot. Water should soak in rather than pond on the surface, and you should see it reaching the drainage holes within a few minutes. If it pools on the surface for several minutes or drains slowly, the soil structure is compromised. Gently tip out a small portion of soil to inspect for root-bound plants that might have died over winter; a dense mat of dead roots can impede new growth. Remove any large, intact root balls from previous crops, as these will decompose slowly and can harbor pathogens. Ensure at least 60% of the container volume is free of large root masses before proceeding. For ongoing monitoring, a Soil Moisture Meter can help you understand your soil’s water retention throughout the season, preventing both overwatering and underwatering.
- Inspect the top 2-3 inches for compaction.
- Check for white salt crust on the surface.
- Perform a drainage test with one gallon of water.
- Remove any large, dead root balls.
- Ensure at least 60% of the container is clear.
The science of tired soil: why it needs help
Container soil, unlike garden beds, is a finite and often stressed environment. Over a single growing season, plants extract significant amounts of nutrients. For example, a tomato plant in a 5-gallon pot will strip most of the readily available nitrogen and potassium out of that small volume of mix before it finishes fruiting. Beyond nutrient depletion, the organic matter in potting mixes — often peat moss or coir — breaks down, reducing the soil’s ability to retain water and air. This breakdown steadily reduces the organic matter in the mix, and with it the habitat that beneficial microbes depend on. The soil structure degrades, becoming less porous and more prone to compaction, particularly in containers exposed to heavy rainfall in regions like the Southeast (USDA zone 7-9).
Understanding nutrient cycles and microbial health
The continuous cycle of planting and harvesting can also lead to an imbalance in the soil microbiome. Specific pathogens or pests associated with certain crops can accumulate, increasing disease pressure for subsequent plantings of the same family. For instance, growing tomatoes in the same container year after year lets Fusarium wilt build up, which susceptible varieties have no defence against. Beneficial fungi and bacteria, important for nutrient cycling and plant defense, often decline in stressed, depleted soil. A healthy soil microbiome can fix atmospheric nitrogen, solubilize phosphorus, and protect roots from pathogens, making nutrients available that the plant could not otherwise reach. Refreshing the soil rebuilds this living system, which also restores nutrient availability.
- Nutrient depletion, especially nitrogen and potassium.
- Organic matter breakdown, reducing content by 15-25%.
- Accumulation of specific plant pathogens.
- Decline in beneficial microbial populations.
- Increased soil compaction and reduced aeration.
Revitalizing the growing medium
Once you have assessed your containers, the next step is to revitalize the growing medium. For most containers, especially those 5 gallons or larger, you can reuse about 70-80% of the old soil. Start by emptying the contents onto a tarp or into a large mixing tub. Break up any remaining clumps and remove any large pieces of debris, including old roots or stones larger than one inch in diameter. This physical aeration helps restore soil structure. In drier climates, like those in USDA zone 9 in California, adding a moisture-retaining amendment is particularly beneficial, because it stretches the interval between waterings.
Incorporating fresh amendments
Revitalizing old container soil requires replenishing its organic matter and improving its physical properties. Aim to replace 20-30% of the total volume with fresh amendments. A good blend includes high-quality compost, which provides a slow release of nutrients and introduces beneficial microbes. For every 10 gallons of old soil, incorporate 2-3 gallons of compost. You can also add perlite or vermiculite at a rate of one gallon per 10 gallons of soil to improve drainage and aeration, especially in areas with high humidity, such as Florida (USDA zone 9-10). Coconut coir is another excellent amendment, improving water retention and aeration, and can be added at a rate of 10-15% by volume. These additions help create a balanced medium that supports root development and nutrient uptake, producing healthier plants. For more on building healthy soil, see our article on Organic gardening soil: build the living soil that grows everything.
- Reuse 70-80% of old soil for containers 5 gallons or larger.
- Remove debris and break up clumps larger than one inch.
- Add 2-3 gallons of compost per 10 gallons of old soil.
- Incorporate one gallon of perlite or vermiculite per 10 gallons.
- Consider 10-15% coconut coir for water retention.
Nutrient replenishment for spring growth
After improving the physical structure of container soil, the next step is to replenish its nutrient profile. Overwintered soil is often depleted, especially of mobile nutrients like nitrogen, which can leach out with winter rains or snowmelt. For vigorous spring growth, a balanced approach to fertilization is essential. Organic granular fertilizers, applied at the manufacturer’s recommended rate (typically 1-2 tablespoons per gallon of soil volume), provide a slow, steady release of nutrients. Look for a product with an NPK ratio suitable for general vegetable growth, such as 5-1-1 or 4-4-4, to support initial leaf and stem development. This gives plants a steady supply through the early weeks when they are building leaf and stem.
Micronutrients and slow-release options
Beyond the primary macronutrients (nitrogen, phosphorus, potassium), container plants also require micronutrients like calcium, magnesium, and iron. Adding a balanced organic fertilizer that includes these trace elements, or supplementing with specific amendments like kelp meal (providing over 60 trace minerals) at a rate of one tablespoon per gallon of soil, can prevent common deficiencies. Calcium is worth understanding properly: blossom end rot in tomatoes is a calcium-delivery problem, usually caused by uneven watering interrupting calcium movement into the developing fruit rather than by a shortage of calcium in the mix. Bone meal can provide phosphorus and calcium, while alfalfa meal offers a slow-release nitrogen source. Consider using slow-release options, which feed plants for 3-4 months, reducing the need for frequent reapplication. For more detailed information on organic feeding strategies, refer to our article on Organic gardening fertilizer: feed the soil, not the plant.
- Apply organic granular fertilizer, 1-2 tablespoons per gallon of soil.
- Choose an NPK ratio like 5-1-1 or 4-4-4 for general growth.
- Add kelp meal (one tablespoon per gallon) for trace minerals.
- Supplement with bone meal for phosphorus and calcium.
- Use alfalfa meal for slow-release nitrogen.
Pest and disease management in reused soil
Reusing container soil carries the risk of perpetuating pests and diseases from previous seasons. Pathogens like damping-off fungi or root-knot nematodes can survive in soil, especially in mild winter climates like USDA zone 9-10 in Florida or Southern California. While complete sterilization is rarely necessary or desirable, as it kills beneficial microbes, a targeted approach can mitigate risks. If you experienced significant disease issues in a specific container last year, such as early blight on tomatoes or powdery mildew, consider replacing 50-75% of that soil or pasteurizing it. This reduces pathogen load without completely sterilizing the soil, preserving some beneficial microbial life.
Pasteurization and beneficial microbes
To pasteurize soil, moisten it, spread it no more than four inches deep in a covered pan, and heat it in a 200°F oven until a thermometer pushed into the middle of the soil reads 180°F, then hold it there for 30 minutes. Do not let the soil go above 200°F; hotter than that it releases compounds that damage the next crop. This temperature is sufficient to kill most harmful pathogens, weed seeds, and insect eggs, while leaving some beneficial organisms intact. After heating, allow the soil to cool completely before planting. Once cooled, consider inoculating the soil with beneficial microbes, such as mycorrhizal fungi or Bacillus subtilis, which can improve nutrient uptake and suppress disease. These can be purchased as powders or liquids and applied at the manufacturer’s recommended rate, typically one teaspoon per gallon of soil. Reintroducing beneficial organisms helps rebuild the biological competition that suppresses pathogens, which matters most in containers where rotation options are limited. For more information on soil health, consider our article on Organic gardening soil: build the living soil that grows everything.
- Replace 50-75% of soil if severe disease issues occurred.
- Pasteurize soil by heating to 180°F for 30 minutes.
- Spread soil in layers no more than four inches deep.
- Allow soil to cool completely before planting.
- Inoculate with beneficial microbes, one teaspoon per gallon.
Planning for the season: crop rotation and succession
Even with refreshed soil, thoughtful planning for the upcoming season can prevent many issues. Crop rotation, a cornerstone of sustainable agriculture, is just as important in containers as it is in large garden beds. The basic principle is to avoid planting the same plant family in the same container for at least two consecutive seasons. For example, if you grew tomatoes (Solanaceae family) in a 15-gallon container last year, consider planting beans (Leguminosae family) or lettuce (Asteraceae family) in it this spring. This practice helps break pest and disease cycles and spreads nutrient demand more evenly between seasons. In smaller containers, like 2-gallon pots, this might mean rotating between herbs one year and leafy greens the next.
Succession planting and companion benefits
Succession planting, where you plant new crops as old ones finish, maximizes productivity in limited spaces. In USDA zone 7, for example, you might plant radishes in early spring, followed by bush beans in early summer, and then fall spinach. This allows for three harvests from a single container in one season. Companion planting claims are mixed. French marigolds do suppress root-knot nematodes, but only when grown as a dense stand for a full season and then turned into the soil, rather than tucked in as a few plants beside a tomato. Some plants, like certain cold-hardy nitrogen fixers, can even improve soil fertility. For ideas, explore our article on Cold-Hardy Nitrogen Fixers for Zones 2-6: Feeding the Soil Where It Frosts Hard. By strategically rotating crops and planning successions, you can maintain soil health and achieve continuous harvests, getting more out of the same container over the growing season.
- Avoid planting the same plant family in a container for two seasons.
- Rotate Solanaceae (tomatoes) with Leguminosae (beans) or Asteraceae (lettuce).
- Implement succession planting for multiple harvests per season.
- Plant radishes, then bush beans, then fall spinach in USDA zone 7.
- Use companion plants like marigolds to deter nematodes.
Performance comparison of container soil types
Soil Type | Nutrient Availability | Water Retention | Disease Risk | Cost per 10 gallons |
|---|---|---|---|---|
Old, Unamended Soil | Low (10-20% remaining) | Poor (30% less) | High (up to 50% risk) | $0 |
Refreshed Soil (20-30% amendments) | Medium (60-80% restored) | Good (10-20% improved) | Medium (10-20% reduced) | $5-10 |
New Potting Mix | High (100% initial) | Excellent (optimal) | Low (5-10% initial) | $15-25 |
Soil Compaction: Winter freeze-thaw cycles settle and compact container mix, hindering root growth and water infiltration.
Nutrient Depletion: A single tomato plant will use up most of the readily available nitrogen and potassium in a 5-gallon pot over one season.
Pasteurization Temp: Heating container soil to 180°F for 30 minutes can kill most harmful pathogens and weed seeds.
Frequently asked questions
How much old soil can I reuse in my containers?
For containers 5 gallons or larger, you can typically reuse 70-80% of the old soil. Ensure it’s free of large root masses and has good drainage before mixing in fresh amendments. This reduces waste and saves money, often by 50% compared to buying all new soil.
What are the best amendments to add to tired container soil?
Compost is effective when added at 2-3 gallons per 10 gallons of old soil. Perlite or vermiculite (one gallon per 10 gallons) improves drainage, and coconut coir (10-15% by volume) increases water retention, especially in dry regions like USDA zone 9.
How do I know if my container soil is compacted?
Visually inspect the top 2-3 inches; if it’s hard or forms a solid block, it’s compacted. If water ponds on the surface for several minutes instead of soaking in, the mix has compacted or crusted over.
Is it necessary to sterilize container soil after a disease issue?
If you had severe disease issues, consider replacing 50-75% of the soil or pasteurizing it by heating to 180°F for 30 minutes. This reduces pathogens while preserving some beneficial microbes.
What NPK ratio should I use for spring container plants?
For initial spring growth, a balanced organic granular fertilizer with an NPK ratio of 5-1-1 or 4-4-4 is suitable. Apply 1-2 tablespoons per gallon of soil to support strong leaf and stem development.
How does crop rotation benefit container gardening?
Crop rotation helps prevent the buildup of specific pests and diseases by avoiding planting the same plant family in a container for at least two seasons. This breaks the cycle that lets soil-borne problems build up season after season, leading to healthier plants.