Key takeaways
- Agricultural loam is defined by weight of the mineral fraction: roughly 40% sand, 40% silt, and 20% clay — not an equal-volume mix, because sand particles weigh far more than clay.
- Provides the perfect balance between free drainage (preventing waterlogging) and moisture retention (nourishing roots).
- Humus and clay fractions together give loam its cation exchange capacity (CEC), allowing it to store and release nutrients gradually.
- Test your soil texture accurately at home using the simple 24-hour mason jar sedimentation test.
- Never mix sand directly into heavy clay; build true loam organically by adding generous organic compost and mulch.
Quick answer: Loamy soil is a balanced blend of sand, silt, and clay particles enriched with organic matter, offering optimal aeration, moisture retention, and nutrient availability. You can determine your soil texture with a jar test and improve native ground into loam by adding organic compost.
Understanding what constitutes true loamy soil is the foundation of successful horticulture. Experienced gardeners and agronomists frequently refer to loam as the benchmark soil texture for plant health. When seed packets, plant labels, and gardening guides instruct you to plant in "rich, fertile, well-draining loam," they are describing the optimal underground habitat for root expansion and biological life.
Unlike pure sand (which drains too fast and starves plants of moisture) or dense clay (which traps water and suffocates root systems), loamy soil achieves an ideal balance. It holds onto essential plant moisture without turning waterlogged, allows delicate root hairs to penetrate deeply without encountering resistance, and fosters a diverse ecosystem of beneficial earthworms, mycorrhizal fungi, and nitrogen-fixing bacteria.
Understanding soil texture is the first step when starting a raised bed, improving poor fill dirt, or troubleshooting yard drainage. Testing soil mineral ratios at home and applying organic amendments can turn difficult sand or clay into dark, crumbly, productive loam.
What is loam: the mineral triad explained
All natural mineral soils are composed of weathered rock fragments categorized into three distinct particle sizes:
- Sand (0.05 to 2.0 mm): The largest particle size. Sand grains feel gritty between your fingers and create large open pore spaces (macropores). While sand promotes rapid drainage and root aeration, it cannot hold onto water or dissolved plant nutrients.
- Silt (0.002 to 0.05 mm): Medium-sized rock particles created by glacier and water erosion. Silt feels smooth and floury when dry and slippery like wet powder when moist. It holds moisture well but can pack down tightly.
- Clay (Less than 0.002 mm): Microscopic, plate-like mineral crystals with strong electrical charges. Clay holds immense quantities of water and nutrients, but compacts easily, becoming sticky when wet and rock-hard when dry.
The ideal loam ratio
According to the USDA Soil Texture Triangle, a classic "ideal loam" consists of approximately 40% sand, 40% silt, and 20% clay by dry weight of the mineral fraction.
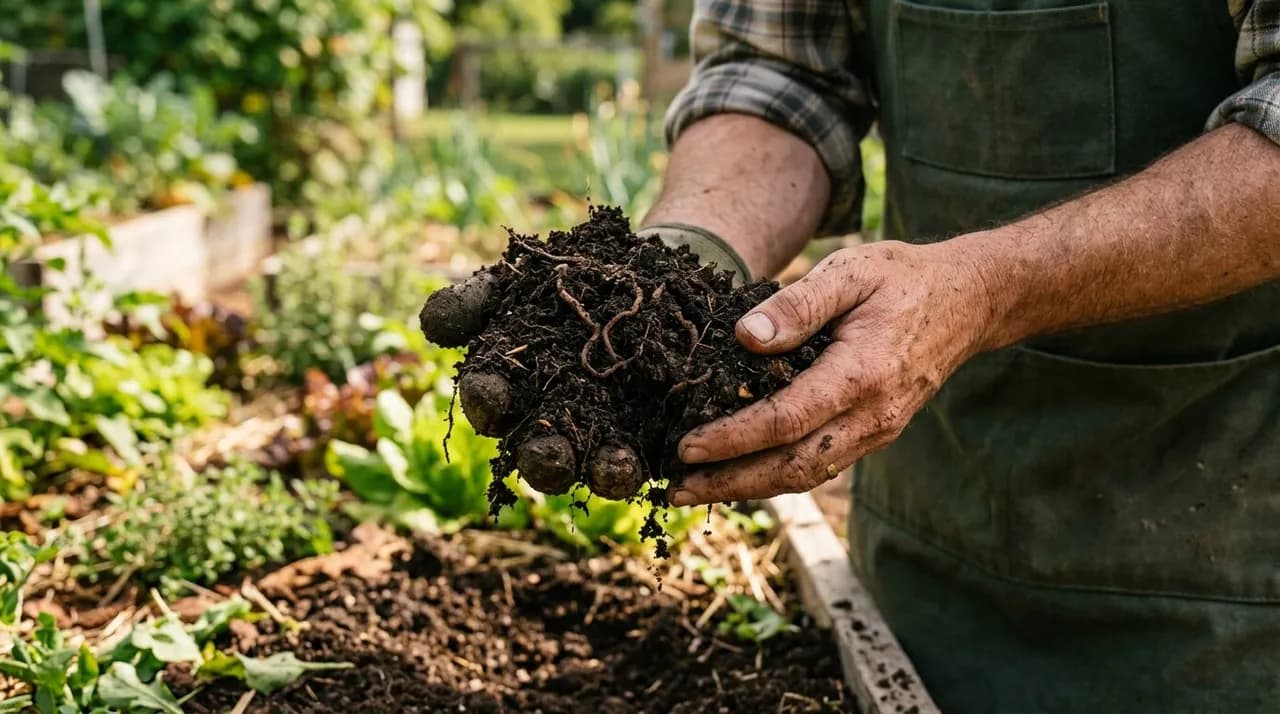
The classic 40-40-20 ratio describes weight, not volume. Because sand grains are massive compared to clay platelets, a soil that feels like equal parts sand and clay by eye is heavier in sand by weight. Clay provides the chemically active mineral surfaces that hold water and nutrients; sand and silt keep the pore network open. Soil life (earthworms, fungi, and root exudates producing glues like glomalin) binds those mineral grains into stable crumbs (peds) with air spaces between them. When this mineral matrix is combined with 3% to 6% decomposed organic matter (humus), the result is a loose, crumbly soil with superior tilth.
To explore how coarse structural minerals integrate with aerating amendments in container blends, compare this mineral structure with perlite vs vermiculite.
Variations of loamy soil
Soil exists along a continuous spectrum. Depending on the exact percentage of sand, silt, or clay in your native ground, loam falls into specific textural sub-categories:
1. Sandy loam
Contains roughly 50% to 70% sand, with the remainder balanced between silt and clay.
- Characteristics: Feels gritty but holds together when squeezed into a ball. Drains rapidly, warms up quickly in early spring, and is easy to cultivate. Ideal for root vegetables like carrots, parsnips, and radishes.
- Management: Requires regular additions of organic mulch to slow summer water loss. Review moisture dynamics in sandy soil water retention.
2. Clay loam
Contains 27% to 40% clay, 20% to 50% silt, and the remainder sand.
- Characteristics: Feels somewhat sticky and plastic when wet. Holds significant moisture and nutrients, making it outstanding for heavy-feeding brassicas and fruit trees, but takes longer to warm up in spring.
3. Silt loam
Contains over 50% silt, with smaller fractions of sand and clay.
- Characteristics: Exceptionally smooth and velvety texture. Retains excellent moisture, but requires careful handling to avoid surface crusting after heavy rains.
How to test your soil texture at home
You do not need expensive laboratory equipment to determine your soil texture. Two simple diagnostic tests provide immediate answers:
1. The ribbon and feel test
- Take a handful of garden soil, moisten it with a few drops of water, and knead it into a firm ball.
- Push the soil upward between your thumb and forefinger, squeezing it into a flat ribbon of uniform thickness (about 1/8 inch / 3 mm thick).
- Pure Sand: Will not form a ball and crumbles completely.
- Loam: Forms a ball that creates a short, fragile ribbon less than 1 inch (2.5 cm) long before breaking cleanly under its own weight.
- Clay: Forms a long, flexible, shiny ribbon extending 2 inches (5 cm) or more without breaking.
2. The mason jar sedimentation test
This 24-hour test provides practical percentage estimates of your soil's sand, silt, and clay fractions:
- Fill a straight-sided 1-quart (1-litre) glass mason jar one-third full with dry, sifted garden soil.
- Fill the remainder of the jar with clean water, leaving 1 inch of headspace, and add 1 teaspoon of liquid dish detergent (which acts as a surfactant to separate particle aggregates).
- Fasten the lid tightly and shake vigorously for 60 seconds until the soil is thoroughly suspended in the water.
- Place the jar on a level surface and watch the layers settle by weight:
- Sand Layer: Settles out at the bottom of the jar within 1 minute. Mark the height on the jar with a marker.
- Silt Layer: Settles on top of the sand within 2 hours. Mark the top of the silt layer.
- Clay Layer: Takes 24 to 48 hours to fully settle out, leaving the water clear.
- Measure the settled layers to get a working estimate of your sand, silt, and clay percentages. (The jar test over-reads the clay fraction because organic matter and fine silt settle out with it; treat it as a practical guide, not a lab assay.)
For evaluating subsoil permeability across larger garden areas, compare your jar results with a field soil drainage percolation test.
Why you must never mix sand into clay
When gardeners discover they have heavy clay soil, a common intuitive impulse is to add bags of coarse builder's sand to "loosen it up."
Adding sand to heavy clay in the garden almost always makes drainage worse, not better: you need roughly equal volumes of coarse sand to break up clay, and anything less just embeds the sand grains in a dense clay matrix, making it harder to dig and slower to drain. Add compost or leaf mould instead; organic matter is what opens up clay.
Step-by-step: how to build loamy soil organically
Organic matter is the universal balancer of soil texture. In clay soils, organic humic acids cause microscopic clay platelets to clump together into loose, granular aggregates (flocculation), creating open drainage pores. In sandy soils, sponge-like organic matter coats coarse particles, increasing water-holding capacity and cation exchange capacity.
1. Apply generous finished compost
Spread a 2 to 3-inch (5 to 7.5 cm) layer of well-aged compost, leaf mould, or composted livestock manure across your garden beds annually in spring or autumn. Earthworms and soil microbes will incorporate this organic carbon down into the mineral layers without mechanical tilling, maintaining total soil organic matter between 3% and 6% by weight.
2. Practice no-till and sheet mulching
Rotary tilling pulverizes natural soil aggregates, destroys beneficial mycorrhizal fungal networks, and oxidizes organic carbon. Transitioning to no-till methods and layered cardboard sheet mulching protects soil architecture. Learn step-by-step mulching protocols in sheet mulching for moisture retention.
3. Grow cover crops and green manures
Taprooted cover crops like daikon radish punch through subsoil compaction, while dense fibrous rooters like cereal rye and crimson clover knit the topsoil into stable aggregates. As the roots rot they leave long-lasting root channels that ease aeration and drainage.
To see how specific mineral amendments balance soil chemistry alongside organic building, see our guide to soil amendments demystified.
Understanding your mineral texture ratios, checking soil with jar tests, and adding organic compost and mulch builds loamy soil that provides a productive foundation for the garden.