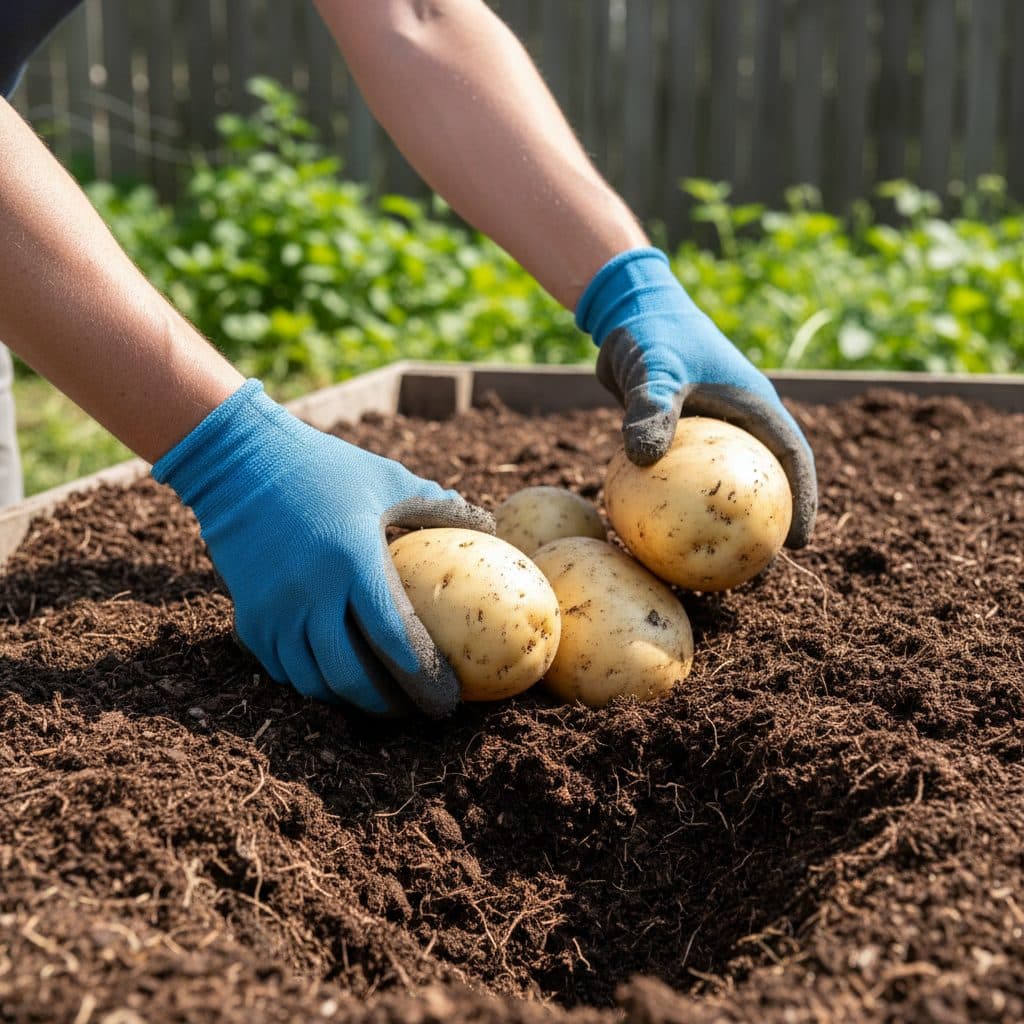
Key takeaways
- Growing potatoes with the no-dig method eliminates backbreaking trench digging and protects developing tubers from spade cuts during harvest.
- Seed potatoes are laid directly onto surface soil or cardboard and covered with 10 to 15 cm of well-rotted compost or organic mulch.
- As stems grow, additional compost, straw, or leaf mould is applied around the foliage to block light and prevent tubers from turning green.
- Harvesting requires no digging tools; growers simply pull the main haulm by hand and brush aside loose mulch to gather clean potatoes.
- First-early and second-early varieties are ideal for UK plots because they mature rapidly and are harvested before late summer blight pressure peaks.
Quick answer: To grow no-dig potatoes, place chitted seed potatoes directly on the soil surface or over a base layer of cardboard, cover them with 10 to 15 cm of well-rotted compost, and top up the mulch as stems emerge. At harvest time, simply pull the stems upward and collect clean, undamaged tubers directly from the loose compost layer.
Traditional potato cultivation requires digging deep trenches, heaping up heavy ridges of soil, and risking slicing through your prize tubers with a garden fork at harvest time. Growing potatoes this way is cleaner and less labour-intensive, and it builds soil biology while still producing good yields.
Pioneered in the UK by market gardeners like Charles Dowding, the no-dig approach relies on surface biology rather than soil disruption. Instead of burying seed tubers in cold subsoil, you place them at ground level and mimic natural woodland decomposition by covering them with thick layers of organic matter.
This method works equally well over established vegetable beds, uncultivated turf, or weed-infested allotment ground. By retaining soil structure and feeding beneficial earthworms, no-dig potato beds leave behind fertile, crumbly soil ready for immediate replanting.
+-------------------------------------------------------------+
|              NO DIG VS CONVENTIONAL POTATOES                |
|                                                             |
|   FACTOR           NO DIG METHOD            TRENCH RIDGING  |
|   ------           -------------            --------------  |
|   Ground Prep      Cardboard over grass     Deep trenching  |
|   Tuber Placement  Surface / Under compost  15 cm deep soil |
|   Earthing Up      Layer organic mulch      Hoe heavy soil  |
|   Harvesting       Pull by hand             Fork / spade dig|
|   Tuber Condition  Clean, unbruised         Muddy, cut risk |
+-------------------------------------------------------------+
How do you prepare seed potatoes for no-dig planting?
Starting with healthy, certified disease-free seed potatoes ensures vigorous spring growth. Chitting, or pre-sprouting seed tubers, gives the crop a head start before planting outside in the garden.
Begin chitting in February or March, roughly four to six weeks before your planned planting date. Place seed tubers in egg boxes or seed trays with the "rose end" (the end with the most dormant eyes or buds) facing upwards.
Keep the trays in a cool, bright, frost-free location such as an unheated porch, conservatory, or windowsill at 10°C to 12°C. Avoid dark cupboards, which cause weak, elongated white shoots. Within a few weeks, the tubers will develop short, sturdy, dark green or purplish sprouts roughly 2 to 3 cm long.
For UK growers, selecting the right variety class determines your harvest window and helps manage common diseases:
+-------------------------------------------------------------+
|              UK SEED POTATO CLASSIFICATIONS                 |
|                                                             |
|   CLASS            PLANTING WINDOW     HARVEST MATURITY     |
|   -----            ---------------     ----------------     |
|   First Early      Late March to April 10 to 12 weeks       |
|   Second Early     Mid to late April   12 to 14 weeks       |
|   Maincrop         Late April to May   16 to 20 weeks       |
+-------------------------------------------------------------+
First-early cultivars (such as 'Swift', 'Rocket', or 'Pentland Javelin') are particularly well suited to no-dig beds. They establish rapidly and are harvested in June or July before late potato blight spreads during warm, damp summer conditions. For traditional planting depth comparisons, see our guide on how to grow potatoes.
How do you set up a no-dig potato bed over grass or weeds?
One of the greatest advantages of the no-dig approach is the ability to install new growing beds directly over lawn grass, clover, or perennial weeds without stripping turf or rotovating.
Begin by mowing or strimming the existing grass and surface weeds as close to the ground as possible. If the ground is dry, water the area thoroughly to ensure moisture is trapped beneath the mulch layer.
Lay plain, unwaxed corrugated cardboard over the entire bed footprint, ensuring all seams overlap by at least 15 to 20 cm. This light-excluding barrier smothers grass and annual weeds. Earthworms and soil microbes are drawn to the decaying cardboard, aerating the compacted soil beneath. To review broader bed establishment, read our guide on sheet mulching with cardboard for weed control.
Use a sharp trowel or knife to cut small "X" slits through the cardboard, spaced 30 cm apart in rows 45 cm apart. That spacing suits first and second earlies; give maincrops about 38 cm in the row and 75 cm between rows. Push your chitted seed potatoes through each slit so they sit directly against the damp soil surface with their sprouts pointing upward.
Cover the entire bed and all seed potatoes with a 10 to 15 cm layer of rich, well-rotted garden compost or decomposed farmyard manure. Avoid lime-rich spent mushroom compost on potatoes — it raises pH and worsens common scab.
+-------------------------------------------------------------+
|              NO DIG BED CROSS-SECTION ON TURF               |
|                                                             |
|   [ 10-15 cm Layer of Well-Rotted Compost / Mulch         ] |
|   [ * Seed Potato * ]        [ * Seed Potato * ]            |
|   =================== CARDBOARD =========================== |
|   ------------------ Mowed Turf / Soil -------------------- |
+-------------------------------------------------------------+
How do you care for potatoes under compost as they grow?
As soil warms in spring, sturdy green shoots will push up through the compost layer within two to three weeks. Caring for no-dig potatoes requires minimal physical effort, focused primarily on light exclusion and moisture management.
When stems reach 15 to 20 cm in height, top up the bed around the base of the plants with an additional 5 to 10 cm layer of compost, straw, or well-shredded autumn leaves. This process replaces traditional soil earthing-up. Light turns exposed tubers green with chlorophyll and, at the same time, triggers a rise in bitter glycoalkaloids such as solanine, which is what makes a light-exposed tuber unsafe to eat. Green is the warning sign, not the toxin itself.
Potatoes require consistent moisture, particularly while flowering, which coincides with rapid tuber swelling below ground. Water deeply at soil level once or twice a week during dry spells rather than sprinkling the foliage lightly every day.
Because well-rotted compost contains balanced slow-release nutrients, no-dig potatoes rarely require supplemental liquid fertilisers. Avoid excessive nitrogen applications, which produce luxuriant green foliage at the expense of tuber size.
How do you manage pests and blight without chemicals?
UK potato growers face two primary challenges: subterranean pests (slugs and wireworms) and late blight (Phytophthora infestans).
Slugs thrive in damp mulch, but the no-dig method actually reduces deep slug damage compared to cloddy, compacted soils. Use beer traps or physical copper barriers around sensitive bed borders. Encouraging natural predators like ground beetles, frogs, and hedgehogs by maintaining habitat strips on your plot provides natural, biological balance.
Blight outbreaks follow warm, humid spells; UK warnings now use the Hutton Criteria — two consecutive days with a minimum of 10°C or above and at least six hours of relative humidity above 90%. To safeguard your crop without synthetic sprays:
- Plant blight-resistant cultivars such as the 'Sarpo' range ('Sarpo Mira', 'Sarpo Axona') or modern resistant varieties like 'Acoustic' and 'Alouette'.
- Grow early varieties that mature before August, clearing the bed before late blight spores proliferate.
- Maintain adequate spacing between rows to promote air circulation and ensure foliage dries rapidly after morning dew.
- If blight symptoms appear (dark brown spots surrounded by pale halos on leaves), cut the haulms off at ground level immediately and bin them or take them to council green waste — do not put blighted foliage on the home compost heap. Leave the tubers in the ground for two weeks so skins set before lifting.
For plot holders planning their overall layout and crop rotations, check our comprehensive guide on what to grow on an allotment.
+-------------------------------------------------------------+
|              BLIGHT PREVENTION BEST PRACTICES               |
|                                                             |
|   - Select early or certified blight-resistant cultivars    |
|   - Space rows 45-60 cm apart for maximum ventilation       |
|   - Water exclusively at base to keep foliage dry           |
|   - Remove haulms immediately upon identifying lesion spots |
+-------------------------------------------------------------+
How and when do you harvest no-dig potatoes?
Harvesting no-dig potatoes is clean and rewarding. Because tubers develop within the loose, friable compost rather than compacted clay, they are lifted effortlessly by hand without tool damage.
First earlies are ready when the plants come into flower, usually in June or July. You can "bandicoot" or sneak early harvests by gently parting the mulch, feeling around the root cluster for golf-ball-sized new potatoes, and pulling them away while leaving the plant to continue growing.
For maincrop storage potatoes, wait until the foliage naturally turns yellow and dies back in late summer or early autumn. Allow the tubers to sit undisturbed under the mulch for 10 to 14 days after haulm death so their skins can harden.
To harvest the full crop:
- Grasp the base of the main stem firmly and pull it straight upward. The central mass of tubers will lift out cleanly with the root system.
- Run your fingers through the loose compost around the planting site to collect any detached tubers.
- Lay the harvested potatoes on cardboard in a dry, shady spot for a few hours to dry their skins.
- Store unwashed tubers in breathable hessian or paper sacks in a cool, dark, frost-free shed.
Once harvested, the remaining bed is enriched with decomposed organic matter and earthworm casts. Rake the surface level and immediately sow winter salads, brassicas, or green manures. For broader no-dig principles, see our primer on no-dig gardening for beginners.