Key takeaways
- Shallots (Allium cepa var. aggregatum) divide into clusters of 6 to 12 individual bulbs from a single planted mother set.
- Plant dormant sets in autumn (October–November) or early spring (February–April) in fertile, freely draining soil in full sun.
- Press sets gently into loose soil so the pointed tips sit level with the surface, spacing bulbs 15 cm to 20 cm apart.
- Protect newly planted sets with temporary netting or fleece to prevent birds from dislodging them before roots anchor.
- Harvest when foliage turns yellow and collapses in midsummer, curing bulbs in a warm, airy spot for up to 10 months of storage.
Quick answer: To grow shallots in the UK, plant dormant sets in early spring (or autumn for hardy varieties) 15 cm to 20 cm apart in well-draining, weed-free soil. Ensure the pointed tip peeks above the surface, keep beds weeded, and harvest clusters in midsummer when foliage collapses, curing bulbs thoroughly before storing.
Learning how to grow shallots provides British kitchen gardeners with one of the most gourmet, long-storing allium crops on the allotment. Prized in traditional culinary dishes for their delicate, sweet, and mild onion-garlic flavor, shallots are significantly milder than standard culinary onions and command high prices in grocery stores.
Unlike common bulb onions that produce a single bulb from one seed or set, shallots multiply beneath the soil surface. Planting a single mother bulb in autumn or early spring yields an expansive cluster (or "nest") of 6 to 12 plump, firm bulbs by midsummer. Furthermore, their tight, papery outer skins give them exceptional keeping qualities, often storing in sound condition for 8 to 12 months in an unheated pantry or shed.
Whether you cultivate on an exposed council allotment plot or in compact raised garden beds, following proven allium growing techniques ensures a heavy harvest of unblemished bulbs.
Sets vs. seeds and selecting top UK shallot varieties
Gardeners can establish shallots from dormant immature bulbs (sets) or direct-sown seeds:
1. Planting shallot sets (recommended)
Planting shallot sets is the most reliable, foolproof method for UK weather. Sets establish quickly, tolerate cold wet soils far better than tiny seedlings, and produce reliably uniform clusters.
2. Growing shallots from seed
Growing shallots from seed requires an early start indoors in January or February at 10°C to 15°C. Seed-grown shallots typically produce large single or double bulbs rather than large multi-bulb clusters, offering great resistance to viral diseases carried in vegetative stock. For indoor tray setup details, consult seed starting for beginners.
3. Popular UK shallot varieties
Choose certified disease-free stock suited to your planting window:
+-------------------+--------------------+------------------+-------------------------+
| Variety           | Planting Season    | Bulb Shape/Color | Flavour & Storage Life  |
+-------------------+--------------------+------------------+-------------------------+
| Golden Gourmet    | Spring (Feb - Apr) | Round, golden    | Mild; outstanding 9-12  |
|                   |                    | yellow skin      | month storage keeper    |
+-------------------+--------------------+------------------+-------------------------+
| Red Sun           | Spring (Feb - Apr) | Rounded, reddish | Crisp, pungent flavour; |
|                   |                    | copper skin      | stores 8 - 10 months    |
+-------------------+--------------------+------------------+-------------------------+
| Jermor            | Autumn or Spring   | Long, oval,      | Traditional French      |
|                   | (Oct - Mar)        | pinkish-copper   | gourmet flavour; sweet  |
+-------------------+--------------------+------------------+-------------------------+
| Griselle (Grey)   | Autumn (Oct - Nov) | Elongated, grey  | Intense, prized French  |
|                   |                    | outer wrapper    | true shallot; 4-6 months|
+-------------------+--------------------+------------------+-------------------------+
Soil preparation, bed spacing, and planting techniques
Shallots demand free-draining, nutrient-rich soil in an open, unshaded site that receives maximum sunlight throughout the day. Waterlogged, heavy clay soil causes dormant sets to rot before roots establish.
Soil preparation and pH
- Drainage: In heavy clay soils, plant into raised beds amended with coarse horticultural grit and well-rotted garden compost.
- pH balance: Shallots prefer a neutral to slightly alkaline soil pH between 6.5 and 7.2. If soil is naturally acidic, apply a light dusting of agricultural lime during autumn bed preparation.
- Nutrient balance: Avoid fresh, raw animal manures or high-nitrogen fertilizers directly before planting. Excessive nitrogen causes lush, soft green foliage and loose, puffy bulbs that rot during winter storage. Incorporate balanced organic compost or a light dressing of blood, fish, and bone.
+---------------------------------------------------------+
|                   [Shallot Bed Spacing]                 |
|                                                         |
|    (Tip Exposed)          (Tip Exposed)                 |
|        / \                    / \                       |
|       |   |                  |   |                      |
|       |   |                  |   |                      |
|      =======                =======                     |
|      |<--- 15 cm - 20 cm --->|                          |
|   ====================================================  |
|   Row 1                                                 |
|                                                         |
|   |                                                     |
|   | 30 cm Between Rows                                  |
|   v                                                     |
|                                                         |
|   ====================================================  |
|   Row 2                                                 |
+---------------------------------------------------------+
Step-by-step planting method
- Timing:
- Autumn planting: October to mid-November for overwintering types like 'Jermor'. Overwintered sets root during mild autumn weather and produce earlier, heavier harvests.
- Spring planting: Late February to mid-April as soon as the soil is workable. Check our seasonal guide on what to plant in March in the UK.
- Planting depth: Never bury sets deep underground. Press each bulb gently into loose, crumbly soil until roughly two-thirds of the set is covered, leaving the pointed tip just visible at the soil surface.
- Spacing: Space sets 15 cm to 20 cm apart in rows spaced 30 cm apart. This provides ample physical space for the single bulb to expand into a wide cluster of 8 to 10 daughter bulbs.
- Bird protection: Blackbirds, thrushes, and pigeons are notorious for pulling up freshly planted sets, mistaking emerging dry skins for worms. Lay lightweight bird netting or horticultural fleece over the bed for the first 3 to 4 weeks until roots firmly anchor the sets into the soil.
Ongoing maintenance: weeding, watering, and disease prevention
Shallots have shallow root systems and fine, upright foliage that cannot compete with vigorous weeds:
1. Weed control
Weeds cast shade and restrict air circulation around developing bulb clusters, creating stagnant microclimates that invite fungal spores:
- Hand-weed closely around the clusters, taking care not to nick the delicate outer skins with sharp hoe blades.
- Hoe path borders regularly on dry, sunny mornings. If preparing weed-choked allotment ground, review our organic management in how to get rid of bindweed.
2. Watering regimen
- Water during dry spring spells to keep soil evenly moist while bulbs divide and expand.
- Cease all supplemental watering completely from mid-June onward as the bulbs reach mature size. Allowing the soil to dry out encourages bulbs to ripen and hardens their outer protective skins.
3. Preventing pests and allium diseases
- Onion White Rot (Stromatinia cepivora): A devastating soil-borne fungal pathogen causing yellowing leaves and white fluffy mold at the base. Practice strict 4-to-5-year crop rotation, never planting alliums in contaminated beds.
- Allium Leaf Miner and Leek Moth: Cover beds with ultra-fine insect netting if local pest pressure is high.
- Slugs: Protect young spring growth from nocturnal molluscs using organic methods detailed in how to get rid of slugs in UK gardens.
When to harvest shallots: lifting, curing, and storing
Traditional British gardening lore advises planting shallot sets on the shortest day (midwinter) and harvesting on the longest day (midsummer). While exact timing depends on whether you planted in autumn or spring, the plant's foliage provides clear visual signals.
Signs of maturity and when to harvest shallots
- In late June, July, or early August, the upright green leaves naturally begin to turn yellow, wither, and collapse at the neck.
- When approximately two-thirds of the tops have collapsed, the bulbs have finished swelling.
- Choose a dry, sunny forecast to begin harvesting.
Lifting and curing technique
- Lifting: Carefully insert a garden fork underneath the cluster, gently levering the nest upward to snap the roots without bruising the bulbs.
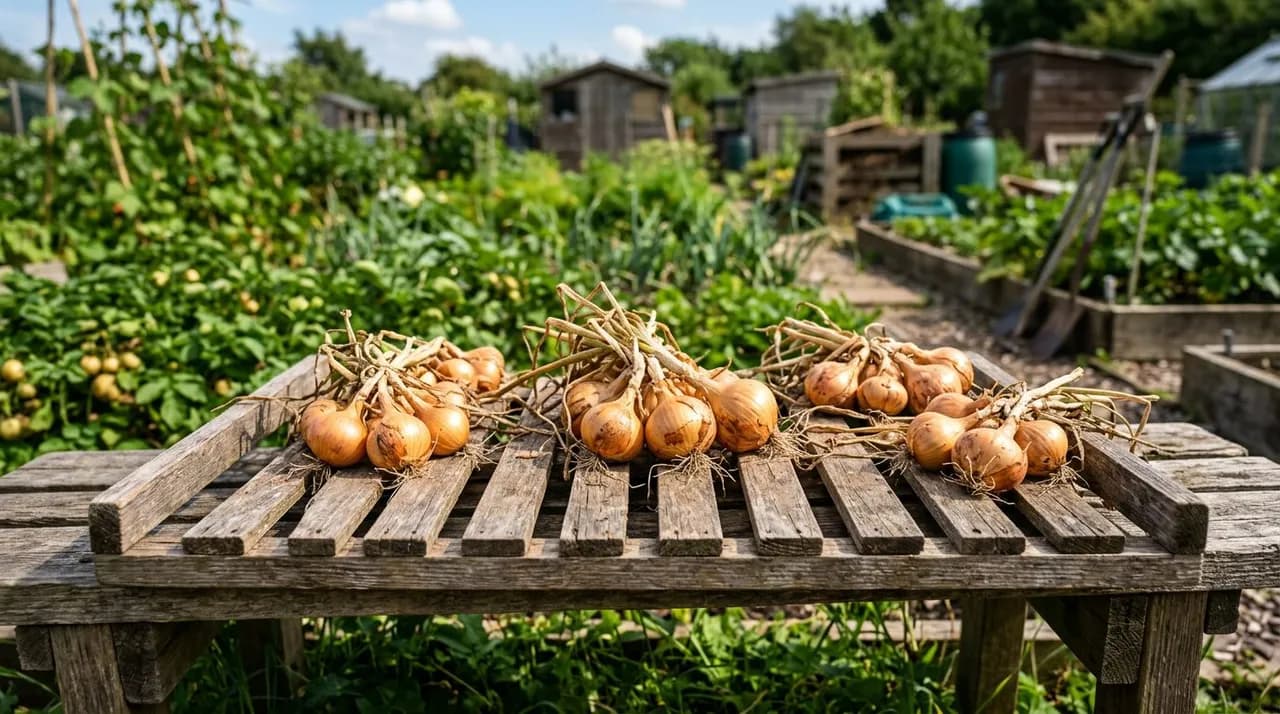
- Drying outdoors: If dry, sunny weather is forecast, leave the lifted clusters on the soil surface or on a timber slatted rack in full sun for 2 to 3 days to begin drying.
- Curing under cover: If rain threatens (common during British summers), move the clusters into a warm, dry, well-ventilated greenhouse, polytunnel, shed, or covered porch.
- Curing duration: Spread clusters in a single layer on wire mesh screens, slatted wooden trays, or sheets of dry cardboard for 2 to 3 weeks. Bulbs are fully cured when the outer skins feel papery and rustle, the foliage is straw-dry, and the neck is completely sealed and shrivelled.
Long-term storage guidelines
- Once cured, gently separate the individual bulbs from the central cluster with your fingers, brushing away dried soil and trimming roots to 1 cm.
- Cut the dried foliage to 2.5 cm above the bulb, or plait longer stems into decorative ropes.
- Discard or immediately consume any thick-necked, soft, or damaged bulbs.
- Storing shallots: Pack sound bulbs into breathable mesh nets, hessian sacks, or slatted wooden crates. Store in a dark, cool, dry, well-ventilated, frost-free location at 5°C to 10°C. Check stored bulbs monthly, removing any that show signs of sprouting or decay.
After clearing your shallot beds in midsummer, restore soil fertility and prevent nutrient leaching with late-summer cover crops from our guide on green manure.