Key takeaways
- Low-acid foods, with a pH above 4.6, require pressure canning to reach temperatures above 240°F and destroy Clostridium botulinum spores.
- Required equipment includes a tested pressure canner (dial or weighted gauge), canning jars, new lids, rings, and a jar lifter.
- Proper preparation involves specific packing methods (raw or hot pack), correct headspace (1 inch for most foods), and venting the canner for 10 minutes.
- Canning soups demands careful attention to density and ingredients; avoid starch thickeners and ensure all components are processed safely according to USDA guidelines.
- After processing, cool jars undisturbed for 12 to 24 hours, check for a proper vacuum seal, and store in a cool, dark place below 70°F for up to 18 months.
Quick answer: Pressure canning is the only safe method for preserving low-acid foods like vegetables, beans, and soups, as it reaches temperatures above 240°F to destroy Clostridium botulinum spores. This ensures shelf-stable food for homesteads.
Across the United States, from the fertile valleys of California to the humid plains of Georgia, home gardeners and homesteaders aim to preserve the bounty of their harvests. When it comes to low-acid foods like green beans, corn, potatoes, and most soups, the only safe method for shelf-stable storage is pressure canning. Pressure canning ensures that harmful bacteria, specifically Clostridium botulinum, cannot thrive in stored food, protecting against botulism.
Understanding the science behind pressure canning explains how it works. Unlike high-acid foods, which can be safely preserved in a boiling water bath at 212°F, low-acid foods require higher temperatures (typically 240°F or more) to neutralize bacterial spores. A pressure canner achieves these temperatures by creating a pressurized steam environment, making it an indispensable tool for safe home food preservation in any US region, from USDA zone 3 to zone 9, where these crops are grown.
Why low-acid foods need pressure canning
The fundamental reason low-acid foods must be pressure canned lies in their pH level. Foods with a pH greater than 4.6, such as most vegetables, meats, and soups, create an environment where the spores of Clostridium botulinum can survive and produce a deadly toxin. While boiling water canning reaches 212°F at sea level, this temperature is insufficient to destroy these resilient spores. Research from the early 20th century, though limited in its understanding of botulism, still emphasized thorough cooking for soups, a precursor to modern pressure canning methods [0, 1].
understanding the botulism risk
To effectively neutralize botulism spores, temperatures of 240°F or higher are necessary [3]. A pressure canner achieves these critical temperatures by increasing the pressure inside the canning vessel. For example, at 10 pounds per square inch (psi) of pressure, water boils at approximately 240°F, and at 15 psi, it reaches about 250°F. Every pressure in this guide is the weighted-gauge figure for 0 to 1,000 feet. A dial-gauge canner needs 11 psi at sea level, and a weighted-gauge canner needs 15 psi above 1,000 feet, so check the altitude table in the USDA Complete Guide to Home Canning before you process. Without these elevated temperatures, spores can germinate in the anaerobic environment of a sealed jar, producing the toxin. This is why a simple water bath canner is never a safe option for low-acid vegetables like green beans or corn, even for short processing times, and why USDA guidelines allow no method other than pressure canning for these items.
- Green beans (pH 5.0-6.0)
- Corn (pH 6.0-7.0)
- Potatoes (pH 5.4-5.9)
- Carrots (pH 5.6-6.0)
- Most meat and poultry products (pH 6.0-7.0)
Gathering your pressure canning equipment
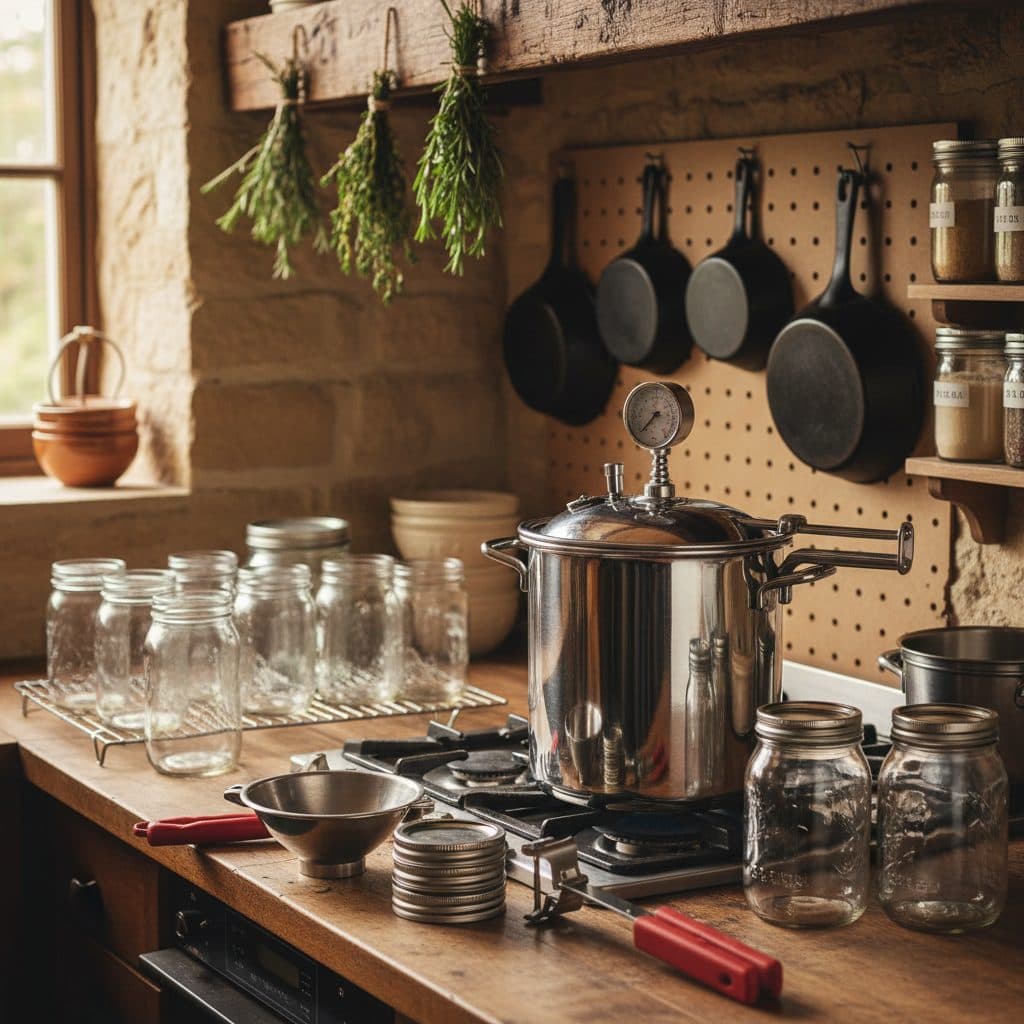
Before beginning any pressure canning project, having the correct and properly functioning equipment is necessary. A pressure canner is the primary tool, available in two main types: dial gauge and weighted gauge. Dial gauge canners, common in many US homes, require annual testing to ensure accuracy, which can often be done at your local extension office. Weighted gauge canners, on the other hand, maintain pressure by rocking a specific weight, typically 5, 10, or 15 pounds, and do not require testing. Both types must be large enough to hold at least four 1-quart jars or seven 1-pint jars, with a minimum capacity of 16 quarts.
Essential tools for safe canning
Beyond the canner itself, you will need a set of standard canning supplies. This includes glass canning jars (pint, quart, or half-gallon sizes) that are free of chips or cracks, particularly around the rim. Always use new, two-piece lids consisting of a flat metal lid with a sealing compound and a metal screw band. Other tools include a jar lifter for safely placing and removing hot jars, a canning funnel to prevent spills, a bubble remover/headspace tool, and a damp cloth for wiping jar rims. Having a timer and a reliable heat source, such as a sturdy stovetop burner capable of handling a 23-quart canner, is also important for consistent processing times, which can range from 20 minutes for pint jars of green beans to 90 minutes for quarts of meat.
- Pressure canner (dial or weighted gauge)
- Glass canning jars (pint, quart, half-gallon)
- New two-piece canning lids and screw bands
- Jar lifter, canning funnel, headspace tool
- Sturdy heat source and timer
Preparing vegetables and beans for the canner
Proper preparation of low-acid vegetables and beans is required for safe, high-quality canned goods. For many vegetables like green beans or corn, you have the option of a raw pack method or a hot pack method. The raw pack involves filling jars with raw, prepared vegetables and then covering them with boiling water, leaving 1 inch of headspace. This method is quicker initially but can result in more floating food and less appealing appearance. For example, raw packing green beans requires a 20-minute processing time for pints at 10 psi, as outlined in USDA guidelines for canning green beans safely.
Specific preparation guidelines
The hot pack method, which involves heating vegetables to boiling in water or steam before packing them hot into jars, is generally preferred. This method helps remove air from the food tissue, reduces shrinkage during processing, and often yields a better-quality product. For instance, potatoes, after peeling and dicing into 1-inch cubes, should be boiled for 2 minutes before hot packing into jars, then covered with fresh boiling water, leaving 1 inch of headspace. Canning cubed potatoes requires 35 minutes for pints and 40 minutes for quarts at 10 psi in a weighted-gauge canner, or 11 psi in a dial-gauge canner, at sea level. Always ensure jars are clean and hot, and wipe rims thoroughly before placing new lids and screw bands, tightened to fingertip-tight. After filling, place jars on the canner rack, add 2 to 3 inches of hot water to the bottom of the canner (jars are never submerged in a pressure canner), and then secure the canner lid.
- Wash and prepare vegetables thoroughly.
- Blanch or pre-cook vegetables for hot packing.
- Pack jars tightly but allow for proper headspace (1 inch).
- Remove air bubbles from jars using a non-metallic tool.
- Wipe jar rims clean before sealing.
Safely canning homemade soups and stews
Canning homemade soups and stews presents unique challenges due to the varied ingredients and densities. While the idea of a ready-to-eat meal on the shelf is appealing, following tested recipes prevents foodborne illness. Early 20th-century instructions for canning soups, such as those from 1915 and 1916, primarily focused on general cooking and sealing, without the precise pressure processing times we rely on today [0, 1]. Modern USDA guidelines emphasize that all ingredients in a soup must be individually safe for pressure canning and processed for the longest time required by any single ingredient; the USDA soup process is 60 minutes for pints and 75 minutes for quarts.
Guidelines for canning combination foods
When preparing soups for canning, avoid using starch thickeners like flour, cornstarch, or pasta directly in the soup, as they interfere with heat penetration and can lead to unsafe processing. Instead, add these items when reheating the soup for serving. For meat-based soups, cook the meat thoroughly before adding it to the jars. Pack solid ingredients loosely, filling jars no more than halfway, then add hot broth or water, leaving 1 inch of headspace. Ensure that the soup is brought to a boil and packed hot into hot jars. Always use a tested recipe from a reliable source like the USDA or university extension services to ensure the safety of your canned soups [2, 3].
- Use only tested recipes for combination foods.
- Avoid starch thickeners; add them at serving time.
- Pre-cook all meat and poultry ingredients.
- Pack solids loosely, filling jars halfway.
- Leave 1 inch of headspace in all soup jars.
Post-processing and safe storage
Once the pressure canner has completed its cycle and cooled naturally, post-processing steps preserve the seal and safety of your canned goods. Allow the canner to depressurize completely without forcing it open, which can take 30 to 60 minutes depending on its size. Once the pressure gauge reads zero, wait an additional 10 minutes before removing the lid. Carefully remove the hot jars using a jar lifter and place them on a towel-lined surface, spaced 1 inch apart, in an area free from drafts. Let them cool undisturbed for 12 to 24 hours.
Checking seals and long-term storage
After the jars have fully cooled, check for a proper vacuum seal. The center of the lid should be concave and not flex when pressed. If a lid does not seal, refrigerate the food and consume it within 3 to 4 days, or reprocess it within 24 hours using a new lid. Remove the screw bands, wipe down the jars, label them with the contents and date, and store them in a cool, dark, dry place, ideally between 50°F and 70°F. Properly canned low-acid foods can maintain their quality for 12 to 18 months [4]. Avoid storing jars near heat sources like furnaces or in direct sunlight, which can degrade food quality and potentially compromise seals. Never consume food from jars that show signs of spoilage, such as bulging lids, leaks, or off-odors, and discard it safely.
- Allow canner to depressurize naturally for 30-60 minutes.
- Cool jars undisturbed on a towel for 12-24 hours.
- Check for concave, non-flexing lids to confirm seal.
- Remove screw bands, wipe jars, and label with contents and date.
- Store in a cool, dark, dry place between 50°F and 70°F.
Comparison of canning methods for different food types
Food type | Typical pH range | Recommended canning method |
|---|---|---|
High-acid fruits (e.g., berries, peaches) | 2.5 – 4.5 | Boiling water bath |
Acidified tomatoes (with added acid) | 4.0 – 4.6 | Boiling water bath or pressure canning |
Pickled vegetables (e.g., cucumbers, cabbage) | 3.0 – 4.0 | Boiling water bath |
Low-acid vegetables (e.g., green beans, corn, carrots) | 4.8 – 7.0 | Pressure canning only |
Meats, poultry, fish | 6.0 – 7.0 | Pressure canning only |
Soups and stews (containing low-acid ingredients) | 5.0 – 7.0 | Pressure canning only |
Botulism Safety: Botulism spores can survive boiling water at 212°F, requiring temperatures of 240°F or higher achieved only with a pressure canner for low-acid foods.
Shelf Stability: A properly sealed jar of pressure-canned low-acid food can remain shelf-stable for 12 to 18 months when stored in a cool, dark place below 70°F.
Frequently asked questions
Why can’t I water bath can green beans or other low-acid vegetables?
Low-acid foods, with a pH above 4.6, are susceptible to <em>Clostridium botulinum</em>, a bacterium that produces a deadly toxin. Water bath canning only reaches 212°F at sea level, which is insufficient to destroy these spores. Pressure canning, reaching 240°F or higher, is the only safe method for these foods.
How long do pressure-canned foods typically last on the shelf?
When properly processed and stored in a cool, dark place between 50°F and 70°F, pressure-canned low-acid foods will maintain their quality for 12 to 18 months. While still safe to eat beyond this period, their nutritional value and texture may begin to degrade.
What should I do if my pressure canner loses pressure during processing?
If your pressure canner loses pressure at any point below the recommended psi, you must bring the pressure back up to the correct level and restart the processing time from the beginning. If the pressure loss is significant or prolonged, the food should be reprocessed entirely with a new lid, or refrigerated/frozen for immediate consumption.
Can I add butter, oil, or flour to my vegetables or soups before pressure canning?
No, adding fats like butter or oil, or thickeners like flour or cornstarch, is not recommended before pressure canning. These ingredients can interfere with proper heat penetration throughout the jar, potentially creating cold spots where botulism spores could survive, compromising the safety of your canned product. Add them when reheating.
What is headspace, and why is it important in pressure canning?
Headspace is the empty space between the food surface and the inside of the jar lid. It allows food to expand during processing without overflowing, which can prevent a proper seal. For most low-acid foods and soups, a 1-inch headspace is recommended to ensure a strong vacuum seal and safe preservation.
References
- Home canning club instructions : canning of soups and meats (1916). Home canning club instructions : canning of soups and meats.
- Home canning club instructions-canning of soups (1915). Home canning club instructions-canning of soups.
- Canning of Soups (1996). Canning of Soups.
- Canning Poultry Products and Processing Soups (2017). Canning Poultry Products and Processing Soups.
- Canning fruits and vegetables / (1975). Canning fruits and vegetables /.